Welcome back! In our last lesson, we established the importance of building a profile around a central theme and a narrative arc, moving beyond a simple chronological report. You learned to think like an architect, designing the blueprint for a compelling story about a person.
Today, we shift from architect to builder. This lesson focuses on how to select and arrange your interview material to effectively support that central theme. We'll explore how you can sift through pages of notes and hours of recordings to find the perfect quotes, anecdotes, and details—the bricks and mortar—to construct the story you designed.
1. From Chaos to Order: The Power of a Timeline
After conducting one or several interviews, you'll have a wealth of raw material. It can feel overwhelming. Before you can select the best parts, you need to impose order. The single most effective tool for this is a timeline.
Even if your final profile jumps around in time, creating a chronological master document of your subject's story is the essential first step. It helps you understand cause and effect, identify key moments, and see the full sweep of the narrative.
Let's dive into an excellent resource from Nieman Storyboard that details this professional practice.
The art of the narrative interview: Sequencing your story
This article by author Kim Cross provides a masterclass in organizing complex narratives. It moves from theory to incredibly practical techniques.
Read the entire article, starting from the main text under the title. Pay close attention to these key ideas: Pivotal vs. Defining Moments: Note the distinction between external events that change the story's direction and internal "a-ha" moments of realization. These are the narrative beats you'll build your scenes around. The Timeline as Backbone: Understand why starting with a timeline is a universal practice among narrative nonfiction writers. The Matrix of Themes and Sources: Study the spreadsheet examples. See how Cross uses color-coding to track different themes and points of view. This is a powerful, tangible method for sorting your material. Visualizing the Storyline: Consider how different formats (spreadsheets, physical calendars) can help you "see" the story and manage transitions.
As Kim Cross explains, organizing your material chronologically allows you to see the "dominoes" fall—how one event leads to another. Once you have this master timeline, you can start tagging your material by theme, just as she does with her color-coding system. If your theme is "the struggle between commercial pressure and artistic integrity," you can tag every quote or event that speaks to that conflict. Suddenly, your narrative structure begins to emerge from the chaos.
2. The Editor's Eye: Selecting Material Based on Theme
With your notes organized, the selection process begins. Your central theme is not just a vague idea; it is a rigorous filter. For every anecdote, quote, or detail, you must ask: Does this serve the theme?
If the answer is no, it's likely noise that will dilute the focus of your piece, no matter how interesting it is in isolation.
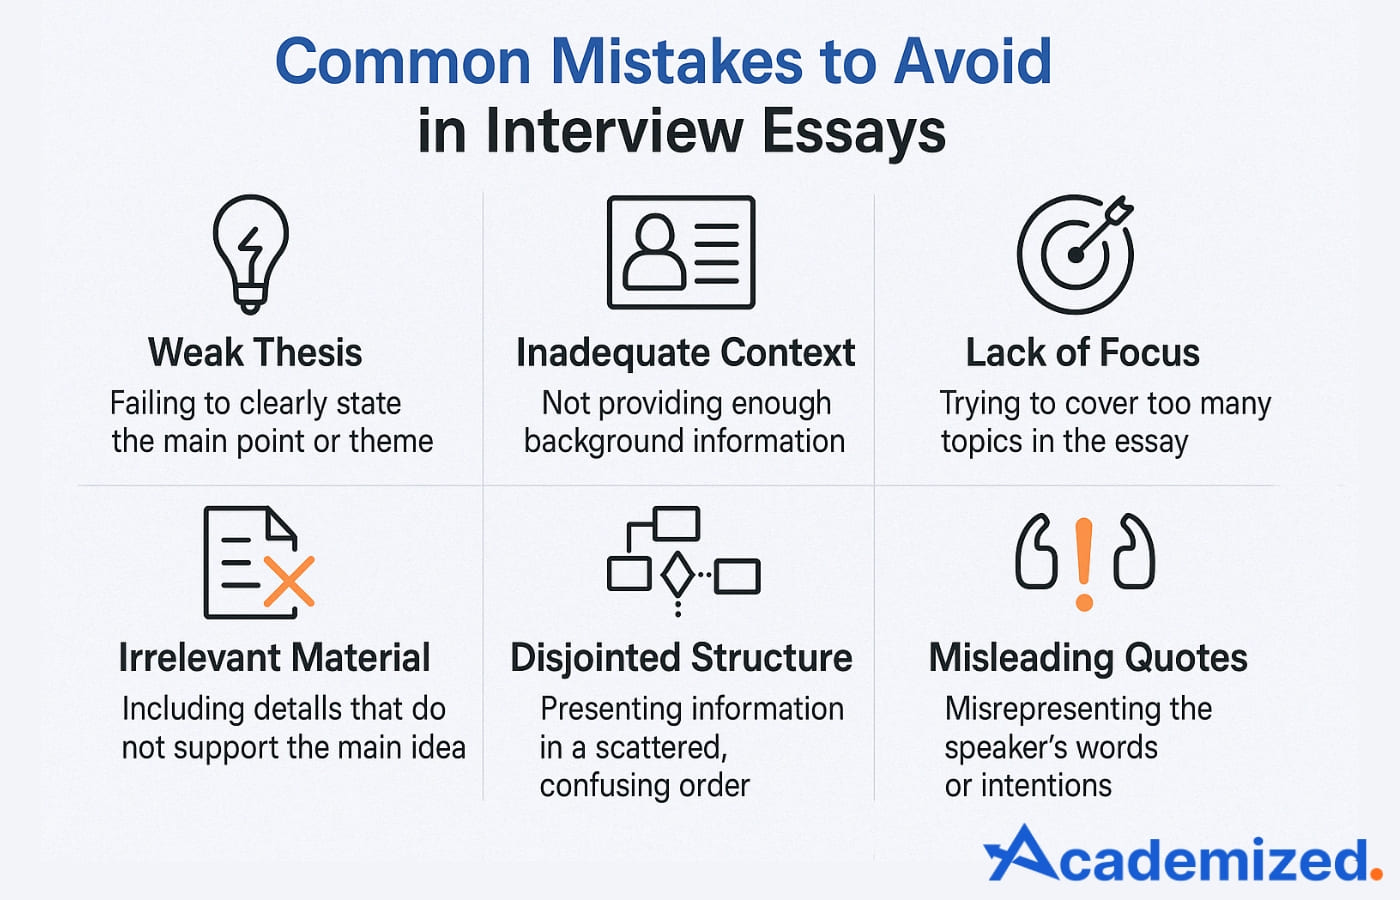
Let's look at some practical advice on how to make these tough editorial choices.
Interview, Edit and Shape: A Step-by-Step Guide to ...
This guide from The New York Times Learning Network offers clear, actionable advice on focusing and editing interview content for a profile.
Please read the following three sections: Activity 3: Think about your angle. (In Part 1: "Before Your Interview") 1. Find your focus. (In Part 3: "Shape Your Profile") 4. Edit and condense your interview. (In Part 3) Focus on the questions the guide suggests asking yourself to find your focus and the specific tips for condensing a subject's responses while staying true to their meaning.
The key takeaways here are:
- Your Angle is Your Compass: As the NYT guide states, a profile isn't a biography. The angle (or theme) dictates what background information you use. The example of the barber is perfect: you might go in thinking the story is about neighborhood history, but discover the real story is about his secret life as an artist.
- Active, Not Passive, Selection: You aren't just transcribing; you're curating. The "Kristina Wong" example shows this perfectly. The writer had an hour of tape but focused only on the material related to the pandemic sewing project. Everything else was left out.
- Editing for Impact: You can and should remove filler words ("um," "like," "you know") and redundant sentences. The goal is to present the subject's voice in its most potent form. Combining parts of a long answer or even splitting a long response with a clarifying question are advanced techniques to improve clarity and flow.
3. Assembling the Story: Arranging Material for Narrative Flow
Once you've selected your golden quotes and anecdotes, you need to arrange them. In the last lesson, we discussed the three-act narrative arc. Now, let's look at a common, practical structure used in many journalistic profiles that maps beautifully onto that arc.
Journalism 101: How to organize news stories
In this "Journalism 101" video, Mark Grabowski outlines a straightforward method for organizing notes and structuring a profile.
Please watch the following segments: Organizing your notes: This section covers the initial steps of processing your interview material—prioritizing facts and starring the best quotes. Organizing a profile story: Here, he presents a classic and effective structure for a profile. Using transitions: Pay close attention to how transitional phrases act as the "glue" that holds the story together, guiding the reader between different ideas or time periods.
Let's break down the structure presented in the video:
-
The Overview (Act I): This is your beginning.
- Creative Lead: An anecdote or scene that introduces the theme.
- Nut Graf: Explicitly states the theme and why the subject is newsworthy now.
- Key Quote: A powerful quote that captures the subject's voice and reinforces the theme.
-
The Body (Act II): This is your development section. It's often effective to break it into two parts:
- The Backstory: Travel back in time to provide context. Crucially, you only include backstory that is relevant to your theme. If your theme is about an actor overcoming adversity, you include the story of their early struggles, not their happy childhood summers.
- The Present: Bring the reader up to the current moment. This section details the situation, conflict, or project that makes the subject newsworthy now, elaborating on the nut graf.
-
The Conclusion (Act III): Your resolution.
- The Future: Look ahead. What are the subject's plans? What's next for them in relation to the theme you've explored? This provides a sense of forward momentum.
- The Kicker: A final, memorable sentence that ties back to the theme and leaves the reader with a lasting impression.
As the video emphasizes, transitions are essential. Phrases like "In addition," "Despite her early success," or simple time markers like "Five years earlier" are the signposts that prevent the reader from getting lost as you move between the past, present, and future.
4. Your Turn: Building with Blocks
Let's return to the KAI pop star scenario from our last lesson.
- Subject: KAI, a 22-year-old pop star.
- Theme: Deconstruction of a Pop Star (deliberately "breaking the dollhouse" of her manufactured image to find an authentic self).
Imagine you've gone through your interview transcripts and color-coded them. You've selected the following six key pieces of material that you believe strongly support your theme.
- Observation: During the interview in her minimalist apartment, she's dressed in all black and constantly fidgets with a silver ring, a stark contrast to her bubbly, colorful teen-pop image.
- Quote A (Backstory): "My parents' garage was my sanctuary. I grew up listening to their punk records. I remember being 12 and thinking, 'This is real music. This is what I want to do.' Then the talent scout found me, and everything changed."
- Quote B (The Present/Conflict): "Honestly? I'm terrified. The label thinks I'm committing career suicide. My old fans are calling me a traitor online. But this new record... it's the first time I feel like I'm not playing a character."
- Quote C (The Future): "The next step is building something new. I want to start my own small label, sign artists who are told they're 'too weird' for the mainstream. I want to build a house with no dolls in it."
- Quote D (Backstory/Conflict): From her first manager (interviewed separately): "She was a dream package. The perfect girl-next-door. We had a five-year plan for her. The 'KAI' brand was worth millions. The industrial rock thing? That wasn't part of the plan."
- Quote E (Powerful Opener): "For years, I felt like I was screaming into a pillow. The sound was happening, but no one could hear it. This album is me finally taking the pillow away."
Task: Arrange these six items into the profile structure we just discussed (Overview, Body-Backstory, Body-Present, Conclusion). Where would each piece go to create the most logical and powerful narrative flow?
Click here for a sample arrangement.
Here is one effective way to arrange the material to tell the story of the "deconstruction" theme:
-
Overview (Act I):
- Lead: Start with Quote E. It's a powerful, metaphorical quote that immediately establishes the central conflict and theme.
- Nut Graf: Follow this with your nut graf, explaining who KAI is, her abrupt shift in musical style, and framing the story around her quest for authenticity.
- Bridge: Use the Observation (#1) of her fidgeting in her apartment to physically ground the story in the present and show the contrast between her past and current self.
-
Body - Backstory (Act II):
- Transition: Use a phrase like, "This new, darker persona is a world away from her carefully managed beginnings, yet its roots go back to her childhood."
- Placement: Place Quote A (childhood punk rock) and Quote D (manager's plan) here. Juxtaposing these two quotes creates immediate tension and shows the "dollhouse" being built against her original instincts.
-
Body - Present (Act II):
- Transition: Bridge from the past to now: "After years of following that multi-million dollar plan, the pressure to break from it became unbearable."
- Placement: Use Quote B (terrified but authentic). This quote is the heart of the present-day conflict and stakes.
-
Conclusion (Act III):
- Transition: "While the commercial fallout remains to be seen, KAI is already looking beyond her own battle for authenticity."
- Placement: End with Quote C (starting a new label). This quote provides a sense of resolution and future direction, reinforcing the theme by showing her plan to build a "house with no dolls." It's a perfect kicker.
Conclusion
Today, we've moved from the abstract concept of a theme to the concrete process of building a story. You've learned how to take a messy collection of notes and systematically organize, select, and arrange them into a coherent and compelling narrative.
Key Takeaways:
- Organize First: Use a timeline to create a chronological backbone for your material, then use thematic tagging (like color-coding) to identify relevant threads.
- The Theme is Your Filter: Select only the quotes, anecdotes, and details that directly support and illuminate your central theme. Be ruthless in cutting what doesn't fit.
- Structure for Flow: Arrange your selected material in a logical narrative arc—like the Overview, Backstory, Present/Future model—to guide your reader through the story.
- Transitions are the Glue: Use clear transitional words and phrases to connect different sections and time periods, ensuring a smooth reading experience.
In our next lesson, we'll add another layer of depth to your profiles. We'll focus on writing vivid descriptions of a subject's appearance, mannerisms, and environment to build character. Having mastered the structure, you'll learn how to paint a memorable picture for your reader.