Hello! Welcome to the next lesson in our journey through backend development with Java and Spring.
In our last session, you mastered using the @Query annotation to write powerful, custom JPQL queries. This gave you active, fine-grained control over how you fetch and modify data. Now, we're going to shift gears slightly and look at how we can automate common actions that need to happen whenever an entity's state changes.
Today's learning outcome is to configure entity lifecycle callbacks to automate timestamp management using @PrePersist and @PreUpdate. This is a fundamental pattern in backend development for auditing and tracking data changes, ensuring that every record in your database can tell you when it was created and last modified, without you having to set these values manually in your business logic.
1. The Need for Automated Timestamps
Imagine you have a Product entity. In your service layer, every time you save a new product, you'd have to remember to call product.setCreatedAt(LocalDateTime.now()). Every time you update it, you'd have to call product.setUpdatedAt(LocalDateTime.now()).
// In some ProductService class...
public Product createProduct(ProductData data) {
    Product product = new Product();
    // ...set other fields from data
    product.setCreatedAt(LocalDateTime.now()); // Manual step
    product.setUpdatedAt(LocalDateTime.now()); // Manual step
    return productRepository.save(product);
}

public Product updateProduct(Long id, ProductData data) {
    Product product = productRepository.findById(id).orElseThrow();
    // ...update fields from data
    product.setUpdatedAt(LocalDateTime.now()); // Another manual step
    return productRepository.save(product);
}
This approach is manual, repetitive, and error-prone. What if a developer forgets to set the timestamp? The data becomes inconsistent. This is where JPA's entity lifecycle events provide an elegant, automated solution.
2. Understanding JPA Entity Lifecycle Events
JPA provides a set of annotations that allow you to "hook into" an entity's lifecycle. You can annotate a method in your entity class, and JPA will automatically call it when a specific event occurs (e.g., just before it's saved, or just after it's loaded).
To begin, let's get a clear overview of the available lifecycle events. This article from Baeldung provides a great introduction.
Please read the first two sections, "1. Introduction" and "2. JPA Entity Lifecycle Events". Focus on the list of annotations, especially @PrePersist and @PreUpdate, and understand what "Pre" means in this context (i.e., the event fires before the SQL operation).
As you read, the two key events for our goal are:
@PrePersist: Executed before a new entity is first saved to the database (before theINSERTstatement).@PreUpdate: Executed before an existing entity is updated in the database (before theUPDATEstatement).
These are perfect for our timestamping needs because they allow us to set the date and time values on the entity object right before JPA hands it over to the database.
3. Implementing Timestamps with @PrePersist and @PreUpdate
Let's apply this to a practical example. We will modify a hypothetical Product entity to include createdAt and updatedAt fields and automate their management.
First, you would add the fields to your entity class:
import jakarta.persistence.Entity;
import java.time.LocalDateTime;
// ... other imports

@Entity
public class Product {

    @Id
    @GeneratedValue
    private Long id;

    private String name;
    private BigDecimal price;

    // Fields for our timestamps
    private LocalDateTime createdAt;
    private LocalDateTime updatedAt;

    // Getters, setters, etc.
}
Now, we add the callback methods directly into the Product class. According to the JPA specification, when defined within an entity, these methods must return void and take no arguments.
Tracking @Entity Creation and Updation Timestamps
The following article provides a direct and concise code example of exactly what we're trying to achieve. It's the cleanest way to see this concept in action.
Please read section "5. Using JPA Lifecycle Callbacks". Study the code example for the Employee entity. Notice how one method handles creation and another handles updates.
Applying that pattern to our Product entity, the implementation would look like this:
import jakarta.persistence.PrePersist;
import jakarta.persistence.PreUpdate;
// ...

@Entity
public class Product {

    // ... fields, getters, setters

    @PrePersist
    protected void onPersist() {
        createdAt = LocalDateTime.now();
        updatedAt = LocalDateTime.now();
    }

    @PreUpdate
    protected void onUpdate() {
        updatedAt = LocalDateTime.now();
    }
}
Let's analyze this code:
onPersist()method:- Annotated with
@PrePersist, so it will only run when aProductis saved for the first time. - It sets both
createdAtandupdatedAtto the current time. This makes sense because at the moment of creation, the creation time and last update time are the same.
- Annotated with
onUpdate()method:- Annotated with
@PreUpdate, so it will run every time an existingProductis saved. - It updates only the
updatedAtfield. ThecreatedAtfield remains untouched, preserving the original creation timestamp.
- Annotated with
With these simple methods in place, you no longer need to manage timestamps in your service layer. JPA handles it for you automatically and reliably.
Test your understanding!
A colleague suggests combining the logic into a single method to save space:
@PrePersist
@PreUpdate
protected void onSave() {
    updatedAt = LocalDateTime.now();
    if (createdAt == null) {
        createdAt = LocalDateTime.now();
    }
}
Is this functionally equivalent to the two-method approach? Why or why not?
Show answer
Yes, this is functionally equivalent and also a common pattern.
- On Persist (
@PrePersist): TheonSave()method is called.updatedAtis set. SincecreatedAtisnullfor a new entity, theifcondition is true, andcreatedAtis also set. This achieves the same result as our originalonPersist()method. - On Update (
@PreUpdate): TheonSave()method is called.updatedAtis set. Since the entity already exists,createdAtis notnull, so theifcondition is false, andcreatedAtis left unchanged. This achieves the same result as our originalonUpdate()method.
This single-method approach is slightly more concise but can be considered less explicit than having separate methods for each lifecycle event. Both are valid.
4. Alternative: Using a Separate EntityListener
Placing callback methods directly in an entity is perfect when the logic is specific to that entity. But what if you have ten different entities, and they all need createdAt and updatedAt fields? Copying and pasting the onPersist() and onUpdate() methods into every entity class violates the DRY (Don't Repeat Yourself) principle.
A cleaner solution for reusable logic is to use an EntityListener. This is a separate class that contains the lifecycle callback methods. You then associate this listener with your entities using the @EntityListeners annotation.
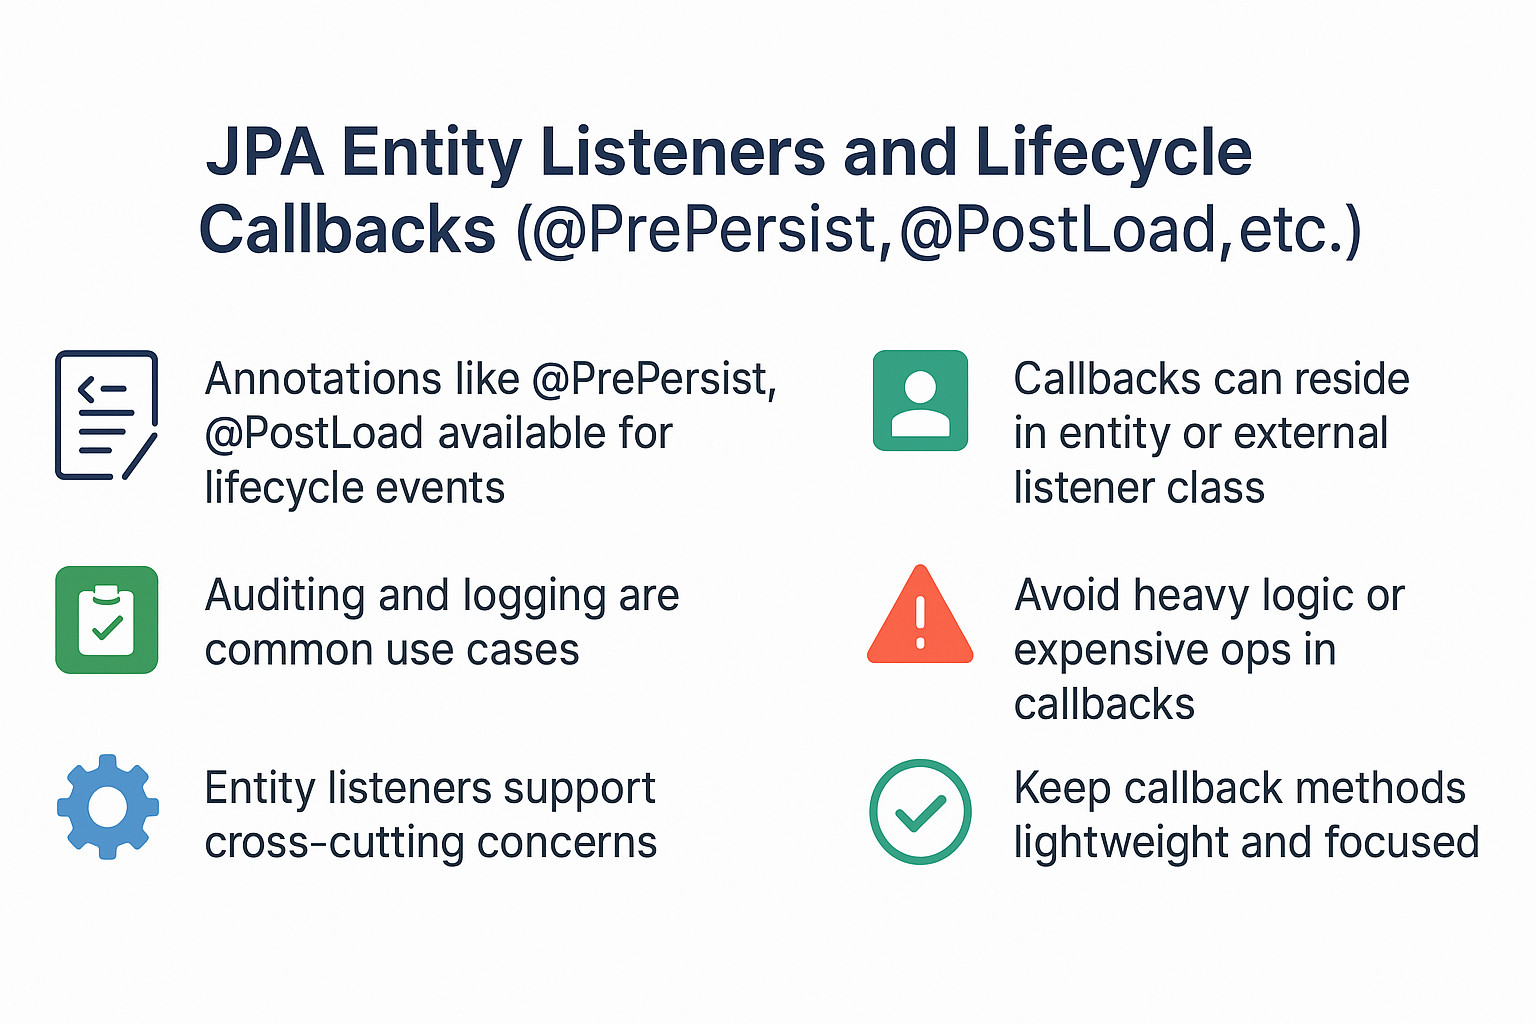
The Baeldung article we looked at earlier also explains this alternative approach. It's a great way to create reusable auditing logic.
Please read section "4. Annotating an EntityListener". Focus on how the AuditTrailListener class is created and then attached to the User entity with @EntityListeners. Notice the key difference: listener methods take the entity object as a parameter.
This approach promotes better code organization and reusability, which are key principles as you move towards building larger, more complex applications. For now, it's enough to know this powerful alternative exists. For many common use cases, the in-entity annotation approach is perfectly sufficient.
Conclusion
You've just learned a powerful and clean way to automate a crucial aspect of data management. By letting JPA handle timestamps via lifecycle callbacks, you make your code cleaner, more reliable, and less prone to human error.
Key Takeaways:
- JPA Lifecycle Callbacks allow you to execute methods automatically at key moments in an entity's life (creation, update, deletion, etc.).
- The
@PrePersistannotation marks a method to be run just before a new entity is saved. It's ideal for setting an initialcreatedAttimestamp. - The
@PreUpdateannotation marks a method to be run just before an existing entity is updated. It's perfect for setting theupdatedAttimestamp. - This pattern automates auditing, removing repetitive and error-prone code from your service layer.
- For reusable logic across multiple entities, you can move callback methods to a separate
EntityListenerclass.
What's Next?
This lesson concludes our module on the fundamentals of Spring Data JPA. You can now define entities, map relationships, query data using derived methods and custom JPQL, and automate logic with lifecycle callbacks.
In the next module, we will explore Advanced Database Operations & Transactions. We'll start by understanding the bedrock of reliable database operations—the ACID properties—and see how Spring's @Transactional annotation provides a simple yet powerful way to ensure data integrity across multiple operations.