Welcome to the first lesson of your course on short video making! I'm excited to guide you as you develop your skills, from initial idea to finished product.
This first module, "Foundations of Visual Storytelling," is all about the 'before you shoot' phase. Today, we'll focus on how to plan a short video sequence using a simple shot list or storyboard. Your background in project management will be a great asset here; just as a project needs a clear plan to succeed, a compelling video needs a blueprint before you even press record. This lesson will show you how to move from capturing random clips to intentionally building a narrative, a key step toward creating the cohesive "trip" videos you're aiming for.
From Random Clips to a Cohesive Story
You've mentioned you want to create narrative videos that tell the story of a trip. This is what separates a thoughtful video from a simple montage of holiday snaps. The key is to think like a storyteller before you start filming.
To begin, let's explore this core idea of storytelling in video.
How To Make TRAVEL VIDEOS for Beginners | storytelling explained!
Watch this brief segment from the video "How To Make TRAVEL VIDEOS for Beginners" by Jake Rich. It introduces a powerful analogy.
Pay close attention to the explanation of the difference between a "tree" (a single clip) and a "forest" (a full story) from this section. This will frame our thinking for the rest of the lesson.
As the video suggests, a story has a structure—a beginning, a middle, and an end. To build that structure, we use two simple but powerful planning tools: the shot list and the storyboard.
- A Shot List is essentially a checklist of all the shots you want to capture for your video. It's textual, easy to create on the fly, and perfect for documentary-style shooting, like on a trip.
- A Storyboard is a visual plan, like a comic strip, that shows how your video will unfold shot by shot. It's excellent for planning more structured sequences, like an Instagram Reel where timing and visual flow are critical.
Let's look at how to use each of these tools.
The Shot List: Your Video Blueprint
For making travel videos where things happen spontaneously, a shot list is your best friend. It gives you a framework without being rigid, ensuring you capture the variety of clips needed to tell a compelling story in the edit.
So what does a practical shot list look like? It doesn't have to be complicated.
How I film my travel videos ALONE! (As a solo traveler)
In her video "How I film my travel videos ALONE!", creator Aakanksha Monga shares her straightforward method for planning.
Watch the section from her explanation where she discusses how making a "rough list" of shots before a trip helps her capture all the memories she wants without feeling overwhelmed. Notice the real screenshot of her list—it's just a simple checklist in her phone's notes app.
As you can see, a shot list can be as simple as a few bullet points. The real power comes from thinking about the types of shots to put on that list. A good story needs more than just shots of you smiling at the camera.
To make your videos more dynamic, your list should include:
- Establishing Shots: Wide shots that show the location (e.g., a panoramic view of a mountain range, a wide shot of a city street).
- Action Shots: Clips of you (or someone else) doing something (e.g., walking down a trail, packing a bag, ordering coffee).
- Interaction Shots: Show engagement with the environment (e.g., touching a flower, skipping a stone on a lake).
- Reaction Shots: Capture your emotions (e.g., a close-up of your face as you take in a beautiful view).
- Detail Shots (B-roll): Close-ups of interesting details that add texture and context (e.g., steam rising from a coffee cup, the texture of a leaf, a close-up of a map).
- Multiple Angles: Plan to shoot the same important action from two different perspectives (e.g., walking out a door filmed from behind, then filmed from the front). This gives you powerful options when editing.
Thinking in these categories will help you gather all the puzzle pieces you'll need to build a great story later.
The Storyboard: Visualizing the Flow
While a shot list is a great checklist, a storyboard is better for planning the sequence and flow of a video. This is especially useful for short, punchy content like Instagram Reels, where every second counts.
Let's start with a clear definition of what a storyboard is.
How to Make a Travel Video: Storyboarding Your Ideas
This article from Arkon provides a concise overview of storyboarding.
Read the subsection titled "Storyboarding Your Ideas." It clearly explains the purpose of a storyboard and what information to include in each frame.
A common misconception is that you need to be an artist to create a storyboard. This isn't true at all! Simple stick figures and basic shapes are all you need. The goal is clarity, not artistry.
Here is an example of a simple storyboard template designed specifically for vertical videos like Instagram Reels.
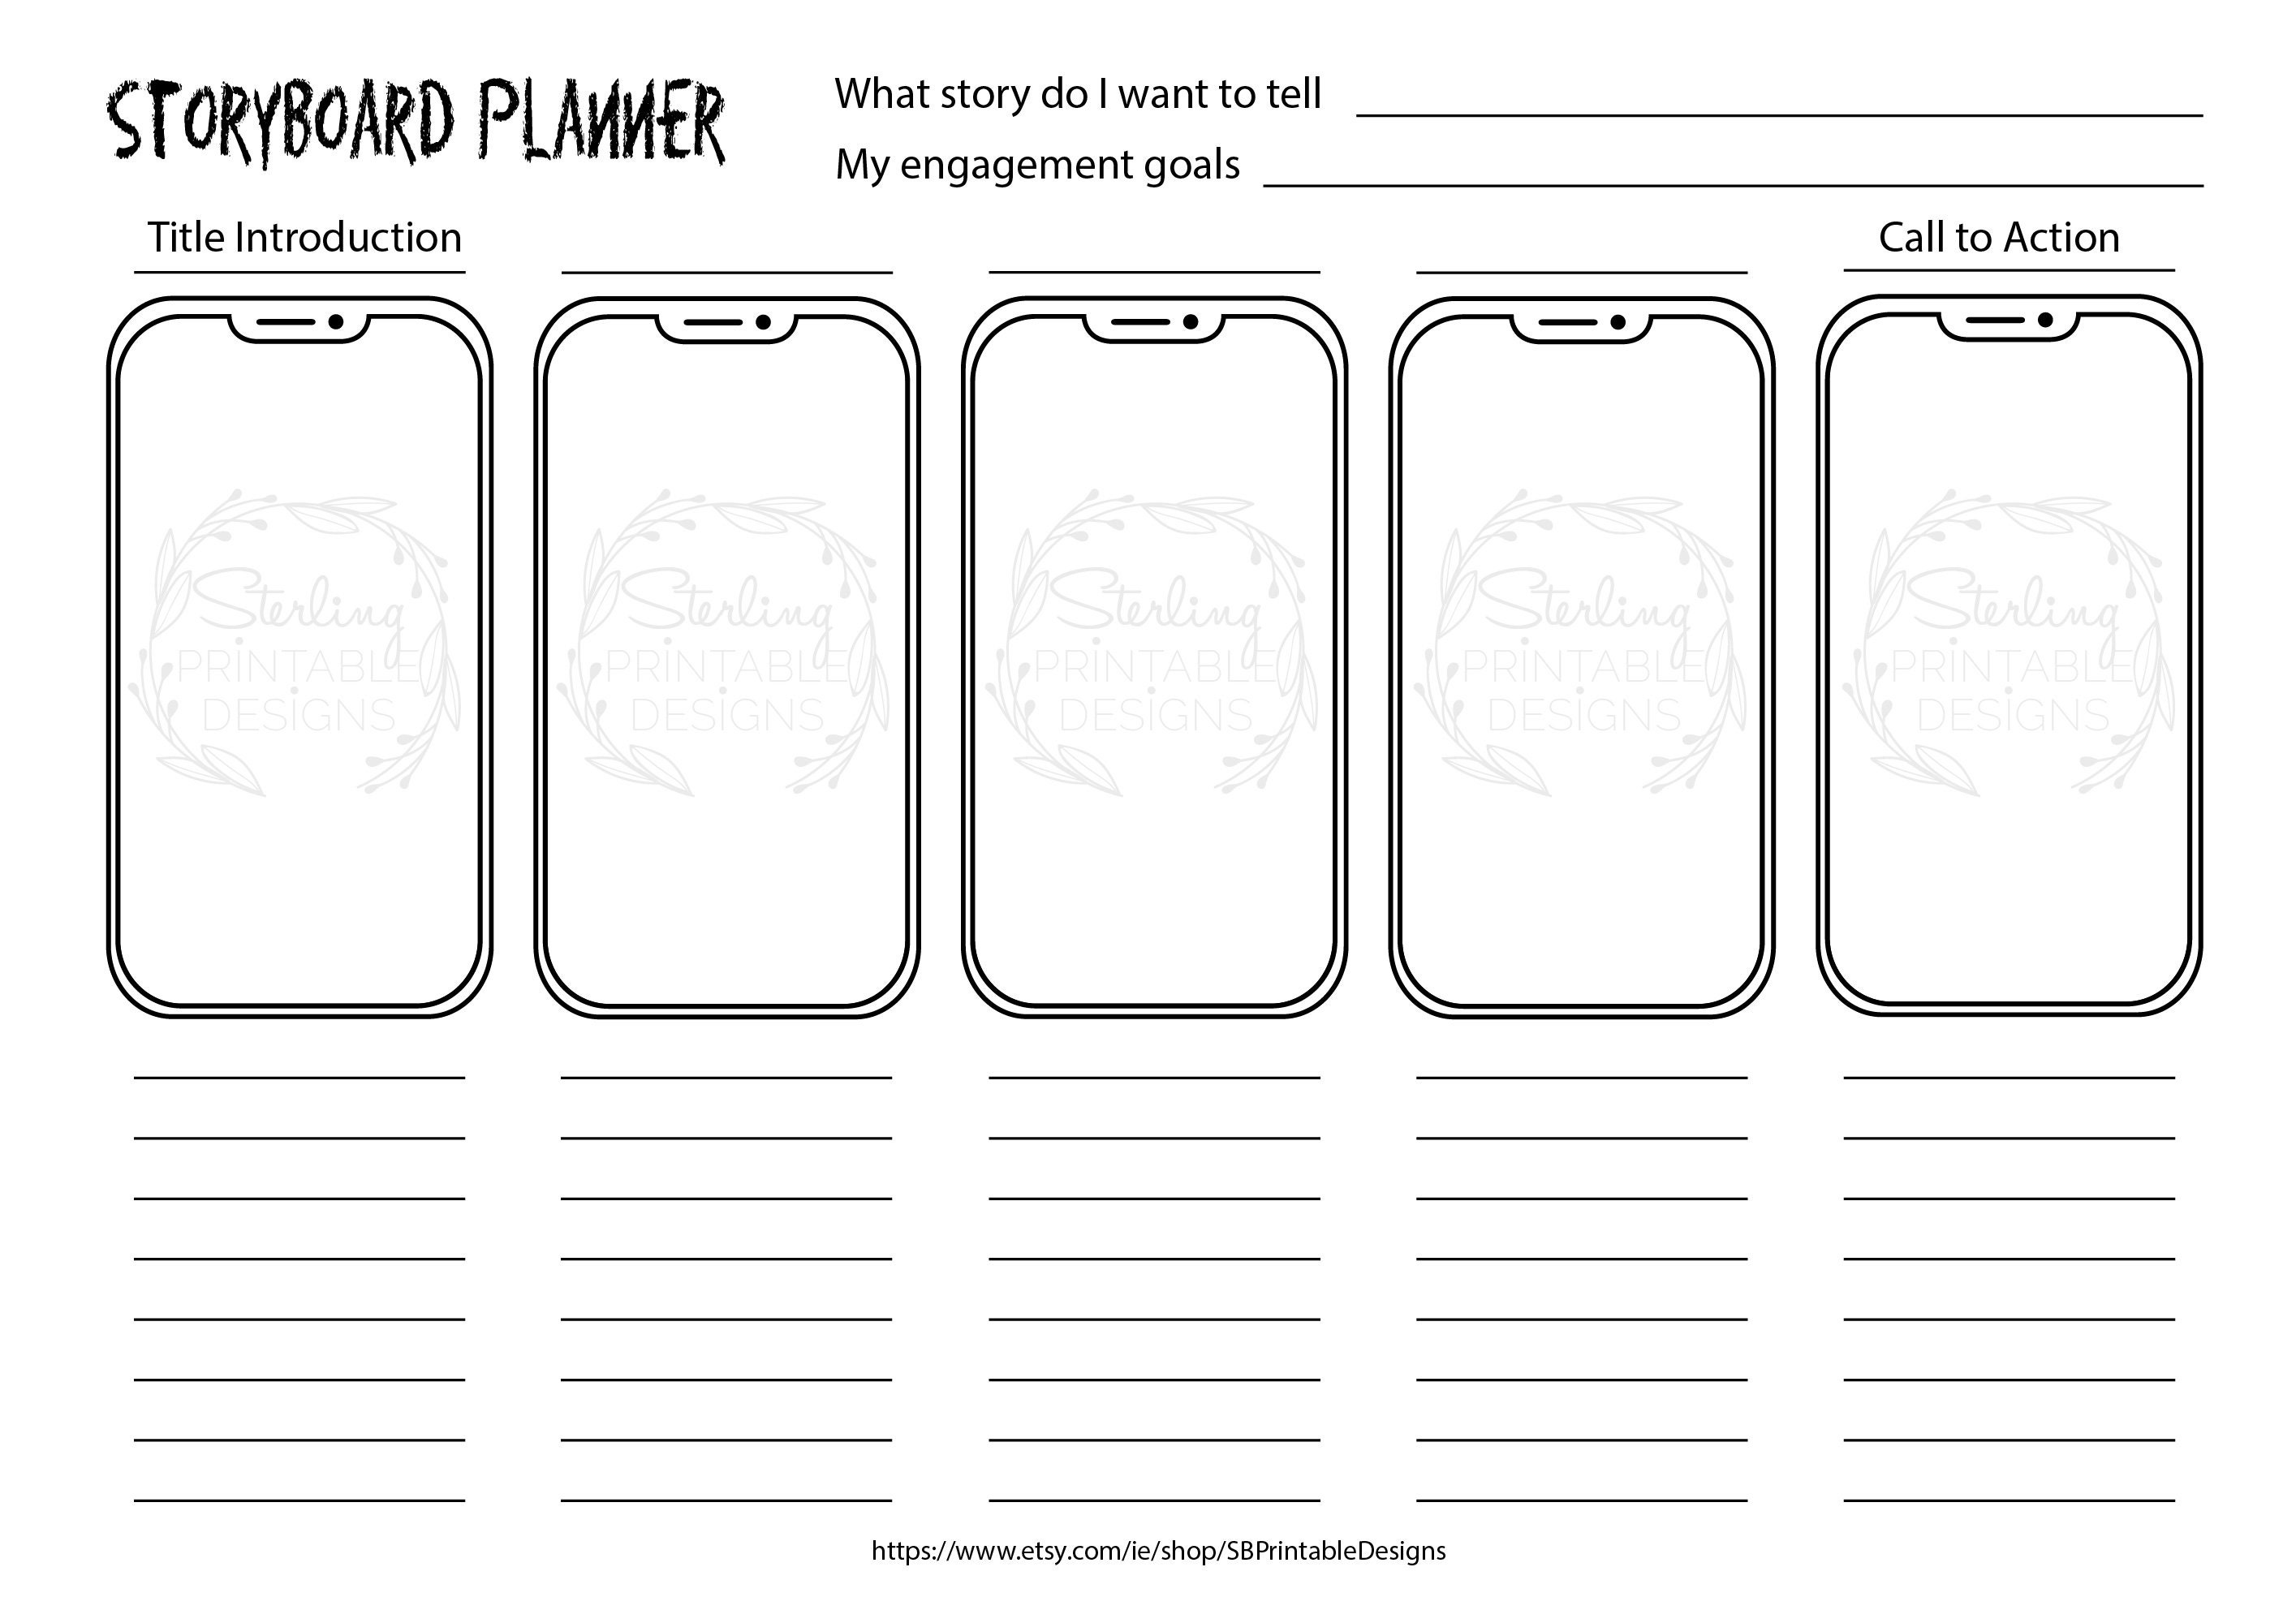
For short videos on social media, having a clear structure is vital. The article "Storyboarding for Reels, Shorts, and Book Previews" offers a fantastic, simple framework.
Storyboarding for Reels, Shorts, and Book Previews
This resource provides a simple, effective structure for planning short videos.
Read the section titled "9. Planning Storyboards for Reels & Shorts." It breaks down a short video into a few key panels: Hook, Purpose, Main Action, Visual Enhancement, Final Impact, and Call to Action.
This panel structure is a powerful guide. By planning a shot for each of these story beats, you ensure your video grabs attention, delivers its message, and has a satisfying conclusion.
Your First Planning Task
Now it's time to put this into practice. Your task is to plan a short, 15-second video. You don't need to film it yet—the goal is just to create the plan.
Topic: Choose a simple, everyday activity. For example:
- Making your morning coffee or tea.
- A short walk around your block.
- Watering your plants.
Instructions:
- Define your goal: What is the one idea or feeling you want to convey? (e.g., "The quiet ritual of my morning coffee," "Finding a moment of peace on a busy street.")
- Choose your tool:
- Option A (Shot List): Open a notes app on your phone and create a bulleted list of 5-7 shots you would need to tell this mini-story. Use the shot types we discussed (establishing, action, detail, etc.).
- Option B (Storyboard): Grab a piece of paper and sketch out a simple 4-6 panel storyboard. Use the "Hook, Purpose, Action, Impact" structure as your guide. Add brief notes under each sketch.
- Review your plan: Does it tell a small story? Do you have a variety of shots? If you were to film this, would you have everything you need?
This exercise will help you start thinking about everyday moments as potential stories, which is the foundational skill of a great video creator.
Conclusion
In this lesson, we've laid the groundwork for visual storytelling by focusing on planning. You've learned the crucial difference between a random collection of clips and a deliberate narrative.
Here are the key takeaways:
- Planning is essential: A shot list or storyboard turns your idea into an actionable blueprint.
- Shot lists are for checklists: They help you gather all the necessary footage, especially in unpredictable environments like a trip.
- Storyboards are for sequences: They help you visualize the flow and pacing of your video, which is vital for short-form content like Reels.
- Variety is key: A mix of wide, medium, and close-up shots, along with different angles, will make your final video far more engaging.
In our next lesson, we will dive deeper into the elements that make a video compelling: creating a strong hook, managing pacing, and delivering a satisfying payoff. You'll see how the plan you create today directly serves these goals.