Hello! In our previous lesson, we explored how to use Shared Access Signatures (SAS) to grant secure, delegated access to your storage resources. This is crucial for controlling who can interact with your data and for what purpose.
Now that we've covered access control, we'll turn our attention to managing the data's lifecycle to optimize costs. As data ages, its access patterns typically change. For instance, recent logs are read frequently, while logs from six months ago are rarely touched but must be retained for compliance. Storing all data in the most expensive, high-performance tier is inefficient.
This lesson directly addresses the learning outcome: Configure blob storage lifecycle management policies to automate tier transitions and deletion. We will explore how these policies work, the different storage tiers available, and how to configure a policy using the Azure CLI. This is a key cost-management feature in Azure and a frequent topic on the AZ-204 exam.
1. The "Why": Understanding Access Tiers and Cost Optimization
Before creating a policy, it's essential to understand the different storage tiers Azure provides for blob data. Each tier is optimized for a specific access pattern and has a different pricing model. The core idea is to balance storage costs with access costs.
To get a clear overview of these tiers and their economic trade-offs, let's start with a short video.
AZ-204 Exam EP 12: Blob Storage Lifecycle
The video "AZ-204 Exam EP 12: Blob Storage Lifecycle" by A Guide To Cloud provides an excellent introduction to the different storage tiers and their pricing models.
Please watch the first two segments: Storage Tiers: Pay attention to the descriptions of Hot, Cool, and Archive tiers, including their intended use cases and minimum storage durations. Pricing: Focus on the inverse relationship between storage cost (cost per GB) and transaction cost (cost per 10,000 operations).
As the video explained, the main access tiers for general-purpose v2 storage accounts are:
- Hot Tier: Optimized for frequently accessed data. Highest storage cost, but lowest access cost.
- Cool Tier: Optimized for infrequently accessed data stored for at least 30 days. Lower storage cost than Hot, but higher access cost.
- Archive Tier: Optimized for rarely accessed data stored for at least 180 days, with flexible retrieval times (can take hours). Lowest storage cost, but highest access cost.
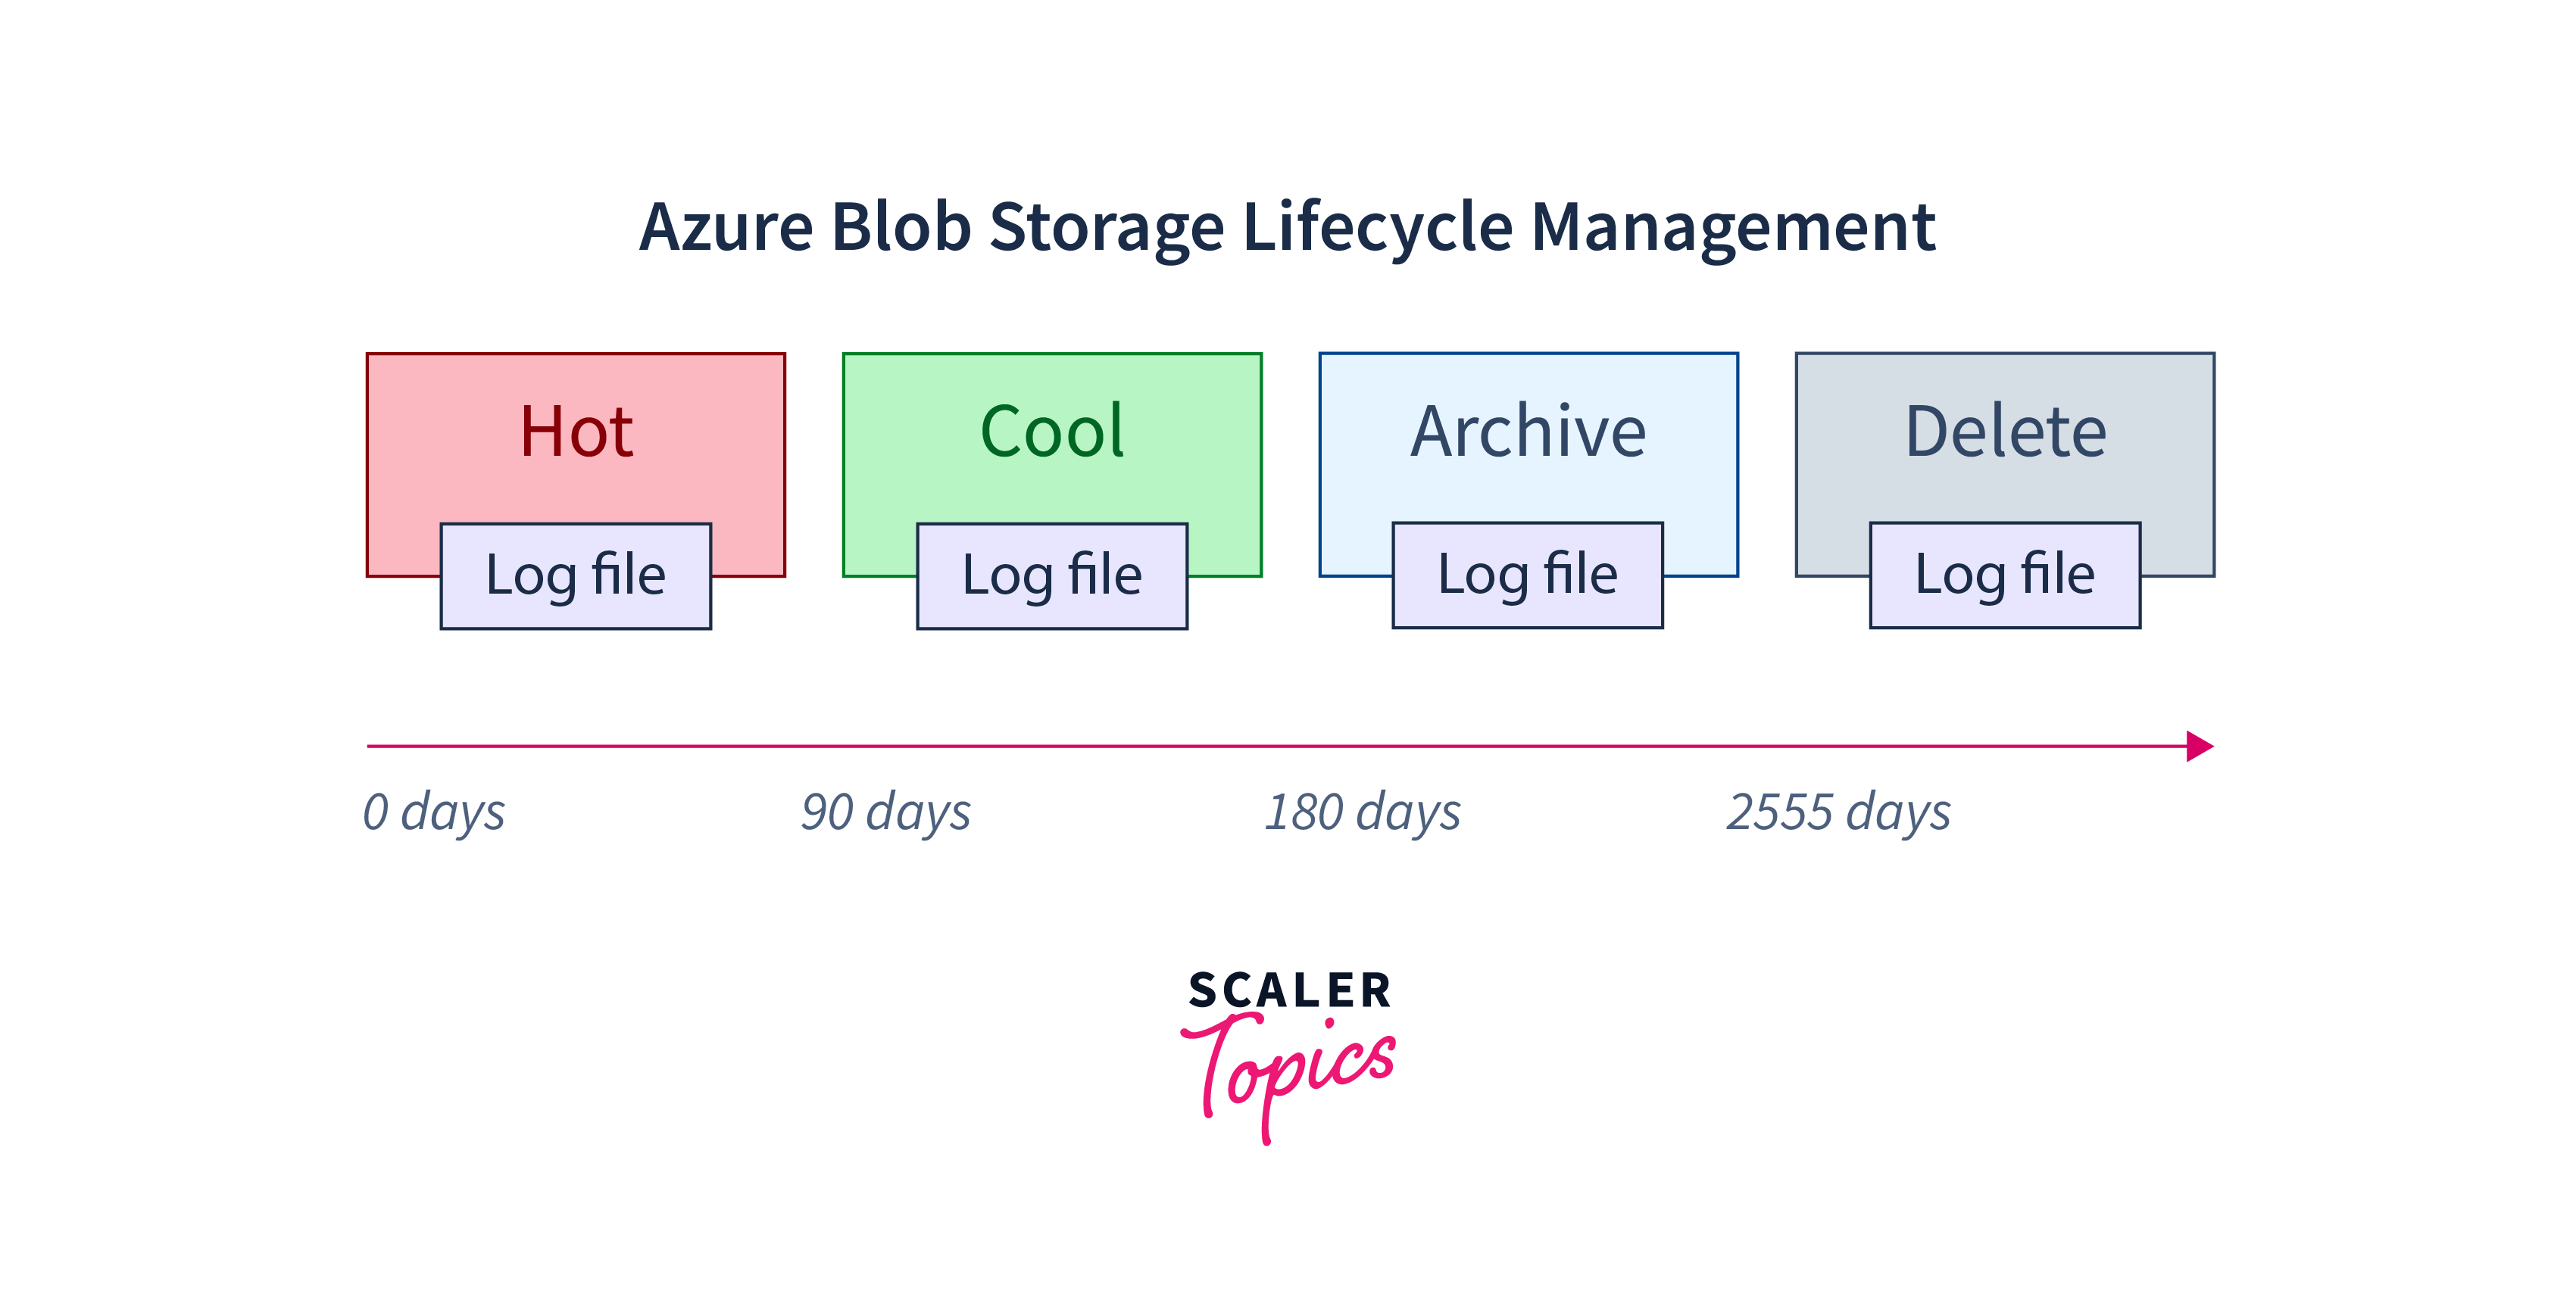
Lifecycle management automates the process of moving data between these tiers as it ages, or deleting it altogether, as illustrated below.
2. Anatomy of a Lifecycle Management Policy
A lifecycle management policy is a set of rules defined in a JSON document that you apply to a storage account. Each policy can contain up to 100 rules, and each rule is composed of two main parts: a filter set and an action set.
- Filter Set: Specifies a subset of blobs within the storage account. You can filter by blob type (block blobs or append blobs) and by name using a
prefixMatch(e.g.,logs/orcontainer-name/uploads/). This lets you apply different rules to different types of data. - Action Set: Defines the action to be taken on the filtered blobs. Actions are triggered when a condition is met, such as a certain number of days passing since the blob was last modified. Common actions include
tierToCool,tierToArchive, anddelete.
Let's examine a practical example of a policy rule in its JSON format. This structure should be familiar to you from other configuration-as-code practices in software development.
{
  "rules": [
    {
      "enabled": true,
      "name": "log-retention-policy",
      "type": "Lifecycle",
      "definition": {
        "actions": {
          "baseBlob": {
            "tierToCool": { "daysAfterModificationGreaterThan": 30 },
            "tierToArchive": { "daysAfterModificationGreaterThan": 90 },
            "delete": { "daysAfterModificationGreaterThan": 365 }
          }
        },
        "filters": {
          "blobTypes": [ "blockBlob" ],
          "prefixMatch": [ "mylogs/application" ]
        }
      }
    }
  ]
}
In this example:
- The rule is named
log-retention-policyand is enabled. - The
filterssection targets onlyblockBlobtypes that are inside themylogscontainer and have a path starting withapplication. - The
actionssection defines a three-step process for these blobs:- Move to Cool tier if not modified for over 30 days.
- Move to Archive tier if not modified for over 90 days.
- Delete if not modified for over 365 days.
The Azure Portal provides a "Code View" where you can see and edit this JSON directly.

3. Implementing a Policy with the Azure CLI
While you can configure policies in the Azure Portal, using the Azure CLI is a more powerful and automatable approach that aligns well with DevOps practices. The process is simple: you define your policy in a local JSON file and then use a CLI command to apply it to your storage account.
For a detailed walkthrough of the various methods, including CLI and ARM templates, the following article is an excellent resource.
How to Set Up Azure Blob Storage Lifecycle Mgmt Policies ...
This guide from OneUptime provides clear, practical steps for setting up lifecycle policies.
Please read the following sections: Setting Up a Policy Using Azure CLI: This section provides a complete JSON policy example and the az commands to create and verify the policy. This is the core of our practical exercise. Filtering Blobs with Prefix and Tags: Read this to understand how you can target specific blobs. Pay attention to the prefixMatch example, as it's a very common filtering technique.
Practical Exercise: Apply a Lifecycle Policy
Let's put this into practice. For this exercise, you will need the Azure CLI installed and to be logged into your Azure account (az login).
-
Create a policy file: Create a new file named
policy.jsonand paste the JSON content from the section above (thelog-retention-policyexample) into it. -
Apply the policy: Open your terminal and run the following command. Replace
<YourResourceGroup>and<YourStorageAccountName>with the names of your actual resource group and a general-purpose v2 storage account.az storage account management-policy create \ --account-name <YourStorageAccountName> \ --resource-group <YourResourceGroup> \ --policy @policy.jsonThe
@symbol tells the CLI to read the policy content from the specified file. -
Verify the policy: After applying it, you can confirm it was created correctly by running this command:
az storage account management-policy show \
    --account-name <YourStorageAccountName> \
    --resource-group <YourResourceGroup>
The output will be the JSON definition of the policy you just applied.
This CLI-driven workflow allows you to version-control your storage policies alongside your application code, promoting an Infrastructure-as-Code (IaC) methodology.
4. Key Considerations and Best Practices
When implementing lifecycle policies, there are a few important points to remember that are often sources of exam questions and real-world issues.
How to Set Up Azure Blob Storage Lifecycle Mgmt Policies ...
The same article also has excellent sections on timing and common mistakes.
Please read these final sections: Policy Execution Timing: This is a crucial detail. Understand that policies are not real-time. Common Pitfalls: Pay close attention to the points about early deletion fees and overlapping rules.
To summarize the key points:
- Execution Schedule: Policies run once every 24 hours. They are not instantaneous. It may take up to 48 hours for a newly created policy to take full effect.
- Early Deletion Fees: If a policy moves a blob out of the Cool or Archive tier before its minimum required storage duration (30 days for Cool, 180 for Archive), you will be charged an early deletion fee. Your rules should account for these minimums.
- Rule Conflicts: If multiple rules apply to the same blob (e.g., one rule says
deleteand another saystierToArchive), the action associated with the lowest cost takes precedence. Deletion is considered cheaper than archiving. - Last Access Time: You can also base rules on
daysAfterLastAccessTimeGreaterThan. This is more precise for data whose value is tied to when it was last read, not just modified. However, you must first enable last access time tracking on the storage account, which has a small associated cost.
Conclusion
In this lesson, we have covered how to automate the management of your blob data to optimize for cost and compliance using lifecycle management policies. This is a "set-it-and-forget-it" feature that can yield significant cost savings on large datasets.
Here are the key takeaways:
- Access Tiers (Hot, Cool, Archive) offer a trade-off between storage costs and access costs.
- Lifecycle Management Policies automate the movement of blobs between tiers and their eventual deletion.
- Policies are defined using JSON rules, which consist of filters (to select blobs) and actions (to tier or delete them).
- The Azure CLI provides a scriptable way to apply and manage these policies, which is ideal for automation and version control.
- Be mindful of the daily execution schedule, early deletion fees, and how rule conflicts are resolved.
This lesson concludes our module on Azure Blob Storage. You have now covered creating storage accounts, performing blob operations, securing access with SAS, and managing data with lifecycle policies.
In our next lesson, we will begin a new module and explore a different kind of data storage: Azure Cosmos DB. We will start by examining its foundational concepts, including its various consistency levels, which are crucial for designing globally distributed applications.