Hello! Let's continue our journey into containerized applications on Azure.
In our previous lesson, you successfully built a Docker image for your .NET application and pushed it to your private Azure Container Registry (ACR). Your application is now packaged and stored in the cloud, ready for deployment.
Today, we'll take that final step: deploying and running your container image using Azure Container Instances (ACI). ACI is Azure's simplest and fastest way to run a container without managing any underlying infrastructure. By the end of this lesson, you will be able to deploy a container from your private ACR to ACI and access the running application.
1. What is Azure Container Instances (ACI)?
Before we deploy, it's important to understand what ACI is and where it fits in the Azure ecosystem. ACI allows you to run a Docker container on-demand in a serverless environment. You don't need to provision or manage virtual machines; you just specify the container image and Azure handles the rest.
This makes ACI ideal for scenarios like:
- Simple web applications and APIs.
- Task automation and build jobs that run for a short period.
- Rapid development and testing where you need to spin up a container quickly.
To get a clear picture of ACI's purpose and benefits, watch the following short video.
Azure Container Instances Tutorial | Serverless containers in cloud
This video from Adam Marczak - Azure for Everyone provides a great conceptual overview of Azure Container Instances.
Focus on the segment from What is ACI?. The explanation of a "container group" and the key benefits will help you understand why ACI is a powerful service for running individual containers.
As you saw, ACI abstracts away the virtual machine, letting you focus entirely on your container. This is different from running Docker on a VM yourself (where you manage the OS and Docker daemon) and simpler than a full-blown orchestrator like Azure Kubernetes Service (AKS), which is designed for managing complex, multi-container applications at scale.
2. Deploying a Container from ACR to ACI
Now, let's get hands-on. We will use the Azure CLI to deploy the .NET webapp:v1 image you pushed to your private Azure Container Registry in the last lesson.
The primary command we'll use is az container create. Since your image is in a private registry, we need to provide credentials so ACI can pull the image.
Tutorial: Deploy a container application to Azure Container Instances
This Microsoft Learn tutorial provides the exact CLI commands we need. It's a valuable reference for the parameters involved in deploying from a private registry.
Read the sections Get registry credentials and Deploy container. Pay close attention to the arguments passed to the az container create command, especially --registry-login-server, --registry-username, and --registry-password. We will walk through obtaining these values next.
Step 1: Get Your ACR Credentials
For this exercise, we'll use the admin user credentials of your ACR. While using a service principal (as mentioned in the article) or a managed identity is the best practice for production environments, using the admin user is a straightforward way to get started.
First, ensure the admin user is enabled on your ACR. Replace <your-acr-name> with the name of the registry you created.
az acr update -n <your-acr-name> --admin-enabled true
Next, retrieve the username and password. Store these in your terminal session as variables to make the next command cleaner.
# Get the ACR login server URL
ACR_LOGIN_SERVER=$(az acr show --name <your-acr-name> --query loginServer --output tsv)


# Get the username
ACR_USERNAME=$(az acr credential show --name <your-acr-name> --query username --output tsv)


# Get the password
ACR_PASSWORD=$(az acr credential show --name <your-acr-name> --query "passwords[0].value" --output tsv)
Step 2: Deploy the Container
Now you have all the pieces to construct the az container create command. The command will tell Azure to create a container instance, pull the specified image from your private ACR using the credentials, and expose it to the internet.
Let's break down the command:
--resource-group: The resource group you've been using.--name: A unique name for your container instance (e.g.,my-dotnet-app).--image: The full path to your image:<login-server>/webapp:v1.--cpu,--memory: Specifies the resources to allocate.--registry-*: The credentials for your private ACR.--ip-address Public: Assigns a public IP address.--dns-name-label: Creates a public DNS name to access the app. This must be unique across Azure in your region.--ports: The port to open. Your .NET web app's Dockerfile likely exposes port 80.
Here is the complete command using the variables we defined. Choose a unique value for <your-unique-dns-name>.
az container create \
    --resource-group <your-resource-group> \
    --name my-dotnet-app \
    --image $ACR_LOGIN_SERVER/webapp:v1 \
    --cpu 1 \
    --memory 1 \
    --registry-login-server $ACR_LOGIN_SERVER \
    --registry-username $ACR_USERNAME \
    --registry-password $ACR_PASSWORD \
    --ip-address Public \
    --dns-name-label <your-unique-dns-name> \
    --ports 80
After you run this, Azure will start provisioning the resources. This typically takes under a minute.
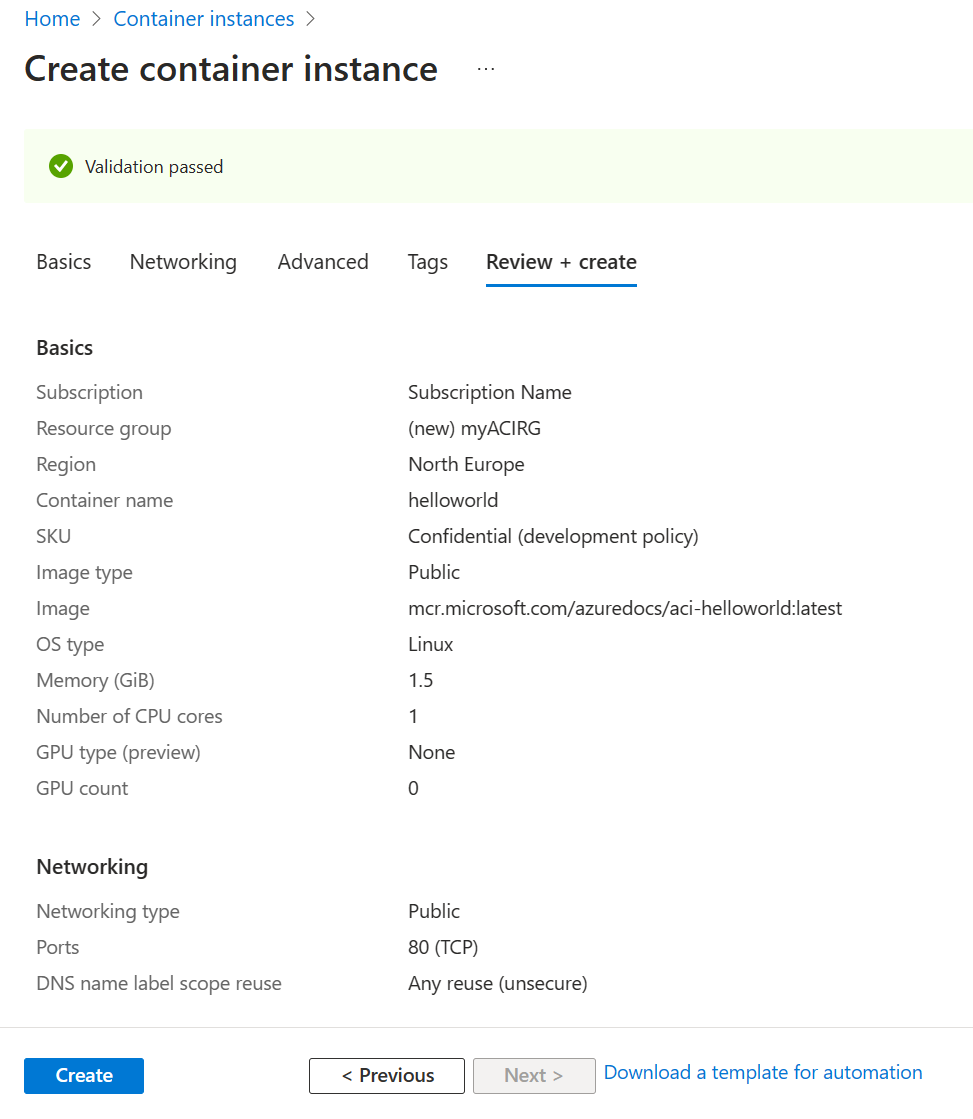
3. Verify and Troubleshoot
Once the command finishes, you need to verify that the deployment was successful and the application is running.
Quickstart - Deploy Docker container to container instance - Azure CLI
This quickstart guide demonstrates the verification steps, which apply perfectly to our deployment.
Focus on the sections Create a container (specifically the az container show part) and Pull the container logs. These commands are essential for checking the status and troubleshooting your running container.
Step 1: Check the Deployment State
Use az container show to check the status. The provisioningState should change from Pending to Succeeded.
az container show \
    --resource-group <your-resource-group> \
    --name my-dotnet-app \
    --query instanceView.state
Step 2: Access Your Application
Once the state is "Running", you can get the Fully Qualified Domain Name (FQDN) and open it in a browser.
# Get the FQDN
az container show \
    --resource-group <your-resource-group> \
    --name my-dotnet-app \
    --query ipAddress.fqdn --output tsv
Copy the resulting URL (e.g., your-unique-dns-name.eastus.azurecontainer.io) and paste it into your browser. You should see your .NET application running!
Step 3: View Container Logs
If something isn't working as expected, the first place to look is the container logs. This command streams the standard output from your container.
az container logs \
    --resource-group <your-resource-group> \
    --name my-dotnet-app
You should see the ASP.NET Core startup messages, confirming your application started correctly inside the container.
4. ACI in Your DevOps Workflow
Given your experience with Azure DevOps, you can see how this manual CLI command fits into an automated pipeline. The az container create command would typically be part of a Release Pipeline, executed by an AzureCLI task after a CI Pipeline has successfully built and pushed the new container image to ACR. ACI's fast startup time makes it excellent for creating review environments for pull requests or for deploying simple services.
Conclusion
Congratulations! You have successfully completed the full container workflow: from a local Dockerfile, to a private registry in ACR, and finally to a running application in Azure Container Instances.
Here are the key takeaways from today's lesson:
- Azure Container Instances (ACI) is a serverless service for running single Docker containers without managing VMs.
- The
az container createcommand is the primary tool for deploying containers to ACI via the CLI. - To deploy from a private registry like ACR, you must provide credentials using the
--registry-parameters. - You can expose your container to the web using the
--ip-address Publicand--dns-name-labelparameters. az container showandaz container logsare essential commands for verifying deployment status and troubleshooting.
In our next lesson, we will explore how to further configure your ACI instances by setting environment variables and restart policies, which allows you to customize container behavior for different use cases, such as long-running services versus one-off batch jobs.