Welcome back. In our previous lesson, you applied a rigorous set of criteria to transform your broad "rough edit" into a refined "shortlist." You've learned to think like an editor, evaluating each image not just for its standalone beauty, but for its conceptual relevance, visual strength, and narrative potential. Your shortlist is a potent collection of images, each with a defined purpose.
Today, we confront the most challenging and perhaps most vital step in the curatorial process. We will learn how to identify and eliminate the images we are most attached to, even when they are strong, if they do not serve the book's core concept. This is the discipline famously known in creative fields as "killing your darlings." It is the final, ruthless filter that ensures your photo book becomes a cohesive, resonant artistic statement rather than just a collection of your favorite pictures.
The Darling and the Damage Done
The phrase "kill your darlings" originated in writing, but it applies with equal force to photography. A "darling" is an image you love for reasons that are invisible to your audience. Perhaps it was incredibly difficult to capture, reminds you of a profound personal experience, or is simply a photograph you're immensely proud of on a technical level. Your emotional attachment creates a blind spot, making it difficult to judge the image objectively.

The danger is that these darlings, however beautiful, can disrupt the narrative flow, dilute your theme, and confuse the viewer. Including them can feel like adding a character from a different story or a sentence in a different language. To create a truly cohesive book, you must prioritize the project over the individual photograph.
To begin, let's explore this concept in more detail with a photographer who has navigated this very challenge.
You must delete the work you are most proud of
The video "You must delete the work you are most proud of" from the channel aows provides a thoughtful and direct exploration of this principle from a photographer's point of view.
Watch the first three minutes to understand the core argument. The introduction defines what a "darling" is in photography and why our emotional investment can be a liability. From this point, the creator explains why the context and memories behind a photo are inaccessible to the viewer, requiring us to evaluate the image on its own terms. Finally, in this segment, he shares a powerful personal example of cutting images he loved from his own book because they didn't serve the project without his personal context.
From Attachment to Objectivity: A Framework for Removal
As the video suggests, overcoming our personal bias is the central challenge. Your background in sculpture offers a powerful analogy here. A sculptor begins with a block of stone and must remove a great deal of material—some of it beautiful in its own right—to reveal the intended form. The final sculpture is defined as much by what was removed as by what remains. So too with a photo book; the final sequence gains its power and clarity from the disciplined removal of images that don't belong.
So, how do we identify which images to chip away? We need to learn to see our work through a stranger's eyes and develop a ruthless focus on the project's central theme.
141 How To Select and Organize Your Images (When Making A ...
This article from Wesley Verhoeve's Process newsletter offers a clear, practical take on "killing your darlings" while building a photo zine.
Please read the following sections: First, the section under the heading "Killing Your Darlings," which provides a succinct definition. Next, review the two example diptychs. Notice how the author clearly articulates why one fits the theme and the other, despite being a "classic case of 'killing your darlings'," had to be cut. Finally, read the third takeaway point, which serves as our mantra for this lesson: "Be ruthless in your selection."
This discipline is what separates a portfolio from a book. In a portfolio, you might showcase the breadth of your talent with many different types of images. In a book, consistency and cohesion are paramount. Even your single best photograph must be cut if it disrupts the narrative.
Let's hear a publisher and an experienced bookmaker discuss this exact problem.
How To Edit and Sequence Photo Projects & Books (ft. Noah Waldeck)
In this interview from Kyle McDougall's channel, publisher Noah Waldeck discusses the editing process for photo books. His perspective as an editor offers invaluable, objective insights.
Please watch these three key clips: First, watch the segment from this timestamp. Waldeck explains precisely why editing your own work is so difficult due to personal memories and associations, and why an outsider's perspective is so valuable. Next, a crucial point about book rhythm. Watch from this section, where the speakers discuss the temptation to only pick the "loudest" or "greatest hits" images, and the need for quieter, subtler moments that might be overlooked initially. Finally, watch this very important lesson from this short clip. Here, Waldeck states plainly that even if it's your very best image, it's better to let it go than to "shoehorn it in where it doesn't fit."
The key insight is that an image that feels "jarring" or "out of place" can be "damaging to the whole," as the PetaPixel article "Kill Your Darlings: The Challenge of Curating a Photo Project" concludes. Even if an image is a 10/10 on its own, its inclusion can make the entire book a 7/10. Your task is to protect the integrity of the whole.
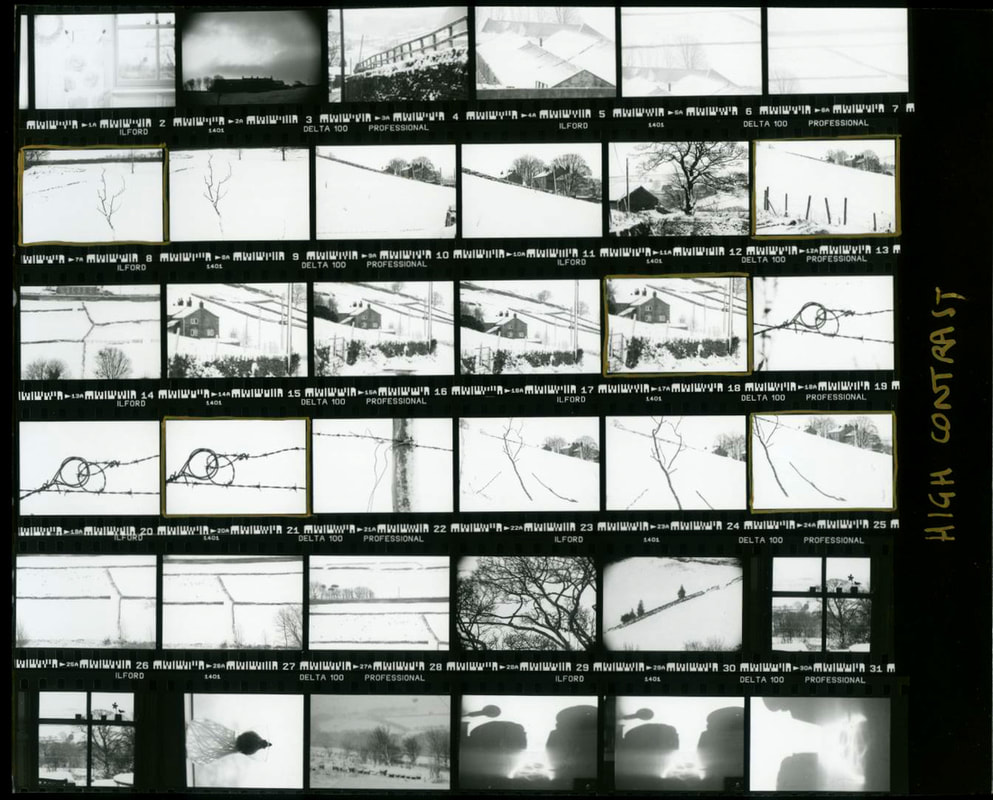
Your Turn: The Final Cut
It's time to perform this final, difficult cut on your 4-star shortlist. The goal is to move from a strong shortlist to a conceptually airtight final selection.
-
Re-center and Refocus: Place your artist statement and mood board from Module 2 in front of you. Read the statement aloud. This is your constitution. Every image that remains must adhere to it without exception.
-
The "One Must Go" Test: Look at your grid of 4-star images (in Lightroom, on a wall, or on a table). Ask yourself this question: If I were forced to remove just one image, which would be the first to go?
- Don't overthink it. Trust your gut. The one that gives you a flicker of doubt is likely a darling.
- Pull it out. Now, look at the remaining group. Does it feel stronger? More cohesive?
- Repeat this process. Be ruthless. Is there an image that's visually redundant? One that echoes another image's point but less effectively? One that is beautiful but speaks a slightly different visual language (e.g., a shift in light, mood, or subject that feels inconsistent)?
-
The Outsider's Perspective: As the resources advise, getting external feedback is one of the most effective ways to spot your darlings.
- Choose someone whose eye you trust—perhaps a colleague from your design or fine arts background.
- Show them your 4-star shortlist without any introduction or explanation.
- Ask them one simple question: "Which one of these things is not like the others?"
- Listen carefully to their choice and their reasoning. Because they have no emotional attachment, they will see the collection with the objective clarity you're striving for. The image they pick is very often a darling.
-
Finalize Your Selection: The images that have survived this rigorous process of removal constitute your final selection. These are the photographs that are not only strong individually but work together to serve your book's specific concept. In your editing software, you can now promote these to a 5-star rating. This is the body of work you will carry forward into sequencing. The images you've removed are not "bad"—they simply don't belong in this book.
Conclusion
In this lesson, you've tackled the most disciplined phase of curatorial editing. You have learned to identify and "kill your darlings"—those strong, beloved images that ultimately detract from the coherence of your project. By sacrificing these individual standouts for the good of the whole, you have refined your shortlist into a final, conceptually pure selection of images. This is no longer just a group of photos; it is the raw material for a singular, focused artistic statement.
With this final selection in hand, our task now shifts from choosing images to arranging them. In the next lesson, you will assemble these photographs into a preliminary sequence, beginning the process of building the visual narrative and rhythm that will define the viewer's journey through your book.