Introduction
In our last lesson, you did an excellent job organizing our project into a professional folder structure, separating the routes from the main server logic. However, if you look at src/server.js, you'll notice we still have a hardcoded value: const PORT = 3000;. Hardcoding configuration values like ports, database connection strings, or API keys is a critical mistake in professional development and on your certification exam. It makes the application inflexible and insecure.
This lesson will teach you the industry-standard method for managing this type of configuration: environment variables. You will learn how to use the dotenv package to load configuration from a .env file, keeping your secrets out of your source code and making your application adaptable to different environments (like your local machine vs. a live production server).
The Problem: Hardcoded Configuration
Hardcoding values directly in your code is problematic for two main reasons:
- Inflexibility: If you deploy your application to a service that requires it to run on a specific port, you'd have to change your code and redeploy. Configuration should be separate from code.
- Security: Committing files with sensitive information like database passwords or API keys to a public repository like GitHub is a major security breach.
The solution is to store these values in the environment where the application runs. For local development, we simulate this using a special file and a handy package called dotenv.
Implementing dotenv for Environment Variables
Let's get straight to the implementation. We will install dotenv, create a file to hold our port number, and update our server to use it. The following video provides a concise, practical walkthrough of this exact process.
How to use environment variables with Node.js - dotenv tutorial
This video, 'How to use environment variables with Node.js,' will guide you through the entire process. We'll follow its steps to integrate dotenv into our project.
Watch from 02:01 to 10:08. The video covers: Installing dotenv (npm install dotenv). Creating the .env file and defining a variable. Loading the variables with require('dotenv').config(). Accessing variables with process.env. A practical example of using it for the server port.
Your Turn: Step-by-Step Implementation
Now, apply what you saw in the video to our project. Follow these steps precisely.
Step 1: Install dotenv
In your terminal, at the root of your backend-api project, run this command:
npm install dotenv
Step 2: Create the .env File
This is one of the few files that belongs in the root directory of your project, not in the src/ folder.
-
Create a new file named
.envin the root ofbackend-api/. -
Add the following line to the file. We'll use a different port number,
8080, to make it obvious that our change is working. By convention, environment variable names are in all caps.# .env PORT=8080
Your project structure should now look like this:
backend-api/
├── node_modules/
├── src/
│   ├── middleware/
│   ├── models/
│   ├── routes/
│   │   └── bookRoutes.js
│   └── server.js
├── .env          <-- Your new file
├── package.json
└── package-lock.json
Step 3: Configure server.js to Use dotenv
Open src/server.js. You need to make two changes:
- Load
dotenv: At the very top of the file, before any other code, add the line that loads and configuresdotenv. This is crucial because it populatesprocess.envwith the variables from your.envfile. - Use the variable: Find the line where
PORTis defined and change it to read fromprocess.env. It's a best practice to provide a default value (like3000) using the||(OR) operator, in case thePORTvariable isn't defined in the environment.
Your updated src/server.js should now look like this:
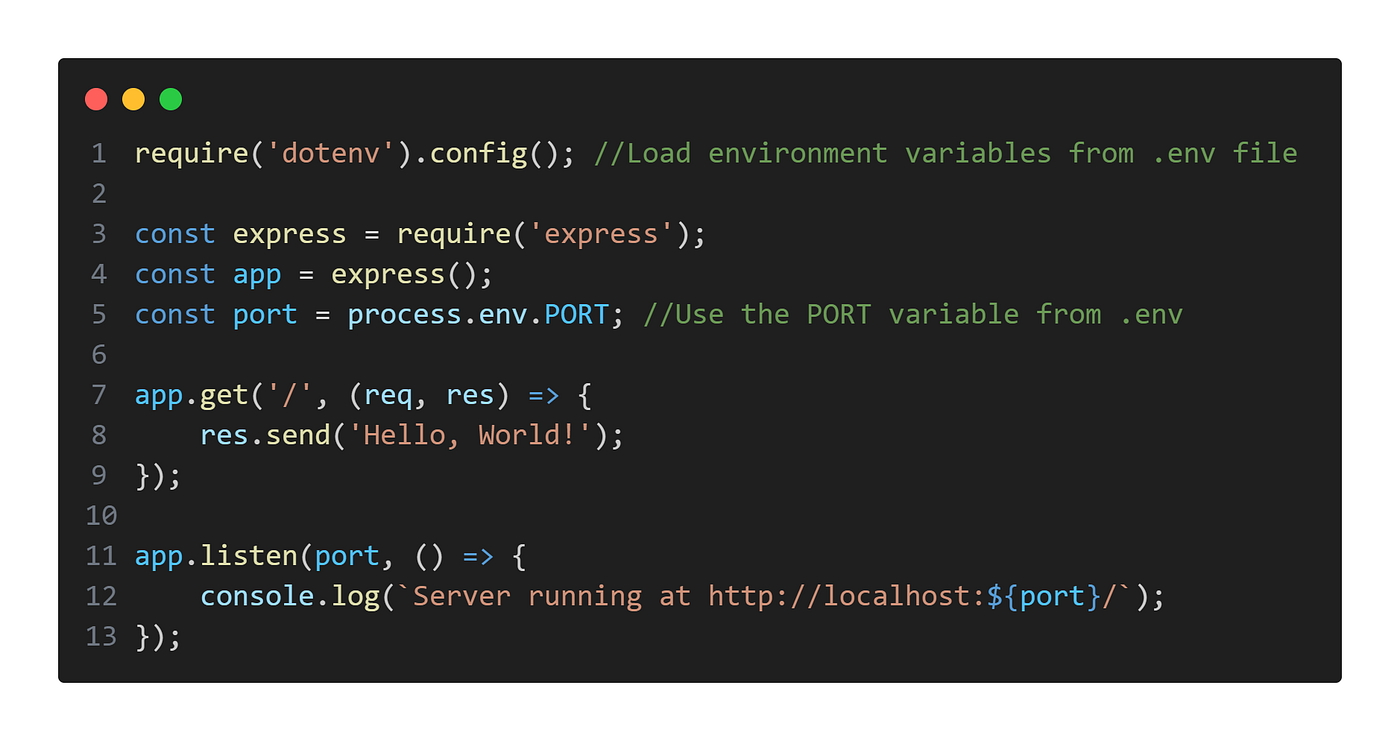
Here's the full code for src/server.js for you to copy or reference:
// src/server.js
require('dotenv').config(); // Loads variables from .env file

const express = require('express');
const bookRoutes = require('./routes/bookRoutes');

const app = express();
// Use the port from environment variables, or default to 3000
const PORT = process.env.PORT || 3000;

app.use('/api/books', bookRoutes);

app.listen(PORT, () => {
  console.log(`Server is running on http://localhost:${PORT}`);
});
Step 4: Test Your Changes
Run the server again from the root directory: node src/server.js.
You should see the following output in your console, confirming that the server is now running on the port defined in your .env file:
Server is running on http://localhost:8080
You've successfully externalized your server's configuration!
The Golden Rule: Never Commit Your .env File
This is the most important rule when working with environment variables. Your .env file contains configuration specific to your machine and will later hold sensitive secrets like database credentials. It must never be committed to version control (e.g., Git/GitHub).
The following article explains this critical point clearly.
Set up and Test a Dot Env (.env) File in Node
Please read the short section in this article from HeyNode that explains why you must not commit your .env file.
Read the section titled 'Do not commit your .env file'. It's a short but vital piece of information that directly prepares you for our next step.
On an exam, accidentally submitting a .env file or any hardcoded secrets is an automatic failure. In the next lesson, we'll configure our project to ensure this mistake can't happen.
Conclusion
In this lesson, you took a major step toward building a professional, production-ready application. You learned how to separate configuration from code using environment variables and the dotenv package. This is a fundamental skill for backend development.
Key Takeaways:
- Hardcoding configuration like ports or API keys is insecure and inflexible.
- The
dotenvpackage loads variables from a.envfile intoprocess.env. .envshould be created in the project's root directory.require('dotenv').config()must be called at the very top of your application's entry file.- You access environment variables via
process.env.VARIABLE_NAME. - Most importantly: The
.envfile must never be committed to version control.
In the next lesson, we will set up a .gitignore file. This simple but powerful configuration file tells Git which files and folders to ignore, ensuring that node_modules/ and your secret .env file are never included in your project submissions or commits.