Hello! In the last lesson, you built the recovery routine that replays the Write-Ahead Log to restore our database after a crash. This completed the core durability mechanism, ensuring that once an operation is logged, it survives failures. Now, we must prove it works.
Manually running the program and killing it is a good start, but it's not a substitute for rigorous, automated testing. How can we be sure our recovery logic handles all edge cases, like a crash happening after only half a log entry is written? To build a truly robust system—the kind of "hardcore" project you're aiming for—we need an equally hardcore test suite.
This lesson focuses on exactly that: writing a formal test to verify the integrity of your data after a crash and recovery cycle. You will learn to design and implement a test harness that systematically simulates a failure, triggers the recovery process you just built, and then automatically validates that the recovered state is perfectly consistent.
The Discipline of Fault Injection
What we are about to do is a form of fault injection, a testing technique where faults are deliberately introduced into a system to observe its response. The goal is to move from random, hopeful testing to a systematic exploration of failure modes.
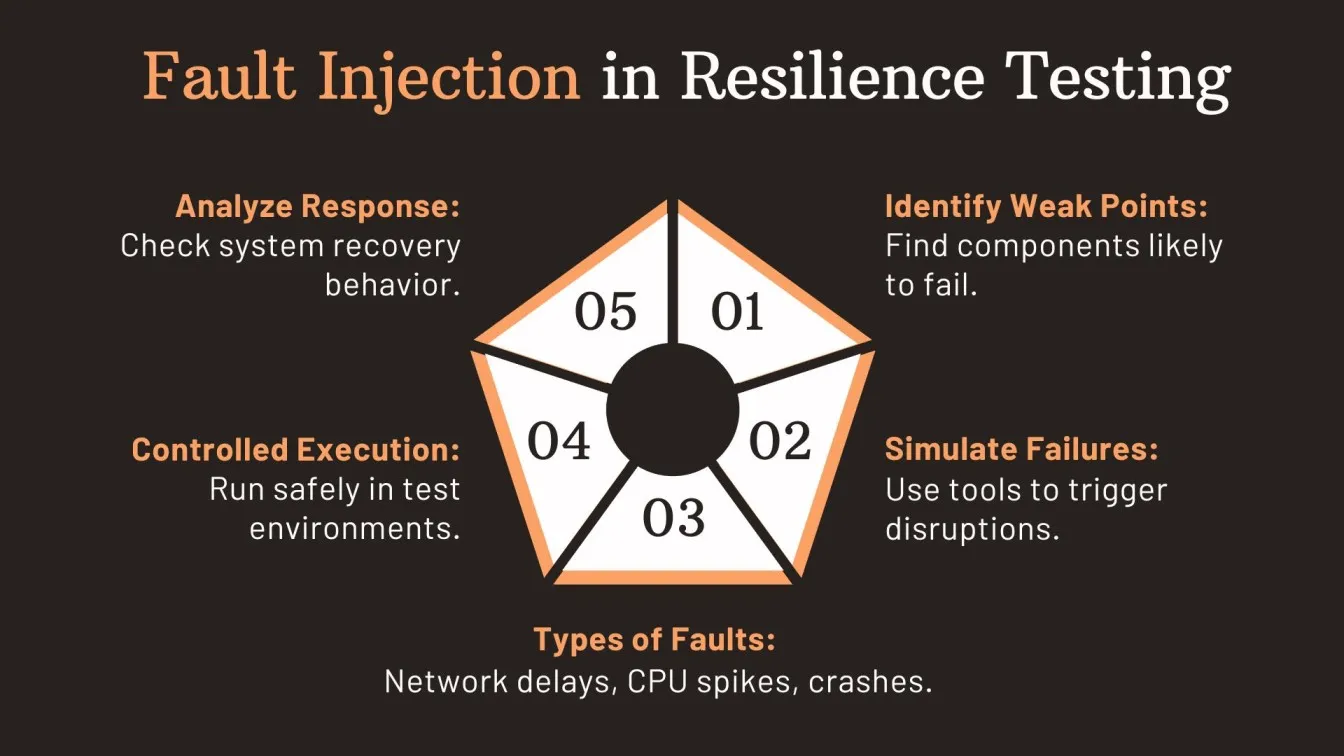
Designing effective fault injection tests for databases is a deep and fascinating area of systems research. The fundamental challenge is that bugs often only appear under very specific and rare timing conditions. A famous academic paper on this topic, "Torturing Databases for Fun and Profit," explores how to systematically find these bugs.
[PDF] Torturing Databases for Fun and Profit - USENIX
This paper presents a framework for testing database reliability by systematically injecting simulated power faults. Its methodology is the gold standard for this kind of testing.
Start by reading the section on "Worker and Checker". This introduces the key pattern we will follow: a "worker" performs operations, and a "checker" verifies the database state after a fault. Then, read the details of Workload 1 and its checker. This simple workload—inserting a batch of rows in a single transaction—and its "all-or-nothing" verification logic is a perfect model for the test we are about to build. Finally, in the "Fault Injection Policy" section, read about the , which tests every possible failure point. While we won't be quite this exhaustive, it demonstrates the ideal level of rigor.
Inspired by this research, our test will have two main components:
- The Worker: A process that attempts to insert a series of vectors into the database, generating WAL entries.
- The Test Harness/Checker: The main process that launches the worker, forcefully kills it to simulate a crash, and then verifies the recovered database state.
Designing the Test Harness
To create a clean, repeatable test, we can borrow the structural concepts from specialized file-system testing frameworks like CrashMonkey. These frameworks formalize the test into distinct phases.
[PDF] A Framework to Systematically Test File-System Crash Consistency
This paper describes a framework for testing file system crash consistency. Its design provides an excellent template for structuring our own test harness.
Read the section on the Anatomy of a Test Case, focusing on the three key methods: setup(), run_workload(), and check_test_eval(). This separation of concerns is a powerful design pattern. Then, read about how these methods are used in the test harness by reviewing the Setup and Profiling phases, and the section on Evaluating Crash States. This workflow is precisely what we will implement.
Our test harness will orchestrate the entire process using this setup -> run -> check model.
-
setup(): The test harness prepares for the test run.- It deletes any pre-existing database and WAL files (
db.hnsw,db.wal). - It initializes a fresh, empty database and serializes it. This creates our known-good starting point.
- It generates, in memory, a list of vectors that the worker process will attempt to write. This list will serve as our ground truth later.
- It deletes any pre-existing database and WAL files (
-
run_workload(): The harness spawns a child process (the "worker").- The child process loads the database and begins inserting the vectors one by one.
- Meanwhile, the parent process (the harness) waits for a short, random amount of time and then forcefully terminates the child using
kill(pid, SIGKILL).SIGKILLcannot be caught or ignored, making it an excellent simulation of an instantaneous power failure.
-
check_test_eval(): The harness verifies the outcome.- The harness now has two artifacts from the crash: the main database file (which is likely stale) and the WAL file (which may be partially written).
- The crucial step: The harness must determine the "correct" state. The source of truth is the WAL file itself. Any complete, valid entry in the WAL represents a committed operation.
- The harness reads the
db.walfile left behind by the worker, parsing all valid entries and collecting their vector IDs. - Finally, the harness starts a new database instance, which triggers our
database_recoverroutine. It then queries this recovered database for every vector ID it found in the WAL. Every single one must be present. It can also query for vectors that were not in the WAL to ensure they weren't partially inserted.
If all checks pass, the recovery was a success.
Implementing the Crash-and-Verify Cycle
In C, we can use POSIX process control functions like fork(), kill(), and waitpid() to build our harness. Here is a conceptual skeleton of the test program:
#include <stdio.h>
#include <stdlib.h>
#include <unistd.h>
#include <sys/wait.h>
#include <signal.h>
#include <time.h>
#include <string.h>

// Assume these functions are defined in your project
void setup_initial_database();
void run_worker_process(int num_vectors_to_insert);
int verify_recovered_state(int num_vectors_attempted);

void run_crash_test() {
    printf("--- Running Crash Test ---\n");

    // 1. Setup Phase
    printf("Setting up clean database state...\n");
    setup_initial_database();
    int num_vectors_to_insert = 100;

    // 2. Run Workload Phase (in a child process)
    pid_t pid = fork();

    if (pid == -1) {
        perror("fork failed");
        exit(EXIT_FAILURE);
    }

    if (pid == 0) {
        // --- Child Process (Worker) ---
        // Seed random number generator differently from parent
        srand(time(NULL) ^ getpid());
        run_worker_process(num_vectors_to_insert);
        // Should never be reached if crash is successful
        exit(0);
    } else {
        // --- Parent Process (Test Harness) ---
        // Let the child run for a bit, then simulate a crash
        // A short, random sleep makes the crash point non-deterministic
        usleep((rand() % 500) * 1000); // Sleep for 0-500 ms

        printf("Simulating crash by sending SIGKILL to worker PID %d...\n", pid);
        kill(pid, SIGKILL);

        // Wait for the child process to be reaped by the system
        int status;
        waitpid(pid, &status, 0);
        if (WIFSIGNALED(status) && WTERMSIG(status) == SIGKILL) {
            printf("Worker process terminated by SIGKILL as expected.\n");
        } else {
            fprintf(stderr, "WARN: Worker process did not terminate via SIGKILL.\n");
        }

        // 3. Check/Verify Phase
        printf("Verifying recovered state...\n");
        int success = verify_recovered_state(num_vectors_to_insert);

        if (success) {
            printf("--- Test Passed: Recovered state is consistent. ---\n");
        } else {
            fprintf(stderr, "--- TEST FAILED: Recovered state is INCONSISTENT. ---\n");
        }
    }
}

int main() {
    srand(time(NULL));
    run_crash_test();
    return 0;
}
The most complex part is verify_recovered_state(). Its logic must be flawless:
- Open the
db.walfile. - Create a data structure (e.g., a hash set or a simple array) to store the
vector_idof every valid entry you can read from the WAL. Yourwal_read_nextlogic from the previous lesson is perfect for this. Stop reading at the first sign of corruption (CRC error, short read), as that's what the real recovery process does. - Now, create a new HNSW instance. This action will implicitly call your
database_recover()function. - For each
vector_idyou collected from the WAL, perform a search in the recovered HNSW index. Every search must succeed. - Optionally, for a few vectors that were planned for insertion but whose IDs are not in your collected set (meaning they were never fully written to the WAL before the crash), perform a search. These must fail.
- If all checks pass, return success.
This cycle of corrupting data, running a repair/recovery function, and checking the result is a standard pattern for testing durable systems. The Go-based WAL implementation we looked at in the last lesson includes a test that does exactly this.
How to build a Durable Write Ahead Log in Go | Segmentation, Auto Recovery, Checksums
This video on building a WAL in Go provides a great, concise example of a test for the recovery logic.
Rewatch the section that walks through the repair test. Notice the pattern: "open the log, write a couple of entries, purposefully corrupt the data, and then run the repair... check that the correct entries were still recovered." This is the exact logic you are now implementing in C for your own system.
The Path to Deeper Testing
Our fork/kill approach is a powerful and practical way to test crash safety. For a project of this scope, it is an excellent demonstration of robust engineering. In industrial-scale systems like FoundationDB, this philosophy is taken to its logical extreme with fully deterministic simulation, allowing developers to reproduce even the rarest concurrency and network bugs.
"Testing Distributed Systems w/ Deterministic Simulation" by Will Wilson
This talk from Strange Loop is a fascinating look at how FoundationDB tests its distributed database using deterministic simulation. It will give you a deeper appreciation for the challenges of building reliable systems.
Watch the speaker describe how they use test files to specify system goals and invariants (like preserving a ring structure) and then introduce various types of failures. Then, see how they find bugs faster by increasing failure frequency and using "bug-ification" to randomly change code behavior to expose incorrect assumptions.
While we won't build a full deterministic simulator, the core idea—defining an invariant and then throwing failures at the system to try and break it—is exactly what your new test accomplishes.
Conclusion
You have now designed and implemented a complete, automated test for the durability and recovery features of your vector database. This is a significant milestone that elevates your project far beyond a simple implementation of an algorithm. You have shown that you can not only build complex systems but also rigorously verify their correctness under failure conditions—a skill that is highly valued in any low-level or systems engineering role.
Key Takeaways:
- Systematic Testing: Automated testing is essential for verifying crash-consistency. Manual, ad-hoc tests are insufficient.
- Test Harness Design: The
setup,run_workload,checkpattern provides a clean structure for a crash-consistency test. - Fault Injection: Simulating crashes using
fork()andkill(pid, SIGKILL)is an effective and practical method for testing recovery logic. - Source of Truth: The state of the Write-Ahead Log after the crash is the ground truth. The recovered database state must match the committed entries in the WAL exactly.
With a robust, well-tested backend taking shape, our next step is to make it usable by other programs. In the next module, we will shift our focus to API design and packaging, where you will learn how to wrap your HNSW implementation into a professional, shareable C library.