Hello! Welcome to the first lesson of our project module on sculpting an abstract form.
In our last lesson, we learned the powerful Join + Remesh workflow, which allows us to combine multiple simple shapes into a single, seamless mesh. This is a crucial technique for building complex foundations for our sculptures.
Today, we're putting that knowledge aside for a moment to focus on the very first step of many sculpting projects: blocking out a primary abstract shape from a single primitive object. This lesson marks the beginning of our first major project. We'll concentrate on establishing the main form and silhouette, the "big picture" of our sculpture, using two of the most fundamental brushes in your toolkit: the Grab brush and the Draw brush.
For someone with your background in physical sculpture, this process should feel very intuitive. It's the digital equivalent of taking a single block of clay or stone and shaping its main contours before you even think about carving in the details.
1. What is "Blocking Out"?
Blocking out is the initial phase of sculpting where the goal is to define the most basic shape, proportions, and silhouette of your subject. We ignore small details and focus entirely on the overall form. This approach has several advantages:
- It's fast: You can explore ideas and make major changes to the form quickly.
- It establishes a strong foundation: A good blockout leads to a more compelling final sculpture.
- It aligns with traditional principles: It follows the classic workflow of working from large forms to small details.
Our tools for this stage will be simple but powerful. Let's get started.
2. Setting Up Your Sculpting Workspace
For this project, we'll begin with a fresh Blender file.
- Open Blender. On the splash screen, select New File > Sculpting. This template automatically gives you a subdivided cube and sets you up in Sculpt Mode, which is a perfect starting point.
- Enable Symmetry: Most abstract and character sculpts start with symmetry. This allows you to work on both sides of your model simultaneously. In the header of the 3D Viewport, find the symmetry options (often represented by butterfly-wing icons) and make sure X is enabled.

Enable X-axis symmetry in the header to mirror your brush strokes.
3. The Core Tools for Blocking Out
While there are dozens of brushes, the blockout phase relies heavily on just a few. We will focus on two: the Grab brush for the overall shape and the Draw brush for adding and subtracting mass.
The Grab Brush: Defining the Silhouette
The Grab brush is your primary tool for making large-scale changes. It doesn't add or remove material; it simply pushes and pulls the existing geometry. Think of it as grabbing a handful of clay and pulling it into a new position.
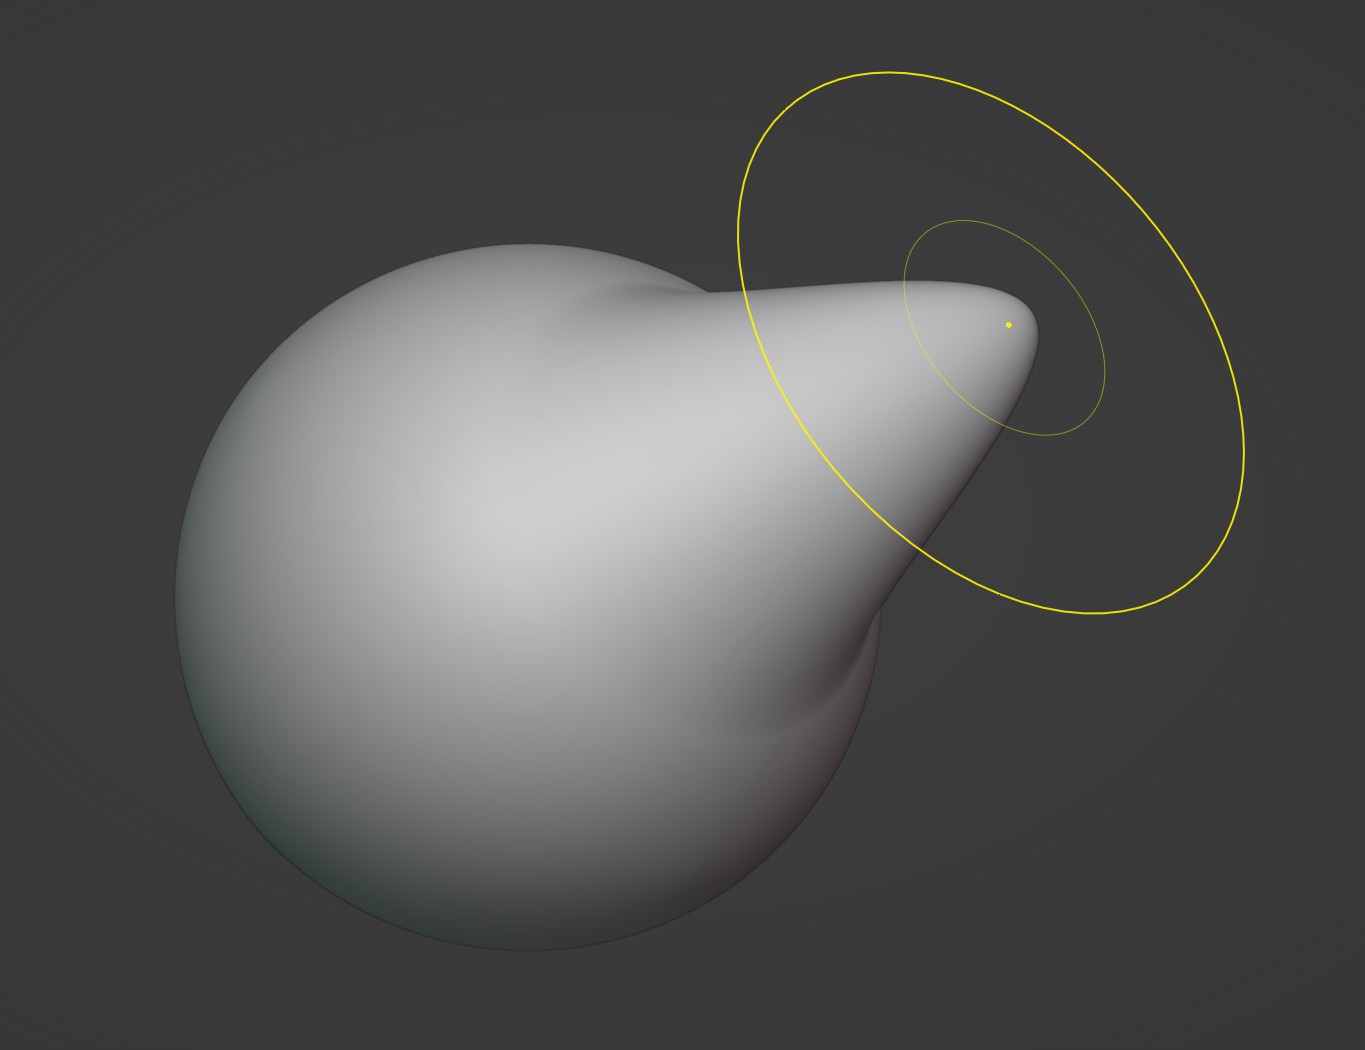
To see how effective this is, let's watch a short explanation.
Master Blender Sculpting: Every Brush Explained
Grant Abbitt provides a clear demonstration of the Grab brush and, crucially, highlights the need to remesh after using it.
Please watch from 19:47 to 20:32. Notice how the Grab brush is used to make large changes and how the narrator immediately points out that you'll need to remesh to fix the stretched geometry.
The Draw Brush: Adding and Subtracting Mass
Once you have a rough silhouette, the Draw brush is used to build up forms or carve into them.
- By default, it adds volume, like adding a coil of clay to your sculpture.
- By holding
Ctrl, you invert its function, allowing it to subtract or carve away volume.

This interplay between adding and subtracting is fundamental to sculpting.
4. Essential Controls You'll Use Constantly
To work efficiently, you need to master three keyboard shortcuts. These work for almost every brush in Blender.
F+ drag mouse: Changes the brush Size (Radius).Shift+F+ drag mouse: Changes the brush Strength.Ctrl+ Brush Stroke: Inverts the brush's effect (e.g., from adding to subtracting).
Let's watch a quick video that demonstrates these essential shortcuts in action.
How To Start SCULPTING In BLENDER 4.3 || Brushes, Tools & My Process
The channel BlankFaceStudios has a tutorial that clearly explains these vital shortcuts.
Watch from 10:44 to 12:27. The video demonstrates how to change brush size and strength, and how to use the Ctrl key to invert the Draw brush to carve into the surface.
5. The Blockout Workflow in Action
The typical blockout workflow is a loop:
- Use the Grab brush with a large size to pull the silhouette into an interesting shape.
- Use the Draw brush to build up primary masses or carve out large areas.
- As the mesh becomes stretched, use the Voxel Remesher (
Ctrl + R) to regenerate clean, even geometry. - Use the Smooth brush (
Shift+ brush) to soften any rough areas. - Repeat.
It's crucial to avoid focusing on details. Keep your brushes large and your movements bold. Rotate your view constantly to ensure the form looks good from all angles.
The following video clip is a perfect demonstration of this initial blockout process. Even though the subject is a creature head, the principle is exactly the same for an abstract form.
How To Start SCULPTING In BLENDER 4.3 || Brushes, Tools & My Process
Let's watch the blockout phase of a sculpt. Pay close attention to how the artist uses the Grab brush for the main shape before adding any detail, and the explicit advice to leave Dyntopo off at this stage.
Watch from 23:22 to 24:58. Notice how: The artist starts with a sphere and uses the Grab brush to establish the primary form. They explicitly state that Dyntopo is left off during blockout to focus on the main shape. They frequently rotate the view to check the form from all sides. After the main form is established, they turn on Dyntopo and use the Draw brush (and its inverse with Ctrl) to add the next level of form (the ridges).
6. Hands-On Practice: Your First Abstract Blockout
Now it's your turn. The goal here is exploration, not perfection.
- Start a new Sculpting file in Blender. You'll begin with a subdivided cube.
- Ensure X-Symmetry is on.
- Select the Grab brush. Press
Fand make the brush size quite large (covering about half the object). - Pull and push the geometry. Try to break the cubic silhouette. Make it asymmetrical from the front view if you like by pulling one side more than the other. Rotate your view often!
- Switch to the Draw brush. Use it to build up a large mound on one side. Then, hold
Ctrland carve a large cavity into another area. - Look at your mesh. Do you see large, stretched-out polygons? That's your cue to remesh. Press
Rto set the voxel size (a medium density is fine for now), then pressCtrl + Rto apply the remesh. - Hold
Shiftto activate the Smooth brush and gently go over some of the rougher areas to unify them. - Continue this process for 10-15 minutes. Don't try to make anything specific. The goal is to get a feel for the rhythm of
Grab -> Draw -> Remesh -> Smooth.
Conclusion
Congratulations on starting your first abstract sculpture project! You've learned the fundamental concept of blocking out and have practiced using the core tools to achieve it.
Key Takeaways:
- Blocking out is the first, detail-free stage of sculpting, focused on establishing the main form and silhouette.
- The Grab brush is the primary tool for making large-scale changes to your model's shape.
- The Draw brush is used to add or subtract mass. Use
Ctrlto invert its effect. - The workflow often involves a loop of shaping with brushes and then using Remesh (
Ctrl + R) to clean up stretched geometry. - Always work from large forms to small details.
Next Steps
In this lesson, you created a primary form from a single primitive. In our next lesson, we will expand on this by learning how to combine multiple primitive shapes into a single complex object. This will allow you to block out much more intricate compositions, bringing together the skills from this lesson and the previous one.