Introduction
Welcome to our new project module: Hard-Surface Sculpting! In the previous module, we built a solid foundation in non-destructive modeling. Your last lesson was the capstone of that, where you learned how to "apply" a modifier stack to transform a procedural design into a permanent, sculptable base mesh. This is like finalizing the blueprints for a building before laying the first brick.
Today, we're going to start drawing those blueprints. This lesson focuses on the first, and perhaps most important, stage of creating a hard-surface model: creating a blockout model using primitive shapes and Boolean modifiers.
Think of this as the initial massing stage in physical sculpture. You wouldn't start carving the fine details of a face before you've established the basic shape of the head. Similarly, in digital sculpting, we first "block out" the model's main forms, silhouette, and proportions using simple geometric shapes. This allows us to focus purely on the overall design without getting lost in the details.
1. The "Blockout" Philosophy: Form Before Detail
The blockout stage, sometimes called "greyboxing," is about quickly prototyping your idea. By using simple primitive shapes like cubes, cylinders, and spheres, you can assemble complex forms rapidly and make design decisions efficiently.
This workflow is fundamental to creating hard-surface objects like machinery, vehicles, and architecture. It forces you to think about the major shapes and how they interact before committing time to intricate details.
This Will 10X Your Modeling Speed | Greyboxing
To get a clear understanding of this concept, let's watch this short video from InspirationTuts. It explains what greyboxing is and why it's such a crucial, time-saving step in 3D creation.
Watch from the beginning until 04:24. Focus on the core ideas: using simple shapes to establish a rough representation, testing the design early, and saving time by focusing on the 'whole picture' first.
As you can see, the goal is not to create a finished model, but a strong foundation. This process lets you experiment with shapes and composition freely.
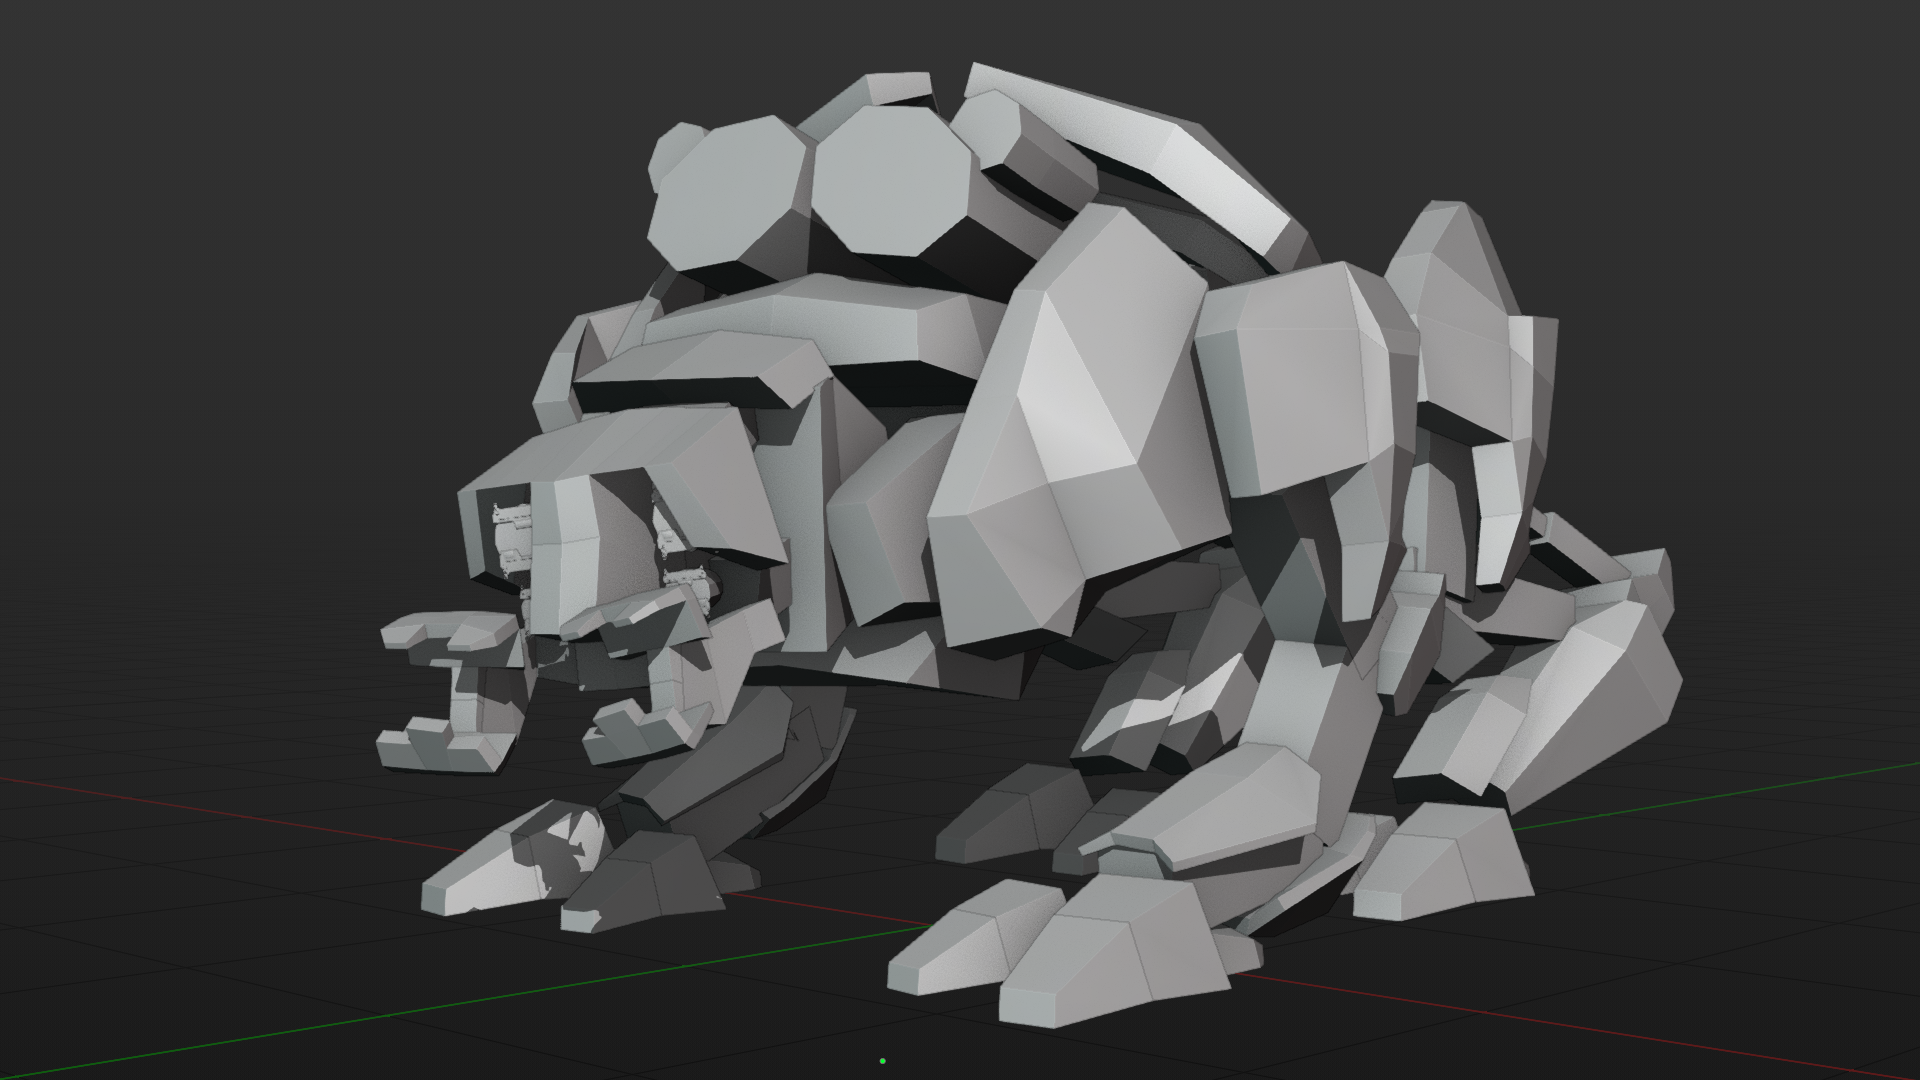
The process of building forms from primitives is often called box modeling, and it's the cornerstone of hard-surface design.
How to Make Game Assets in Blender?
This article from Game Design Skills gives a great definition of hard-surface modeling and box modeling.
Please read sections 2 ('Determine modeling type') and 3 ('Model the high-poly version'), focusing on the paragraphs that describe hard-surface modeling, box modeling, primitives, and the Boolean modifier. This will solidify the terminology for our workflow.
2. The Blockout Toolkit
To create our blockout, we'll be using tools you're already familiar with, but we'll be combining them in a more focused, creative way.
Our primary tools are:
- Primitives (
Shift + A): These are our building blocks. We'll use cubes, cylinders, spheres, etc., to construct our model. - Transformations (
G,R,S): We'll move, rotate, and scale our primitives into place to define the overall form. - Modifiers:
- Mirror: Essential for creating symmetrical models efficiently. You'll only need to work on one side, and the modifier will handle the other.
- Boolean: This is the key to creating complex shapes. We'll use it to combine (
Union) and subtract (Difference) our primitive shapes, creating intricate cuts and additions.
3. Efficient Boolean Workflows
In our last module, you learned how to apply a single Boolean modifier. However, a typical hard-surface model might have dozens of cuts and additions. Adding a separate Boolean modifier for every single operation is slow and clutters your modifier stack. Let's learn two powerful techniques to speed this up.
Technique 1: Using Collections for Multiple Booleans
You can use a single Boolean modifier to manage an entire group of cutting objects. The process is simple:
- Group all your "cutter" objects into a Blender Collection.
- Add one Boolean modifier to your main object.
- Set the operand type from
ObjecttoCollectionand select the collection you just created.
Now, any object you add to that collection will automatically be part of the Boolean operation.
How to Use the Boolean Modifier in Blender (Tutorial)
This video from Ryan King Art provides a clear, concise demonstration of this collection-based method, as well as a fantastic tool that makes the process even faster.
First, watch from 04:52 to 06:00 to see how to use a Collection for Booleans. Then, continue watching from 06:00 to 07:46 to learn about the 'Bool Tool' addon, which we'll discuss next. This is a game-changer for hard-surface modeling.
Technique 2: The "Bool Tool" Add-on
As you just saw in the video, Blender has a built-in add-on called Bool Tool that dramatically speeds up Boolean operations. Since you are focused on hard-surface modeling, this is an essential tool to enable.
To enable it:
- Go to
Edit>Preferences. - Go to the
Add-onstab. - Search for "Bool Tool" and check the box next to
Object: Bool Tool. - Click the hamburger menu (☰) at the bottom-left and select
Save Preferences.
Once enabled, you can use simple keyboard shortcuts:
- Select your "cutter" object(s) first.
Shift-select your main "base" object last.Ctrl + Numpad -: Creates aDifferenceBoolean.Ctrl + Numpad +: Creates aUnionBoolean.
This automatically adds the modifier and sets the object display for the cutter to 'Wire' so you can see the result, all in one step.
4. Hands-On Practice: Blockout a Sci-Fi Crate
Let's put this all together by creating a blockout for a simple sci-fi crate. This exercise will cement the workflow of combining primitives with the Bool Tool.
-
Create the Main Body:
- Start with the default Cube. Scale it into a rectangular crate shape (e.g.,
SthenYto scale on the Y-axis). This is your base object.
- Start with the default Cube. Scale it into a rectangular crate shape (e.g.,
-
Make Subtractive Cuts:
- Add a new Cylinder (
Shift + A> Mesh > Cylinder). - Rotate it 90 degrees on the X-axis (
R>X>90). - Scale it down and move it so it intersects with one of the side faces of your crate. This will be our cutter.
- Select the Cylinder, then
Shift-select the crate. - Press
Ctrl + Numpad -. You should now see a cylindrical cut in your crate. The cylinder object is still there and can be moved, scaled, or even duplicated (Shift + D) to create more cuts.
- Add a new Cylinder (
-
Make Additive Shapes:
- Add a new Cube (
Shift + A> Mesh > Cube). - Scale it into a thin, flat panel shape.
- Move it so it sits on the surface of your crate, like an access panel or armor plate.
- Select the new panel, then
Shift-select the crate. - Press
Ctrl + Numpad +. The panel is now joined to the crate with aUnionBoolean.
- Add a new Cube (
-
Experiment!
- Continue adding and subtracting shapes. Try making beveled cuts by creating a cube, tabbing into Edit Mode, beveling some edges (
Ctrl + B), and then using that as a cutter. - Remember, this entire structure is non-destructive. You can select any of your cutter objects (which are now displayed as wireframe boxes) and move, rotate, or scale them, and the blockout will update in real-time.
- Continue adding and subtracting shapes. Try making beveled cuts by creating a cube, tabbing into Edit Mode, beveling some edges (
Spend about 15-20 minutes building your own unique crate design. Focus on creating interesting large and medium-sized shapes. Don't worry about small details.
Conclusion
Excellent work. You've just taken the first and most crucial step in our hard-surface project. By focusing on the blockout, you've created a solid design foundation that you can build upon. This workflow allows for immense creative freedom while keeping the process organized and efficient.
Key Takeaways:
- Blocking out is the process of building a model's main forms using primitive shapes before adding detail.
- This workflow relies on primitive objects combined with transformations and Boolean modifiers.
- The Bool Tool add-on is an essential time-saver for hard-surface modeling, providing shortcuts for
DifferenceandUnionoperations. - The final blockout model is a non-destructive assembly, meaning you can still edit, move, and change all the individual pieces.
Next Steps
Your sci-fi crate currently exists as a collection of separate objects and modifier instructions. It looks like a single object, but it isn't "solid" yet. In our next lesson, we will transition the blockout model into a sculptable mesh by applying modifiers and remeshing. We will take our flexible blueprint and cast it into a single, solid piece of digital clay, ready for the detailed sculpting work to begin.