Welcome to the final lesson of our first module, "Python Foundations for AI Engineering." Over the past several lessons, we've covered the essential skills you'll need, from Python's core data types and functions to handling JSON and making API calls with the requests library. Today, we'll put all these pieces together to achieve our first major project milestone.
This lesson is all about setting up the professional foundation for our grasp.study clone. You will initialize a complete project repository, establishing a clean, organized, and reproducible environment. This isn't just about creating folders and files; it's about applying software engineering best practices from day one, something that will be familiar from your experience with the MERN stack and version control. By the end, you will have a solid launchpad for all the exciting AI features we'll build in the upcoming modules.
Why a Standard Project Structure Matters
Before we start typing commands, it's important to understand why we're doing this. A well-organized project is easier to navigate, debug, and extend. It allows collaborators (including your future self) to quickly understand where to find code, where to add new features, and how the different parts of the system interact.
In Python, there are established conventions for structuring projects. Let's look at the foundational concepts.
project layout | Python Best Practices
This guide from Real Python provides an excellent overview of standard Python project layouts and the purpose of common files and directories.
Please read the following sections: Start with the introductory text that distinguishes between a src/ vs. flat layout. For our application, we will start with a flat layout, but it's good to be aware of the src/ alternative for future projects. Review the table of common components. You'll see many familiar items like README.md, but also Python-specific ones like pyproject.toml (a modern configuration file we'll touch on later) and the tests/ directory. Finally, examine the visual examples under "Avoid this:" vs. "Favor this:". This powerfully illustrates how a structured layout enhances clarity.
The key takeaway is that a predictable structure isn't arbitrary; it's a professional convention that accelerates development and reduces complexity.
Building Your Project Skeleton: A Step-by-Step Guide
Now, let's get our hands dirty and build this structure from the ground up. Open your terminal, and we'll walk through this together.
1. Create the Project Directory
First, create a main folder for your project and navigate into it.
mkdir grasp_clone
cd grasp_clone
2. Initialize a Git Repository
As you know from your experience with Git, version control is non-negotiable. Let's initialize a local repository.
git init
The ZazenCodes channel has a video that quickly shows these initial steps, which might be a helpful visual refresher.
Basic Project Structure for a Python App
This video demonstrates the very first step of initializing a project.
Watch the short segment from the beginning where git init is run.
3. Create a .gitignore File
A .gitignore file tells Git which files and folders it should ignore. This is crucial for keeping your repository clean and secure. You don't want to commit your virtual environment, cached files, or any files containing secret keys.
You can create this file manually and add entries, or you can use a standard template.
A Step-by-Step Guide to Setting up a Python Project with Git and ...
This DEV Community article provides a handy command to download a comprehensive, community-maintained .gitignore file for Python projects.
Navigate to the section Add Python’s .gitignore. You can run the wget command provided to automatically create and populate your .gitignore file. Afterward, it's good practice to commit it to your repository as shown.
If you prefer to see it done manually, the ZazenCodes video also demonstrates this.
Basic Project Structure for a Python App
This part of the video shows how to manually create a .gitignore file and add common Python-related patterns.
Watch the segment from Create a gitignore. Notice the inclusion of __pycache__, which is a directory Python creates for compiled bytecode.
After creating your .gitignore, add it and commit it:
git add .gitignore
git commit -m "chore: Add Python .gitignore"
4. Create and Activate the Virtual Environment
As we covered in the first lesson, a virtual environment isolates your project's dependencies.
python3 -m venv venv
source venv/bin/activate
Remember, your .gitignore file should prevent the venv directory from being committed to Git.
5. Install Dependencies and Create requirements.txt
With your environment active, you can now install the libraries your project needs. Let's start with requests, which we learned about in the last lesson.
pip install requests
Now, how do we record this dependency so that another developer (or you, on a different machine) can easily replicate this environment? We use a requirements.txt file. The pip freeze command generates a list of all packages installed in the current environment in a format that pip can read later.
The following video segment provides an excellent visual walkthrough of this traditional pip and venv workflow.
Python Tutorial: UV - A Faster, All-in-One Package Manager to Replace Pip and Venv
This video by Corey Schafer compares the traditional Python project setup with a newer tool. We are interested in his clear demonstration of the traditional method, which is our focus.
Watch the section from the traditional way. This covers creating a directory, setting up a venv, activating it, using pip install, and finally, using pip freeze > requirements.txt to capture the dependencies. This is a perfect summary of the process we're following.
Run the command yourself:
pip freeze > requirements.txt
Now, inspect the requirements.txt file. You'll see requests and its own dependencies listed with their exact versions. This file is the key to a reproducible project environment.
Let's commit this file as well:
git add requirements.txt
git commit -m "feat: Add initial dependencies"
6. Lay Out Your Source Code
Finally, let's create the basic files and folders for our application's code.
-
README.md: Every project needs a README. Create a file namedREADME.mdwith a simple title for now.echo "# Grasp.study Clone" > README.md -
main.py: This will be the main entry point for our application later on.touch main.py -
Source Directory: It's good practice to place your core application logic inside a dedicated package directory.
mkdir src
touch src/__init__.py
The empty
__init__.pyfile tells Python that thesrcdirectory should be treated as a package, allowing you to import modules from it cleanly.
At this point, your project structure should look something like this:
grasp_clone/
├── .git/
├── venv/
├── src/
│   └── __init__.py
├── .gitignore
├── main.py
├── README.md
└── requirements.txt
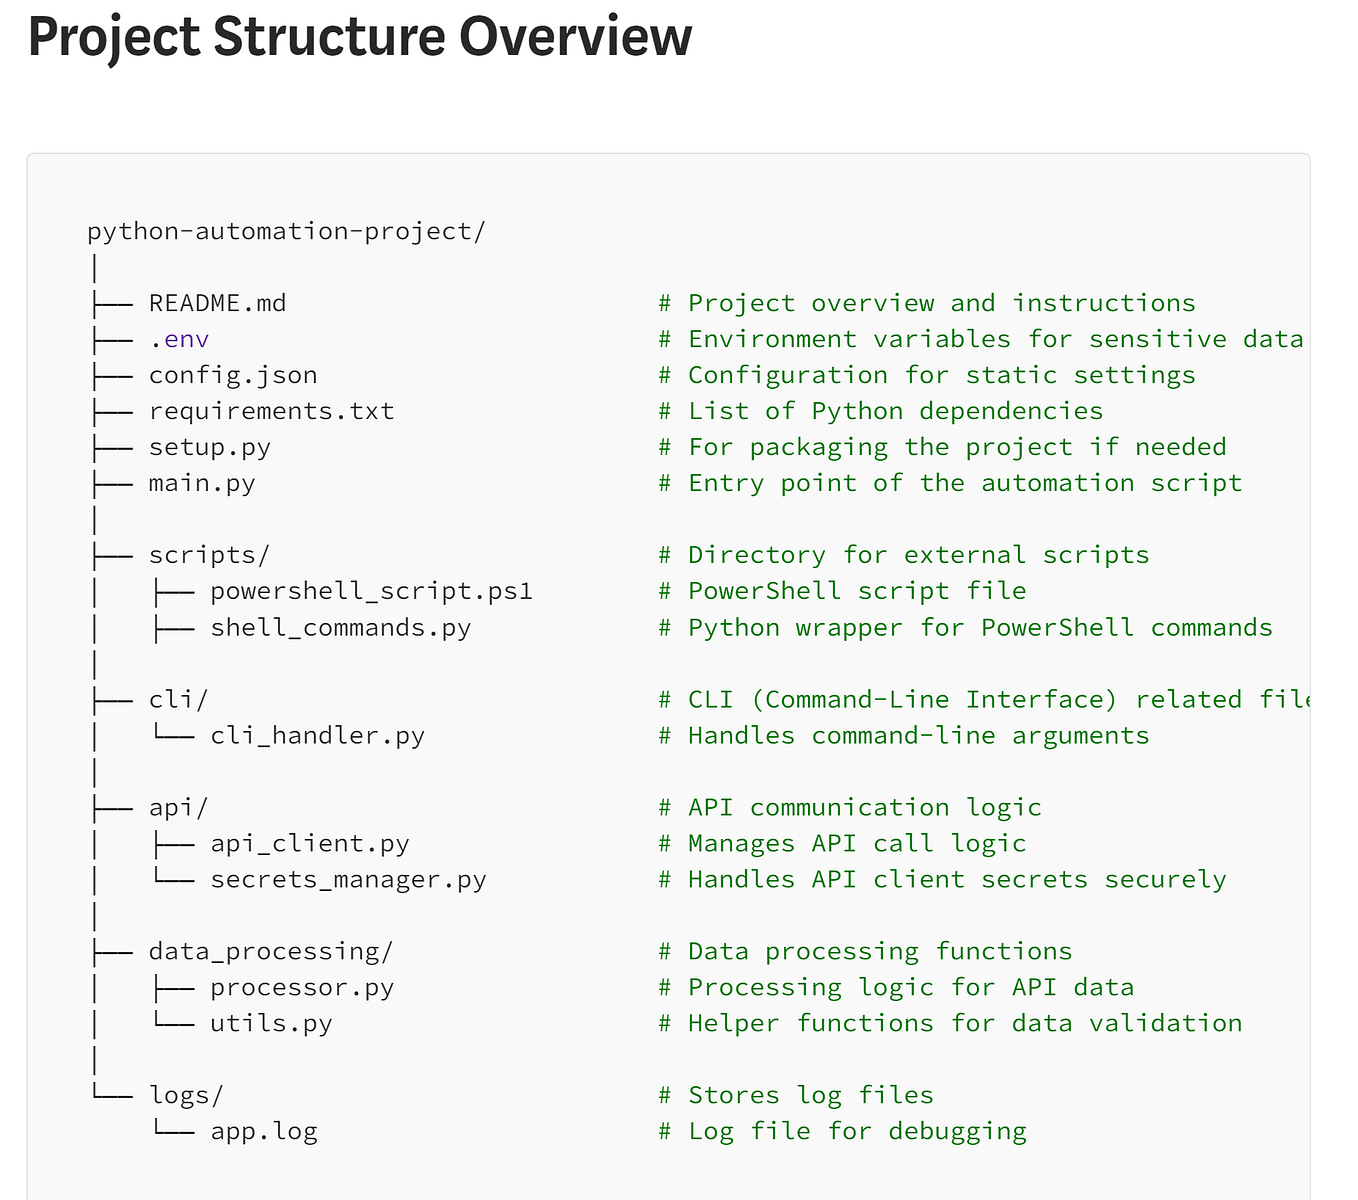
This is a clean, standard, and scalable starting point. For comparison, here are some examples of what more mature Python project structures can look like.

Conclusion
Congratulations on completing the first module and reaching your first project milestone! You have successfully laid the groundwork for our grasp.study clone. While it might seem like a lot of setup, establishing this professional structure now will pay dividends in clarity and maintainability as our project grows in complexity.
Key Takeaways:
- A standard project structure is essential for maintainable and scalable code.
- The
.gitignorefile is crucial for keeping your repository clean by excluding transient files like virtual environments and cache directories. pip freeze > requirements.txtis the standard command for capturing your project's dependencies, ensuring a reproducible environment.- Organizing your code into a package directory (like
src/) using an__init__.pyfile is a best practice for modularity.
You've built the house. In the next module, "Introduction to the Anthropic Claude API," we will start installing the engine. Our very next lesson will dive into the world of Large Language Models, and you'll get your first look at the Claude 3 model family, the core technology we'll be using to power our application's AI features.