Hello! In our last lesson, you created your first structured HTML page. It has all the essential boilerplate code and some basic content, but it's just plain black text on a white background.
Today, we're going to connect your index.html file to your styles/style.css file. This is a pivotal step where we prepare our project to go from a simple document to a styled design.
1. What We Are Learning
This lesson focuses on a single, crucial learning outcome: Link the external CSS file to your HTML document using a <link> tag.
You'll learn what the <link> tag is, what its "attributes" do, and exactly where to place it in your HTML file to make the connection to your stylesheet. To confirm it works, we'll also write a single line of CSS and see it appear live in the browser.
2. Why This Matters
As a designer, you understand the power of a centralized Design System or Style Guide. You create a set of styles (colors, typography, spacing) in one place, and all your design files link to it. When you update the style guide, every design updates automatically. This ensures consistency and makes maintenance a breeze.
Linking an external CSS file works on the exact same principle.
- HTML file (
index.html): This is your design file, containing the structure and content. - CSS file (
style.css): This is your central style guide, defining the visual presentation.
By linking them, we practice a core web development principle called separation of concerns: HTML is for structure, and CSS is for style. This makes your project clean, organized, and much easier to manage as it grows.
3. Step-by-Step Instructions
Right now, your index.html file has no idea that style.css even exists. We need to tell it to load that file's styles. We do this using the HTML <link> element inside the <head> section.
Let's watch a short video that walks through this exact process.
HTML & CSS for Absolute Beginners: Creating and linking to a CSS file
Kevin Powell is a well-respected CSS educator. This clip from his beginner's course demonstrates precisely how to create and link a CSS file, and then test that it's working.
Watch from 00:45 to 02:43. Pay close attention to: Where the <link> tag is placed. The two essential attributes: rel and href. The file path used in the href attribute.
Now, let's apply that to our project.
-
In VS Code, open your
index.htmlfile. -
Find the
<head>section. This is the "backstage" area for settings and metadata that we discussed in the last lesson. -
Add the following line of code inside the
<head>, right below your<title>tag:<link rel="stylesheet" href="styles/style.css">
Your <head> section should now look something like this:
<head>
    <meta charset="UTF-8">
    <title>Your Name - Portfolio</title>
    <link rel="stylesheet" href="styles/style.css">
</head>
Let's break down that one line of code.
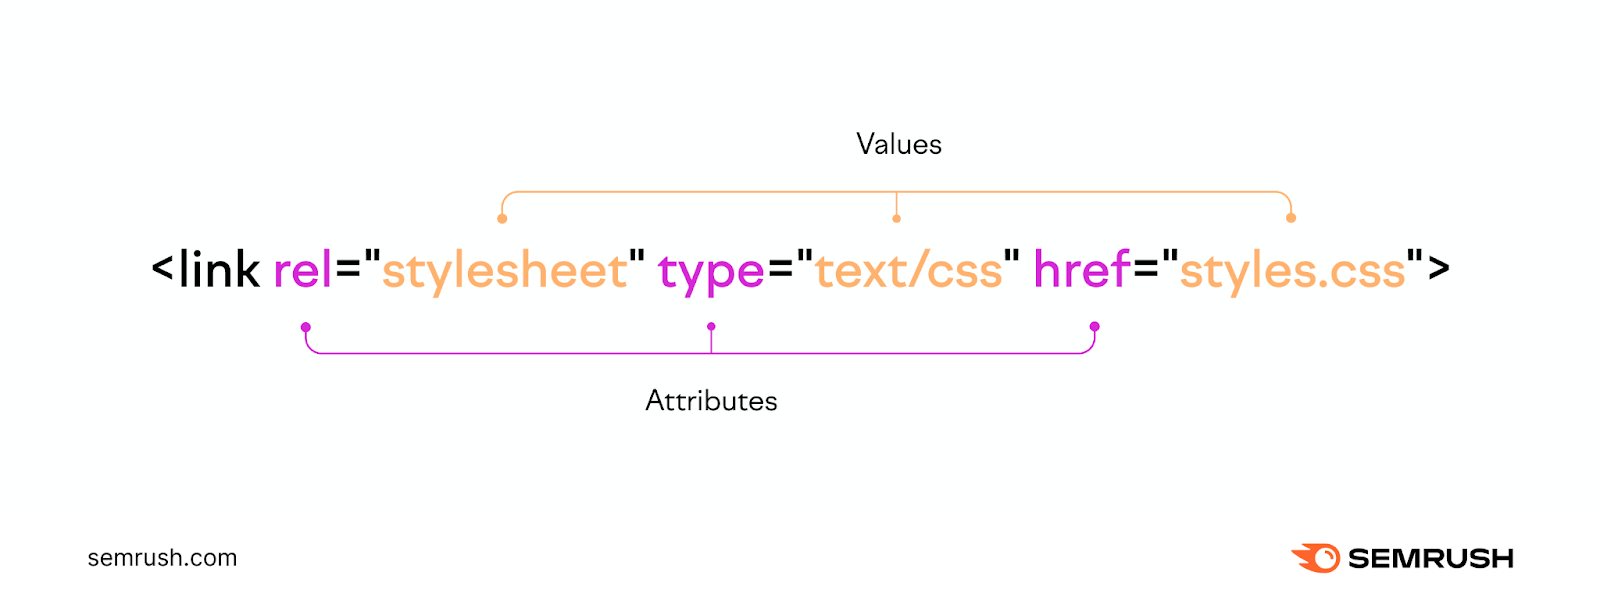
<link>: The tag itself. It defines a link to an external resource.rel="stylesheet": Therelattribute stands for "relationship". This tells the browser what we are linking to. In this case, it's astylesheet. This part is essential.href="styles/style.css": Thehrefattribute stands for "hypertext reference". It provides the path to the file. This tells the browser where to find the stylesheet. Since ourstyle.cssis inside thestylesfolder, the path must include the folder name.
- Save your
index.htmlfile (Ctrl+SorCmd+S).
You have now officially linked your stylesheet! The two files are connected.
4. What Could Go Wrong
If the styles don't show up later, the problem is almost always a small typo in the <link> tag.
- Wrong Path (
href): You might writehref="style.css"(forgetting the folder) orhref="style/style.css"(a typo in the folder name). The path must be an exact match to your folder and file structure.- How to fix: Double-check the spelling and structure in the VS Code Explorer panel. VS Code will even try to autocomplete the path for you as you type inside the quotes of
href="".
- How to fix: Double-check the spelling and structure in the VS Code Explorer panel. VS Code will even try to autocomplete the path for you as you type inside the quotes of
- Typo in
rel: Writingrel="styleshet".- How to fix: The value must be exactly
stylesheet. If it's anything else, the browser won't know what to do with the file.
- How to fix: The value must be exactly
- Wrong Location: Placing the
<link>tag inside the<body>.- How to fix: A stylesheet link is metadata, not visible content. It always belongs in the
<head>.
- How to fix: A stylesheet link is metadata, not visible content. It always belongs in the
5. Mini Exercise
Now for the rewarding part. Let's add a style and see our change live in the browser.
-
Add a CSS Rule:
- In VS Code, open your
styles/style.cssfile. It should be empty. - Add the following code to the file:
body { background-color: #f0f8ff; }- What this does: This code targets the
<body>element of your HTML (the main container for all visible content) and sets itsbackground-colorproperty to a light blue color (#f0f8ff, also known as "AliceBlue"). We'll dive deep into CSS syntax later; for now, this is just our test. - Save the
style.cssfile.
- In VS Code, open your
-
View Your Page:
- Go back to your
index.htmlfile in VS Code. - Right-click anywhere in the editor.
- Select "Open with Live Server" from the context menu. (You installed this extension in a previous module).
- This should automatically open a new tab in your default web browser, displaying your webpage.
- Go back to your
If everything is linked correctly, you should see your page with a light blue background!
6. Checklist Before Moving Ahead
- I have added the
<link>tag to myindex.htmlfile inside the<head>section. - I understand that
rel="stylesheet"tells the browser what the linked file is. - I understand that
href="styles/style.css"tells the browser where to find the file. - I have successfully completed the mini-exercise and can see the blue background on my page when opened with Live Server.
Fantastic work! You've just completed a fundamental workflow for web development: linking your structure (HTML) to your presentation (CSS). You've also seen your first visual change by writing a real CSS rule.
A Look Ahead: In the next lesson, we'll build on this by writing another CSS rule to style the text on your page. We'll also take a closer look at what Live Server is doing and why it's such a valuable tool for front-end development.