Hello! Welcome to the next stage of building our application.
In the last module, we assembled a complete set of CRUD (Create, Read, Update, Delete) functionalities using Django's Class-Based Views. Our application is functional, but it has a major limitation: anyone can view, edit, and delete any task. To build your portfolio-ready Task Management application, we need to ensure users can only manage their own data.
This lesson is the first step in that direction. We will start exploring Django's powerful, built-in user authentication system. Your goal for this lesson is to learn how to integrate this system into our project. This involves understanding what components are already available, activating them through URL configuration, and setting up the basic templates needed for them to work.
What "Built-in" Authentication Means
One of Django's core strengths is its "batteries-included" philosophy. When you created your project, Django automatically set up its authentication framework for you. You don't need to install any new packages to get started.
To see this for yourself, you can look in your project's settings.py file.
# your_project/settings.py

INSTALLED_APPS = [
    # ...
    'django.contrib.admin',
    'django.contrib.auth',  # Core authentication framework
    'django.contrib.contenttypes', # Allows permissions to be associated with models
    'django.contrib.sessions',
    'django.contrib.messages',
    'django.contrib.staticfiles',
    # ...
]

MIDDLEWARE = [
    # ...
    'django.contrib.sessions.middleware.SessionMiddleware',
    'django.contrib.auth.middleware.AuthenticationMiddleware', # Associates users with requests
    # ...
]
As the MDN documentation explains, django.contrib.auth and its related middleware are already configured. Our job is to wire them up to the front end of our application.
Activating the Authentication URLs
The fastest way to get a complete set of authentication pages is to include the default URL patterns provided by Django. This single line of code gives you URLs for login, logout, password changes, and password resets.
Let's add this to our project's main urls.py file.
Django Login, Logout, Signup, Password Change, and ...
The article 'Django Login, Logout, Signup...' from learndjango.com clearly shows the first step of including the authentication URLs.
Read the 'Initial Set Up' section. Focus on the code block showing the change to django_project/urls.py. This is the key step to activate Django's built-in auth views.
By adding path("accounts/", include("django.contrib.auth.urls")), you have instantly created several URL endpoints. The accounts/ part is a conventional prefix, but you could change it to something else if you wanted.
Here are the URLs that are now active in your project:
accounts/login/(for logging users in)accounts/logout/(for logging users out)accounts/password_change/accounts/password_change/done/accounts/password_reset/accounts/password_reset/done/accounts/reset/<uidb64>/<token>/accounts/reset/done/
This is a great example of Django's "Don't Repeat Yourself" (DRY) principle in action. All the backend logic for these views is already written for you.
Preparing for a Test Run: Creating a User
If you try to visit http://127.0.0.1:8000/accounts/login/ now, you'll see an error: TemplateDoesNotExist. This is because while the URLs and views exist, Django doesn't know how to display them. We need to create the HTML templates.
But before we do that, let's create a regular user account so we have something to test the login page with. The easiest way to do this is through the Django admin interface.
- Start your development server (
python manage.py runserver). - Navigate to the admin site:
http://127.0.0.1:8000/admin/. - Log in with your superuser account.
- In the "Authentication and Authorization" section, click the "+ Add" button next to "Users".
- Create a test user. For example:
- Username:
testuser - Password:
some-strong-password-123
- Username:
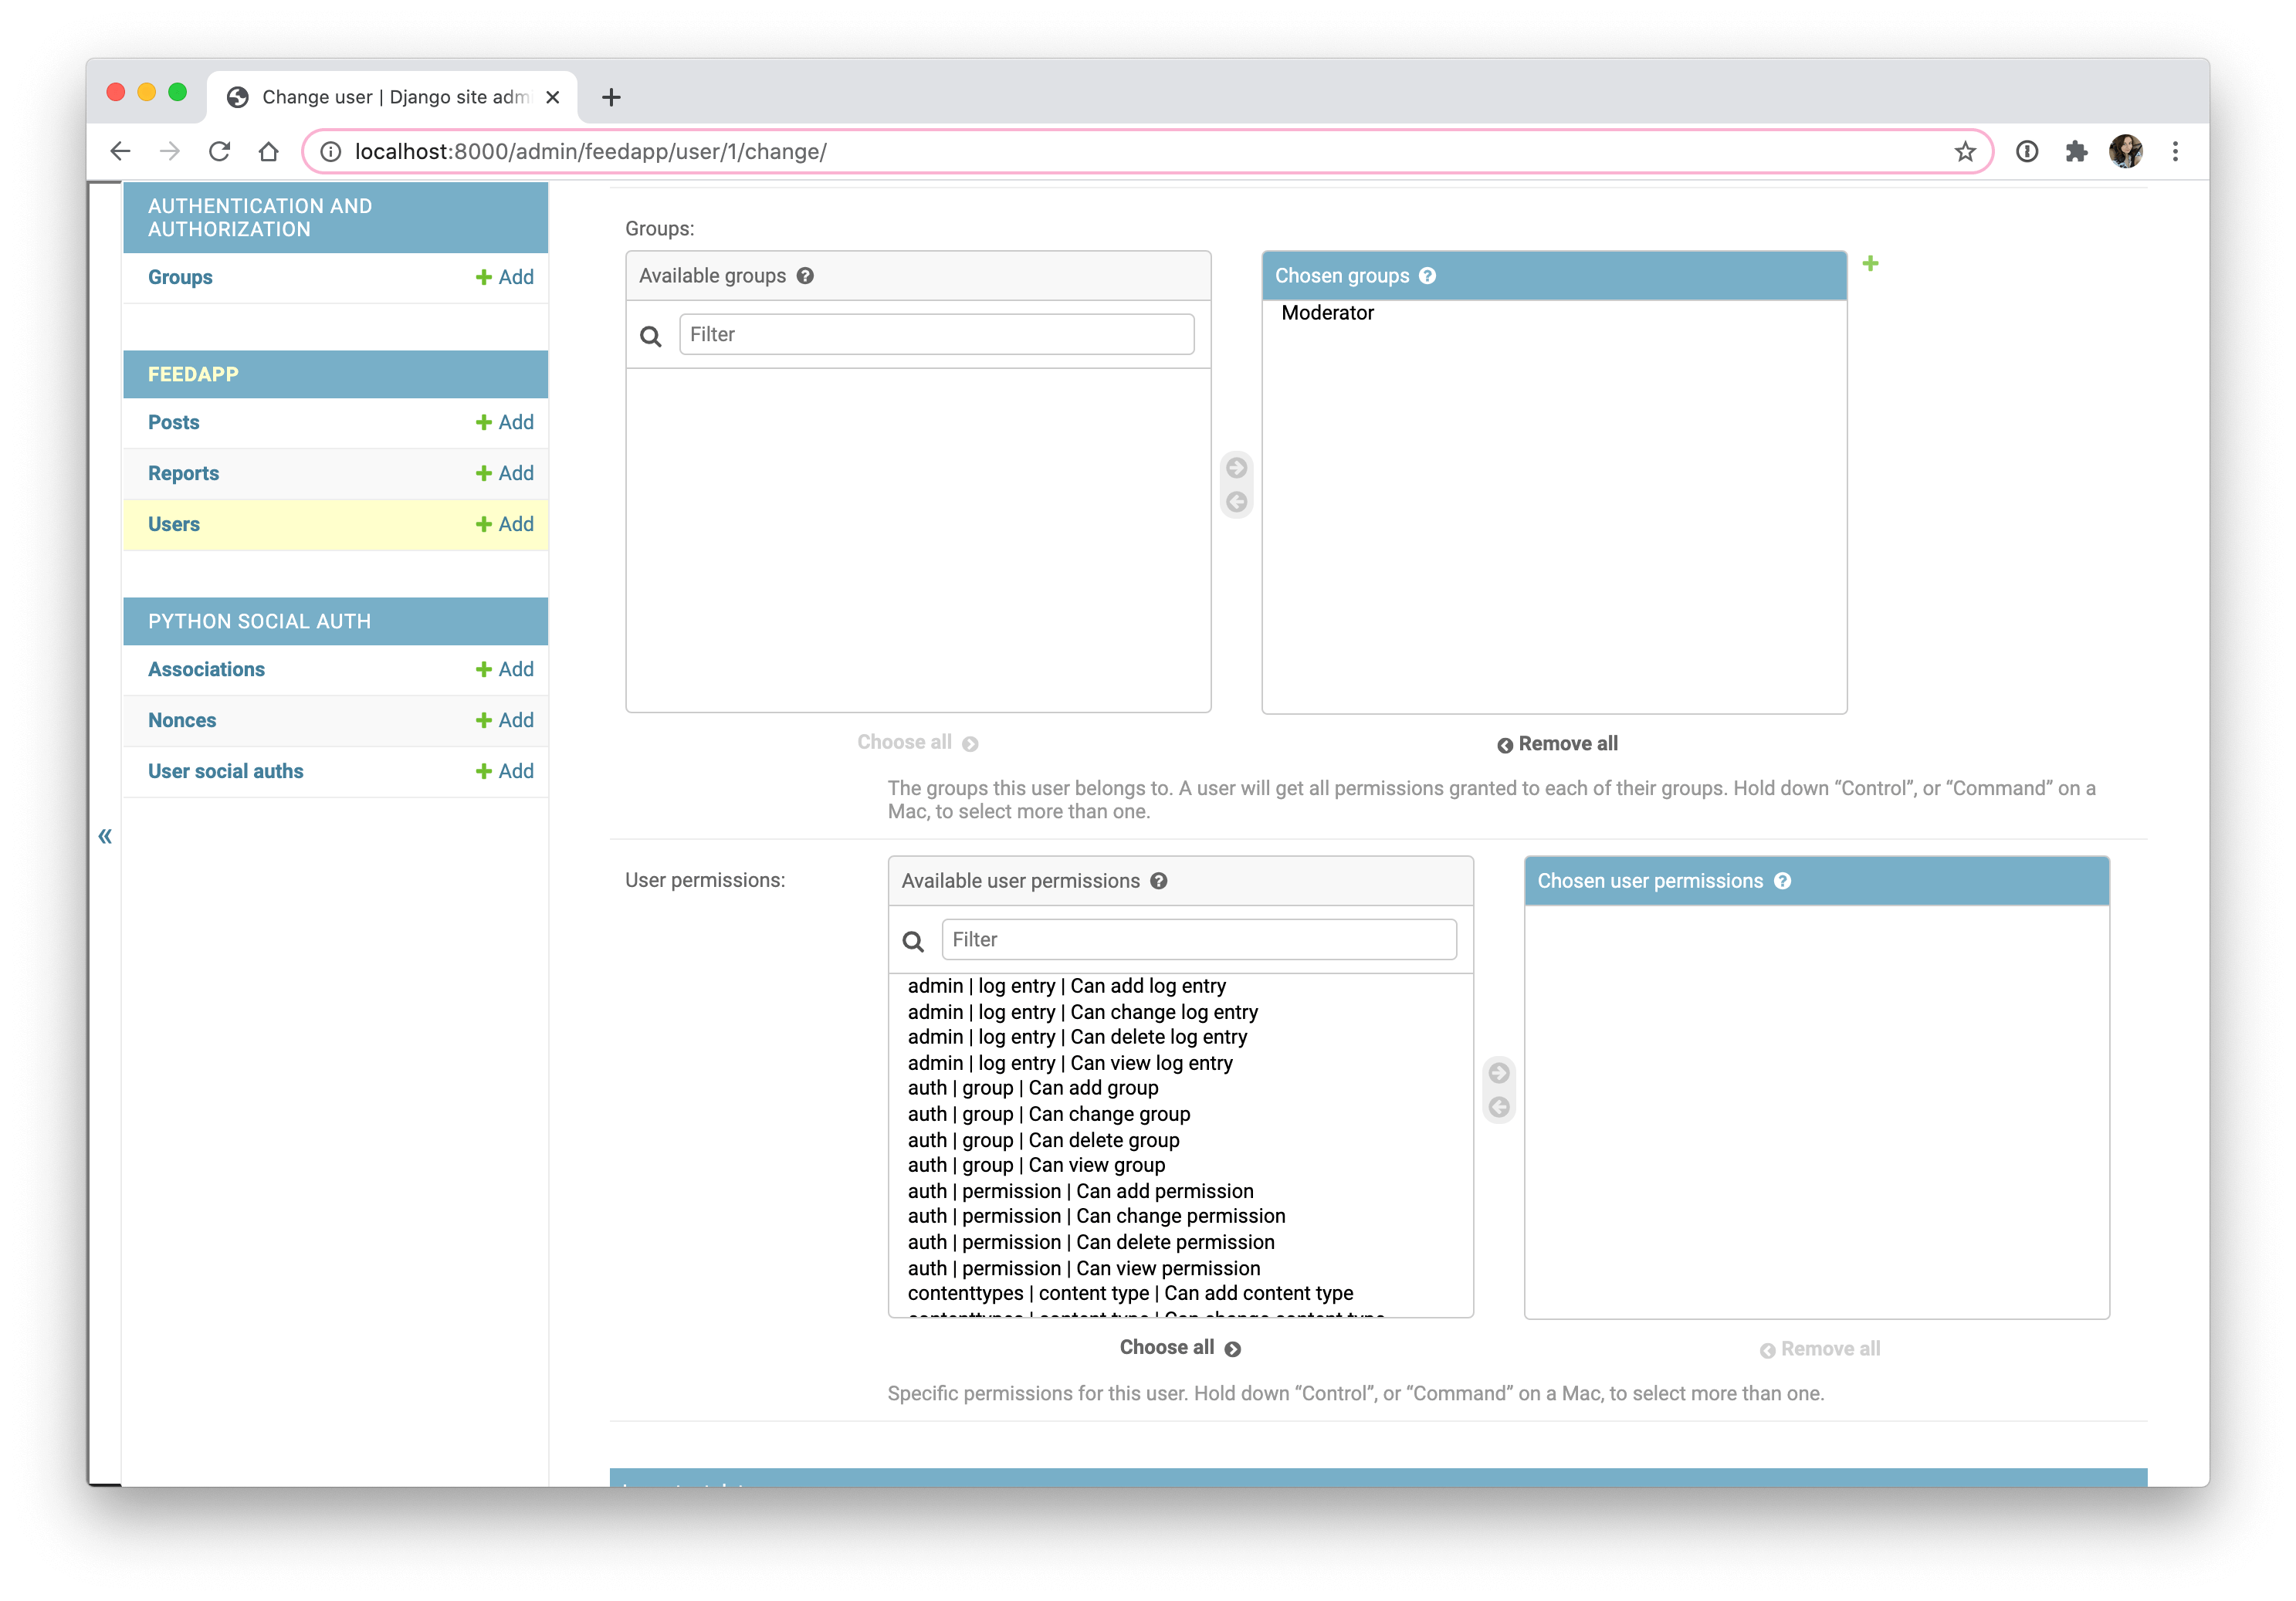
- Click SAVE. You will be taken to a more detailed "Change user" page. You can add more info here, but for now, the user is created.
Creating the Login Template
Now let's fix that TemplateDoesNotExist error. By default, Django's authentication views look for templates inside a directory named registration.
Django Login, Logout, Signup, Password Change, and ...
The learndjango.com article also provides a clear guide on setting up the required templates.
Read the 'Log In Page' section. Follow the steps to: Create the templates and templates/registration directories. Create the login.html file with the provided code. Update the DIRS setting in settings.py so Django can find your new templates directory.
After following those steps, your project structure should look something like this:
your_project/
├── manage.py
├── your_project/
│   ├── settings.py
│   └── urls.py
├── tasks/
└── templates/
    └── registration/
        └── login.html
Handling the Post-Login Redirect
With the template in place, try logging in with your testuser at http://127.0.0.1:8000/accounts/login/.
It works! But you're redirected to http://127.0.0.1:8000/accounts/profile/ and get a 404 "Page not found" error. This is the default behavior. Django assumes you have a user profile page, which we haven't created.
We can easily change this by telling Django where to redirect users after a successful login. Add the following line to the bottom of your settings.py file:
# your_project/settings.py

# ... other settings

LOGIN_REDIRECT_URL = '/' # Redirect to the homepage
Now, when you log in, you will be correctly redirected to your site's homepage.
Let's watch a short video that ties these steps together visually: creating the auth URLs, setting up the template directories, and creating a base template and login page.
Python Django Authentication System with Password Reset; Complete Project Beginner Friendly Tutorial
This clip from the tutorial by Piko Can Fly demonstrates the exact process we've just discussed.
Watch from 04:33 to 11:01. The video shows how to include django.contrib.auth.urls, configure the templates directory, create a base.html and a login.html template. It also covers the form rendering and testing the login. The video goes on to style the page with CSS, which you can watch for context but is not required for this lesson's outcome.
Test your understanding!
You have included the auth URLs under the path accounts/. What is the single line of code you would need to change in your project's urls.py if you wanted all authentication-related pages to be under the /members/ prefix instead (e.g., /members/login/)?
Show answer
You would change this line in your project's main urls.py file:
From:path("accounts/", include("django.contrib.auth.urls")),
To:path("members/", include("django.contrib.auth.urls")),
That's it! Django's include function handles the rest, prefixing all the built-in auth URLs with /members/.
Conclusion
Great work! You have successfully integrated Django's authentication system into your project. While it may seem like we only made a few small configuration changes, you've unlocked a huge amount of pre-built functionality.
Key Takeaways:
- Django's authentication system is "built-in" and enabled by default in
settings.py. - You can activate a full suite of authentication views (login, logout, password reset, etc.) with a single line in your project's
urls.py:include('django.contrib.auth.urls'). - These views expect their templates to be in a
registration/directory (e.g.,templates/registration/login.html). - You can control where users are sent after a successful login by setting
LOGIN_REDIRECT_URLinsettings.py. - The Django admin is a quick and effective tool for creating users for testing purposes.
Preview of the Next Lesson:
Our application now has a working login page, but there's no way for users to register for an account or to log out from the main site. In the next lesson, we will build on this foundation by implementing user registration, login, and logout functionality. You'll learn how to create a signup form and how to add "Login," "Logout," and "Register" links to your site's navigation.