Hello! Welcome to your next lesson in the "System Security and Hardening" module.
In our last lesson, we learned how to act as digital detectives, analyzing log files to monitor activity on our server. We also previously configured firewalld to act as a gatekeeper, blocking unwanted network traffic. But how can we be sure our defenses are configured correctly? A crucial part of security is auditing your own systems to see them as an attacker would.
This lesson will equip you with the tools to do just that. We will address the learning outcome: Use nmap to perform network discovery and basic port scanning. nmap (Network Mapper) is an indispensable tool for network exploration and security auditing. By learning to use it, you can probe your own systems to verify firewall rules, identify running services, and discover potential vulnerabilities before someone else does.
1. What is Network Scanning?
Before we start scanning, it's essential to understand the basic concepts. At its core, network scanning is about sending messages to other computers on a network and analyzing their responses to gather information.
To get a foundational understanding of what we're looking for, please watch the beginning of this video.
NMAP Basics Tutorial for Kali Linux Beginners - Cyber Security
The video "NMAP Basics Tutorial for Kali Linux Beginners" from the GetCyber channel provides an excellent introduction to the core concepts of network scanning.
Watch the video from 01:36 to 06:03. This segment will cover: What network scanning is and why it's used. The concepts of IP addresses, ports, and the three main port states. An overview of nmap's capabilities and its uses by both system administrators and attackers.
As the video explains, every device on a network has an IP address, and services running on those devices (like a web server or SSH server) listen on specific ports. The goal of port scanning is to figure out which of these ports are open, closed, or filtered.
Ethical Considerations
A quick but important note: nmap is a powerful tool. Scanning networks without permission is illegal and unethical. For this course, you should only run nmap scans against your own virtual machines or the safe, purpose-built target provided by nmap's creators: scanme.nmap.org.
2. Host Discovery and Basic Port Scans
When you point nmap at a target, it performs a two-step process:
- Host Discovery: It first tries to determine if the target is actually online.
- Port Scan: If the host is online, it proceeds to scan the ports.
Let's explore this process and see what the results look like.
Nmap Basics: Port Scanning Tutorial
The "Nmap Basics: Port Scanning Tutorial" by NetworkVerge clearly demonstrates nmap's default behavior and explains the most common scan results.
Watch the video from 01:10 to 09:43. Pay close attention to: How nmap discovers hosts by default. The crucial -Pn option, which you'll need when a host's firewall blocks discovery probes. The three most common port states: open, closed, and filtered, and what each one means.
Understanding Port States
As the video detailed, interpreting the state of a port is fundamental.
- Open: A service is actively listening on this port. This is the most interesting state for both an administrator and an attacker.
- Closed: The host is reachable, but no service is listening on this port. The port is accessible, but there's nothing to connect to.
- Filtered:
nmapcouldn't determine the port's state. This usually means a firewall is blocking the probes. When you scan your own server, seeing unexpected ports asfilteredis a good sign your firewall is working!
There are other states like unfiltered, open|filtered, and closed|filtered, but the three above are the most common and important ones to know for the Linux+ exam.
3. Essential Nmap Scan Types and Options
nmap is incredibly versatile. You can specify exactly which hosts and ports to scan, and how to scan them. Since you have experience with CLIs, you'll find the syntax for building complex scans quite intuitive.
Specifying Targets
You can scan more than just a single IP address. Here are a few common ways to define your targets:
- Single Host:
nmap 192.168.1.10ornmap scanme.nmap.org - Multiple Hosts:
nmap 192.168.1.10 192.168.1.11 - An Entire Subnet (CIDR notation):
nmap 192.168.1.0/24 - An IP Range:
nmap 192.168.1.1-50 - From a File:
nmap -iL targets.txt(wheretargets.txtcontains a list of hosts)
Specifying Ports
By default, nmap scans the 1000 most common ports. To be more specific, use the -p flag:
- Single Port:
nmap -p 80 <target> - Multiple Ports:
nmap -p 22,80,443 <target> - Port Range:
nmap -p 1-1024 <target> - All Ports:
nmap -p- <target>(scans all 65,535 TCP ports) - Top Ports:
nmap --top-ports 20 <target>
Key Scan Types
The way nmap checks a port is determined by the scan type. The two most fundamental TCP scan types are the SYN scan and the Connect scan.
Nmap Basic Port Scans | TryHackMe (THM) | by Aircon
The article "Nmap Basic Port Scans" from Aircon on Medium offers a fantastic, detailed explanation of how these scans work under the hood.
Read the sections titled 'TCP Connect Scan', 'TCP SYN Scan', and 'UDP port scan'. Focus on understanding the difference in how they handle the TCP 3-way handshake and why the SYN scan is considered 'stealthier'.
Here's a summary of the most important scan types:
| Scan Type | Flag | Who can run it | Description |
|---|---|---|---|
| TCP SYN Scan | -sS |
Privileged (sudo) |
The default and most popular scan. It's fast and stealthy because it doesn't complete the full TCP handshake. Often called a "half-open" scan. |
| TCP Connect Scan | -sT |
Any user | The default if you don't have sudo privileges. It's reliable but slower and "noisier" because it completes the full TCP handshake, which is more likely to be logged. |
| UDP Scan | -sU |
Privileged (sudo) |
Scans for open UDP ports. It is much slower than TCP scans because UDP is connectionless. |
| Ping Scan | -sn |
Any user | This is a host discovery scan, not a port scan. It simply checks which hosts are online in a target range, without checking ports. Useful for initial reconnaissance. |
Test your understanding!
You want to quickly check which hosts are online in the 192.168.50.0/24 subnet without scanning any of their ports. What command would you use?
Show answer
nmap -sn 192.168.50.0/24
The -sn flag tells nmap to perform a ping scan (host discovery only) and to skip the port scan phase.
4. Gaining Deeper Insight from Scans
Finding an open port is just the first step. The real value comes from identifying what service is running on that port.

Here are some of the most useful options to get more detailed results:
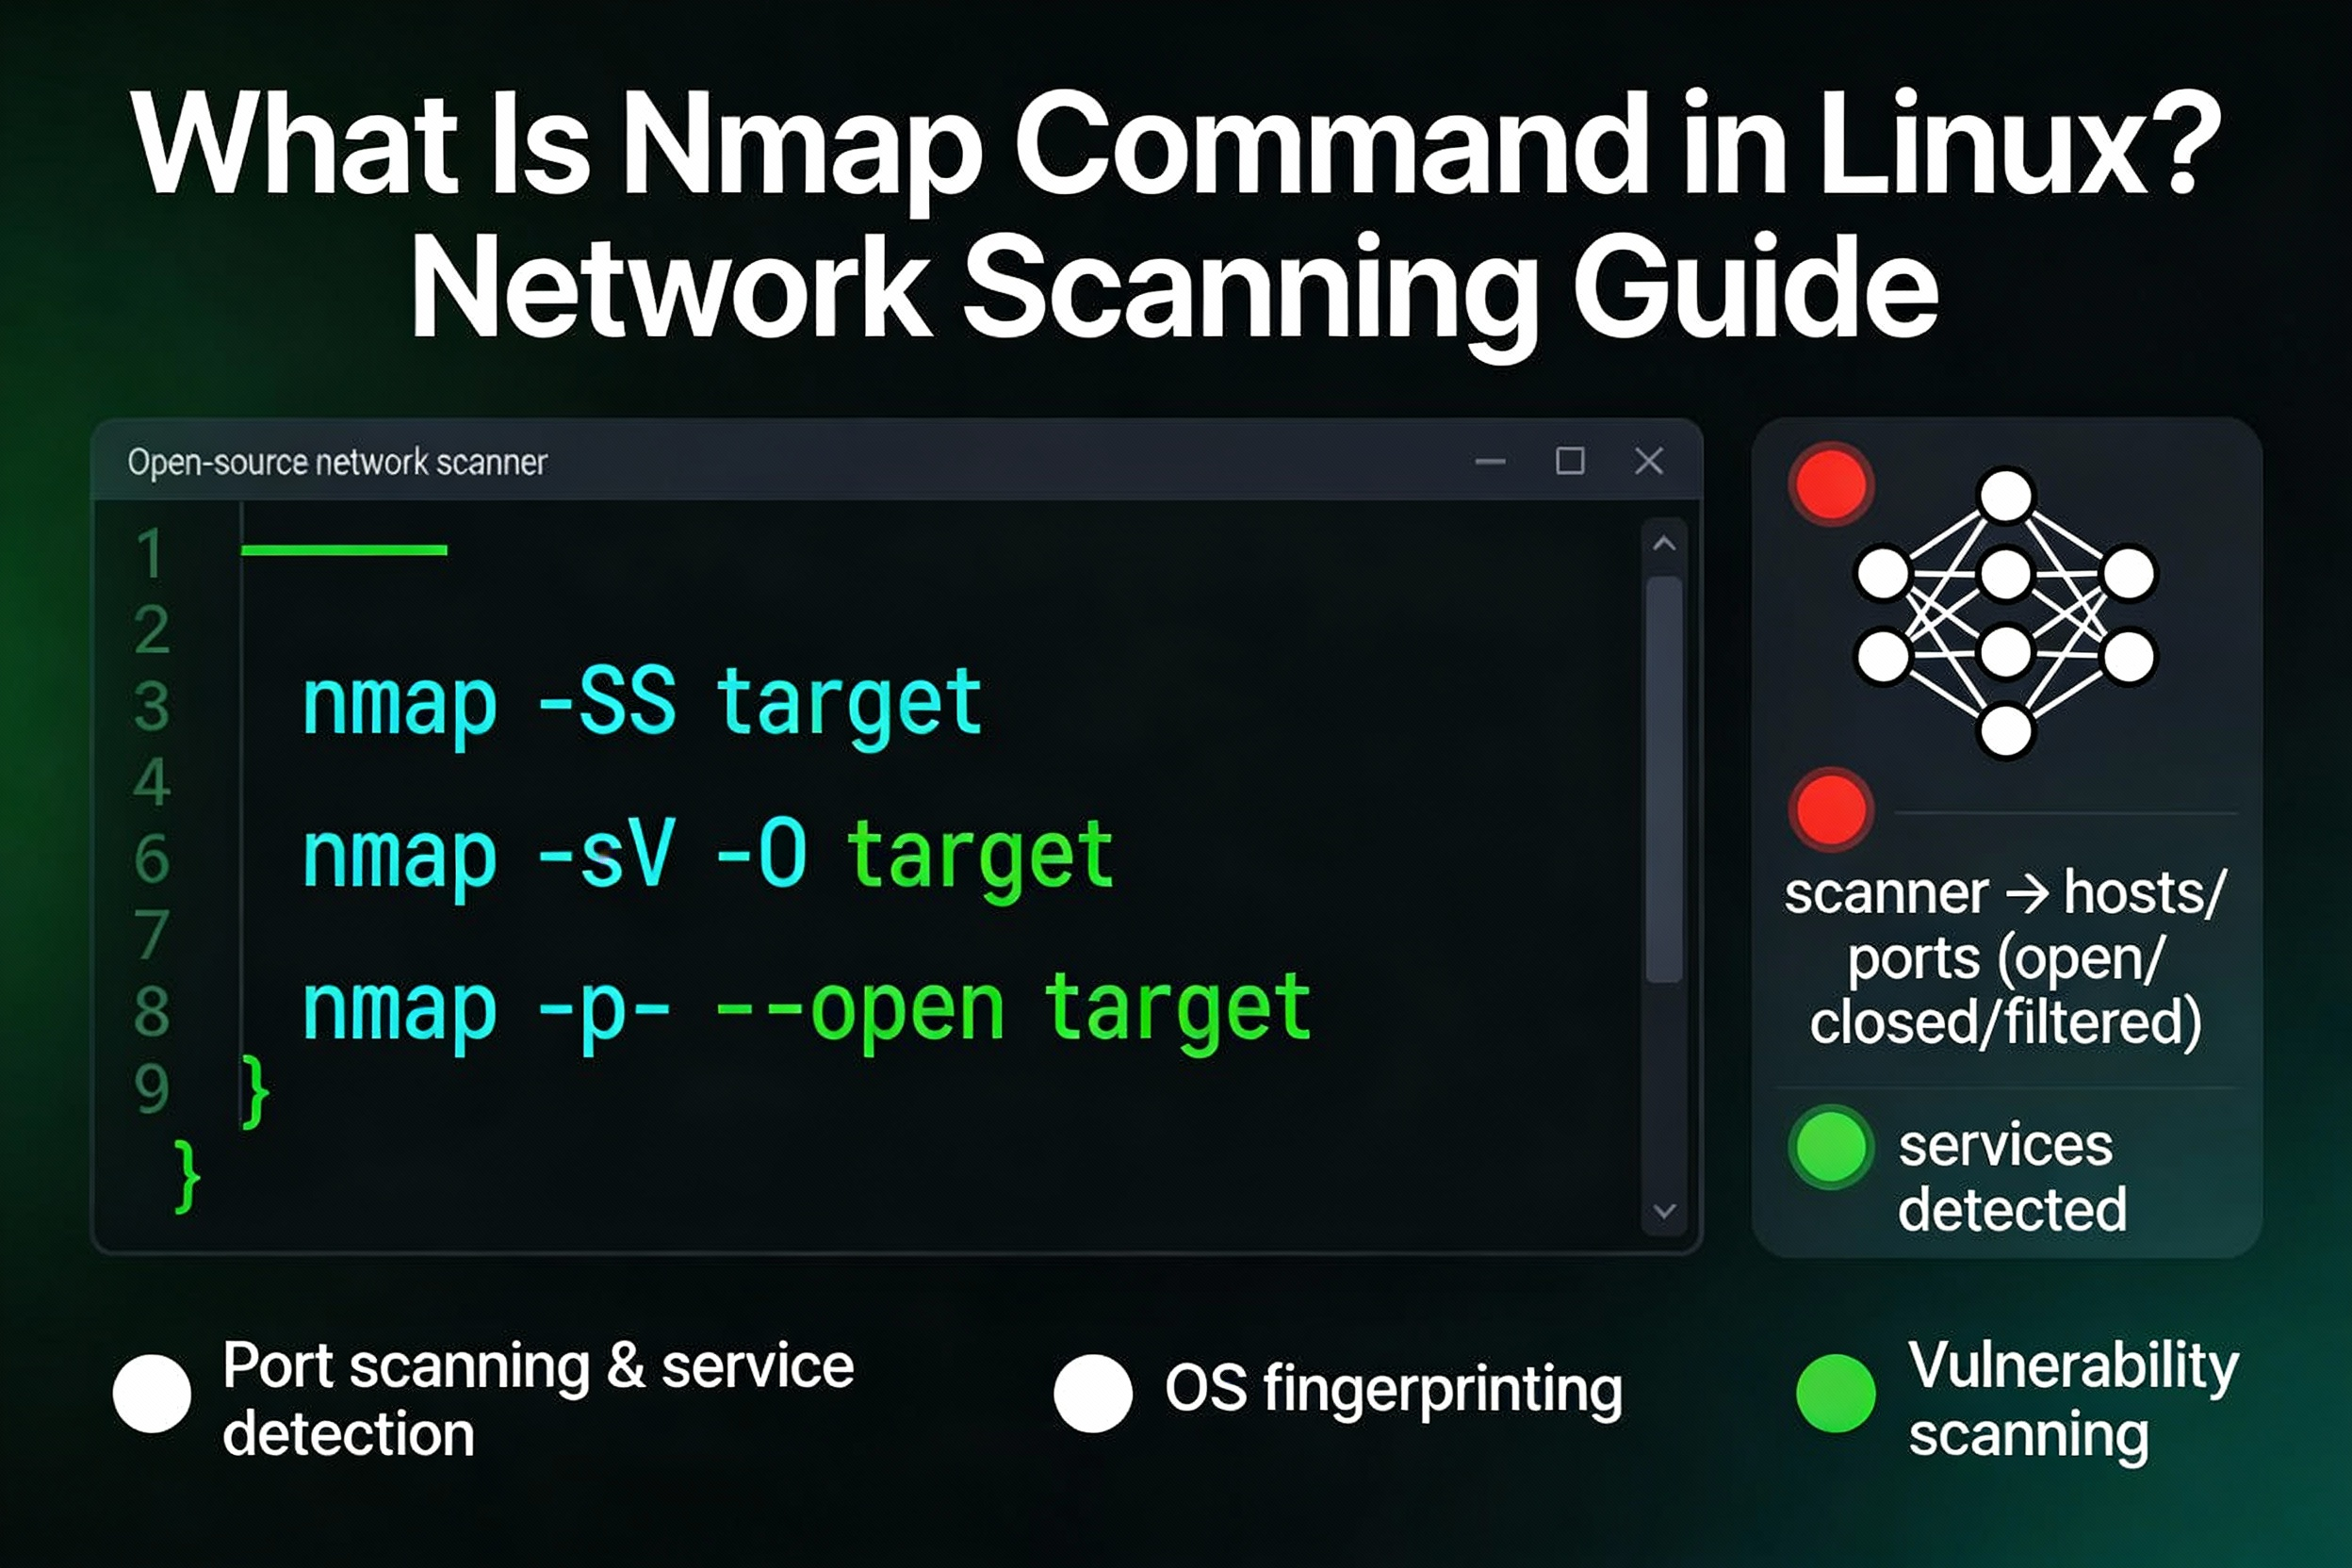
- Service Version Detection (
-sV): Probes open ports to determine the service and version information (e.g.,Apache httpd 2.4.41). This is crucial for identifying outdated, vulnerable software. - Aggressive Scan (
-A): A powerful shortcut that enables OS detection (-O), version detection (-sV), script scanning (-sC), and traceroute (--traceroute). It gives a very comprehensive picture of the target. - Timing (
-T<0-5>): Controls the speed of the scan.-T4(aggressive) is common for fast scans where stealth is not a concern.-T2(polite) or-T1(sneaky) are for when you want to avoid detection. The default is-T3(normal). - Disable DNS Resolution (
-n): Tellsnmapnot to perform reverse DNS lookups on the target IPs. This can significantly speed up scans on large networks. - Save Output (
-oN <file>,-oX <file>): Saves the results to a normal text file (-oN) or an XML file (-oX) for later analysis.
Putting it all together
Let's combine these into a powerful and practical command. Imagine you want to perform a stealthy scan against 192.168.1.100, find the versions of services running on the top 20 ports, and save the output to a file named scan_results.txt.
The command would look like this:sudo nmap -sS -sV --top-ports 20 -oN scan_results.txt 192.168.1.100
sudo: Required to perform a SYN scan (-sS).-sS: Use the stealthy SYN scan.-sV: Attempt to determine the version of the services found.--top-ports 20: Scan only the 20 most common ports.-oN scan_results.txt: Save the output in a human-readable format to the specified file.192.168.1.100: The target of our scan.
Conclusion
You have now learned the fundamentals of using nmap, a tool that is essential for any Linux administrator. By scanning your own systems, you can verify your security posture, confirm that your firewalls are working as intended, and identify services that might be unintentionally exposed to the network.
Key Takeaways:
nmapis a network scanner used to discover hosts and probe for open ports.- The three main port states are open (service listening), closed (no service), and filtered (blocked by a firewall).
- The most common scan types are the privileged SYN scan (
-sS) and the standard TCP Connect scan (-sT). - You can specify targets and ports with fine-grained control using CIDR notation, ranges, and lists.
- Flags like
-sV(version detection) and-A(aggressive scan) provide deep insights into the services running on a target. - Always save your scan results (
-oN) for documentation and analysis.
Preview of the Next Lesson:
We have now examined security at the network level, using firewalld to build walls and nmap to check for cracks. Next, we will move deeper into the host system itself. We will explain the concepts of Mandatory Access Control (MAC) and the roles of SELinux/AppArmor. These are powerful, kernel-level security mechanisms that provide an even stronger layer of protection by strictly defining what applications are allowed to do on the system, regardless of user permissions.