Hello! Welcome to our next lesson in the "Storage and Filesystem Management" module.
In our last session, you learned how to create and manage swap space, an essential tool for system stability. We saw how to provision storage on a disk to act as virtual memory. Today, we'll take that a step further and learn how to combine multiple disks into a single, more powerful logical device using RAID.
This lesson directly addresses the learning outcome: Perform basic RAID configuration using mdadm. Specifically, we will:
- Explore the fundamental concepts behind different RAID levels (0, 1, 5, 6, and 10).
- Understand the difference between software RAID (
mdraid) and the tool used to manage it (mdadm). - Walk through the practical steps of creating, monitoring, formatting, and mounting a RAID array.
- Simulate a disk failure to see RAID's redundancy in action and learn how to recover the array.
Mastering RAID is a key skill for any Linux administrator, as it's fundamental to building reliable and high-performance storage solutions, a topic frequently covered in the CompTIA Linux+ exam.
1. What is RAID? Understanding the Core Concepts
RAID stands for Redundant Array of Independent (or Inexpensive) Disks. At its heart, RAID is a technology that combines multiple physical disk drives into a single logical unit. The primary goals are to improve performance, provide data redundancy to protect against disk failures, or achieve a combination of both.
It's critical to understand one thing from the outset: RAID is for redundancy and availability, not a backup. If you accidentally delete a file from a RAID array, that file is gone from all disks. If your system is hit by ransomware, the encrypted data is written across all disks. Redundancy protects you from hardware failure, not from data loss due to user error, corruption, or malicious attacks. Always maintain separate backups.
To get a solid grasp of the most common RAID levels you'll encounter, the following video provides an excellent and clear explanation.
RAID Levels Explained RAID 0,1,5,6,10 - Which one is right for you and Why?
The video 'RAID Levels Explained' from the SpaceRex channel provides a fantastic beginner-friendly overview of what RAID is and how the most common levels work.
Please watch the following segments to understand the different RAID levels. Focus on the trade-offs each one makes between performance, redundancy, and usable storage capacity. Introduction to RAID (00:44 - 03:06): Get a definition of RAID and understand why it is not a backup. RAID 1 (Mirroring) & RAID 0 (Striping) (03:24 - 09:44): Learn about the two most basic RAID types. RAID 10 (A Stripe of Mirrors) (09:44 - 15:56): See how RAID 0 and 1 can be combined. RAID 5 & RAID 6 (Parity-based RAID) (15:56 - 21:06): Understand the concept of parity for data reconstruction.
Summary of Common RAID Levels
| RAID Level | Minimum Disks | Fault Tolerance | Capacity | Performance | Use Case |
|---|---|---|---|---|---|
| RAID 0 | 2 | None | 100% (Sum of all disks) | High (Read/Write) | Temporary scratch space, video editing, where speed is paramount and data is disposable. |
| RAID 1 | 2 | 1 disk | 50% (Size of one disk) | High Read, Standard Write | Boot disks, critical single-user databases. High reliability needed. |
| RAID 5 | 3 | 1 disk | (N-1) * Disk Size | Good Read, Slower Write | General purpose file servers, good balance of capacity and redundancy. |
| RAID 6 | 4 | 2 disks | (N-2) * Disk Size | Good Read, Very Slow Write | Large archives, backup targets. Where uptime is critical and rebuild times are long. |
| RAID 10 | 4 | At least 1 disk per mirror | 50% (Sum of half the disks) | Very High (Read/Write) | High-performance databases, virtual machine storage. Best performance with redundancy. |
Test your understanding!
You have four 1TB hard drives. You need to build a storage array that can survive a single disk failure while maximizing your available storage space. Which RAID level should you choose, and what will your total capacity be?
Show answer
You should choose RAID 5. With four 1TB drives, a RAID 5 array can tolerate one disk failure. The total capacity will be (4-1) * 1TB = 3TB.
RAID 10 would also survive a disk failure but would only provide 2TB of space. RAID 6 would provide 2TB and is overkill, as you only need to survive a single disk failure.
2. Software RAID in Linux: mdraid and mdadm
In Linux, RAID is typically implemented in software, which is powerful, flexible, and doesn't require expensive, specialized hardware. This is handled by two key components:
mdraid(Multiple Device RAID): This is a driver built into the Linux kernel. It's the engine that does the actual work of managing the disks, striping data, calculating parity, and handling failures.mdadm(Multiple Device ADMinistrator): This is the user-space command-line tool you will use to interact withmdraid. You usemdadmto create, manage, monitor, and stop RAID arrays.
Think of it this way: mdraid is the car's engine, and mdadm is the dashboard and steering wheel you use to control it.
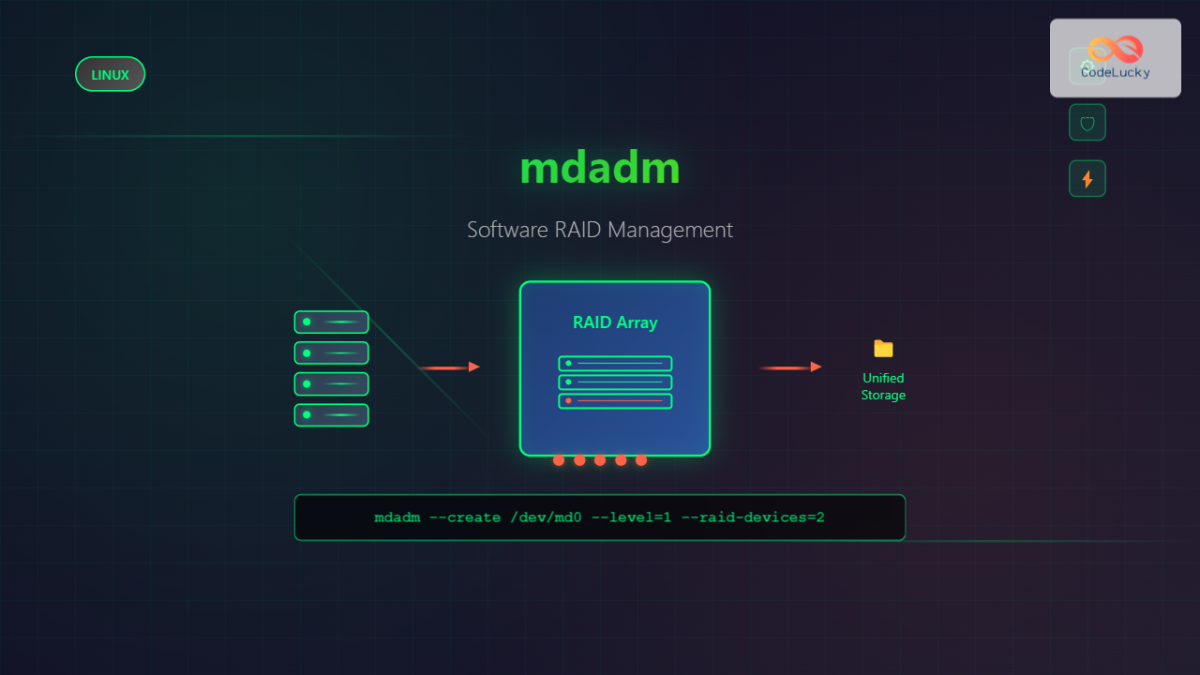
Now that we have the theory down, let's move on to the practical steps of building an array.
3. Creating and Managing a RAID Array with mdadm
The entire lifecycle of a RAID array—from creation to use to maintenance—is managed with mdadm. We will walk through creating a RAID 1 (mirror) array, but the principles apply to other RAID levels as well.
The video below provides a complete, practical walkthrough of this entire process, from partitioning the disks to simulating a disaster and recovering from it.
Redundant Array of Independent Disks (RAID) - creating, formatting, and disaster recovery
The video 'Redundant Array of Independent Disks (RAID)' from BlueMonkey 4n6 is a superb hands-on demonstration. We'll use it to guide our practical exercise.
Please watch from 03:45 to 10:58. This covers the full creation and setup process. Partitioning (03:45 - 05:37): Observe how lsblk is used to identify disks and fdisk is used to create partitions. Note the critical step of setting the partition type to fd (Linux raid autodetect). Array Creation & Monitoring (05:37 - 09:32): Pay close attention to the mdadm --create command and its options. See how cat /proc/mdstat and mdadm --detail are used to check the status as the array builds. Formatting & Mounting (09:32 - 10:58): Watch how the newly created /dev/md/raid-demo device is treated like any other block device: formatted with mkfs.ext4 and mounted.
Step-by-Step Workflow: Creating a RAID Array
Here is a summary of the commands from the video. For this example, let's assume we are creating a RAID 1 array named /dev/md0 using two partitions, /dev/sdb1 and /dev/sdc1.
1. Prepare the Partitions (Optional but Recommended)
While you can use whole disks, it's good practice to use partitions. This allows you to set the partition type, which helps the system auto-detect the array.
# For each disk (e.g., /dev/sdb, /dev/sdc)
sudo fdisk /dev/sdb

# Inside fdisk:
# n -> new partition
# p -> primary
# 1 -> partition number 1
# <Enter> -> default start
# <Enter> -> default end (use whole disk)
# t -> change type
# fd -> set type to 'Linux raid autodetect'
# w -> write changes and exit
2. Create the RAID Array
This is the main step. We tell mdadm to create a new array.
sudo mdadm --create /dev/md0 --level=1 --raid-devices=2 /dev/sdb1 /dev/sdc1

# --create /dev/md0       : Create a new array device named md0.
# --level=1               : Set the RAID level to 1 (mirror).
# --raid-devices=2        : Specify that the array uses 2 devices.
# /dev/sdb1 /dev/sdc1     : The component devices.
3. Monitor the Build Process
The array will start syncing (for RAID 1, 5, 6, 10). You can watch the progress.
# Quick view of the progress
watch cat /proc/mdstat

# Detailed view of the array
sudo mdadm --detail /dev/md0
4. Format and Mount the Array
Once the array is created, it appears as a single block device (/dev/md0). You can now format it with a filesystem and mount it.
# Format with an ext4 filesystem
sudo mkfs.ext4 /dev/md0

# Create a mount point
sudo mkdir /mnt/mydata

# Mount the array
sudo mount /dev/md0 /mnt/mydata
5. Make the Array Persistent
To ensure your array is automatically assembled and mounted at boot, you need to update two files.
- /etc/mdadm/mdadm.conf: Tells
mdadmhow to assemble the array. - /etc/fstab: Tells the system to mount the array.
# Scan the new array and append its info to mdadm.conf
sudo mdadm --detail --scan | sudo tee -a /etc/mdadm/mdadm.conf

# Add an entry to /etc/fstab to mount it, using its UUID for reliability
# First, find the UUID of the new filesystem on the array
sudo blkid /dev/md0

# Then, edit /etc/fstab and add the line (use the UUID you found)
# Example line:
# UUID=your-uuid-from-blkid  /mnt/mydata  ext4  defaults  0  2
4. Handling Disk Failure: A Real-World Test
The primary benefit of a redundant RAID is surviving a disk failure. Let's see how mdadm handles this. We will simulate a failure, remove the "broken" disk, and add a "new" one to let the array rebuild.

The video you watched earlier contains a fantastic demonstration of this exact scenario.
Redundant Array of Independent Disks (RAID) - creating, formatting, and disaster recovery
Now, let's watch the 'disaster recovery' portion of the BlueMonkey 4n6 video.
Please watch from 10:58 to 16:49. This section is crucial for your understanding of RAID management. Simulating Failure: See what happens when a drive is unplugged while data is being written. Identifying the Failure: Note how /proc/mdstat and mdadm --detail clearly show the array is 'degraded' and which disk has failed. Recovery Process: Follow the steps to remove the faulty device and add a new one, triggering the automatic rebuild process.
Step-by-Step Workflow: Recovering from a Failure
-
Simulate a Failure: You can mark a device as faulty with
mdadm.sudo mdadm /dev/md0 --fail /dev/sdb1 -
Check the Status: You'll see the array is now "degraded."
cat /proc/mdstat
sudo mdadm --detail /dev/md0
The array is still online and usable, but its redundancy is gone. You must replace the failed drive.
-
Remove the Faulty Drive:
sudo mdadm /dev/md0 --remove /dev/sdb1 -
Add a Replacement Drive: After physically replacing the disk, and assuming the new partition is
/dev/sdb1again, add it to the array.sudo mdadm /dev/md0 --add /dev/sdb1 -
Monitor the Rebuild: The array will immediately start rebuilding the data onto the new drive. You can monitor this with
watch cat /proc/mdstat. Once complete, the array will be "clean" and fully redundant again.
Conclusion
Congratulations! You've just walked through the complete lifecycle of a Linux software RAID array. You now have the foundational knowledge and practical skills to combine multiple disks for performance and redundancy.
Key Takeaways:
- RAID combines disks for performance (RAID 0), redundancy (RAID 1), or both (RAID 5, 6, 10).
- RAID is not a backup. It protects against hardware failure, not data loss.
- Linux software RAID is managed by the
mdadmtool, which controls themdraidkernel driver. - The primary
mdadmcommands are:--create: To build a new array.--detail&/proc/mdstat: To monitor the array's status.--fail,--remove,--add: To manage drive failures and recovery.
- A created RAID device (
/dev/mdX) is treated like any other block device—it needs a filesystem and a mount point, which can be made persistent in/etc/fstab.
Preview of the Next Lesson:
Now that you can create complex storage volumes like partitions, LVMs, and RAID arrays, what happens when the filesystem on them develops errors? In our final lesson of this module, we will learn how to check and repair file systems using fsck.