Hello! Welcome back.
In our last lesson, you successfully established a live connection to a PostgreSQL database using a robust pgxpool connection pool. While our application can now talk to the database, the database itself is an empty void. Before we can store any data, we need to define its structure—the tables, columns, and relationships that will form our application's schema.
Today, we will address this by implementing a systematic and version-controlled approach to managing our database schema.
Today's Learning Outcome: Implement database migrations using golang-migrate to manage schema evolution.
As an application evolves, its data requirements change. Manually applying SQL scripts across different environments (development, staging, production) is error-prone and not scalable. Database migrations solve this by treating your schema changes as code—versioned, repeatable, and automated. This is a cornerstone of modern application development and crucial for your goal of mastering project setup.
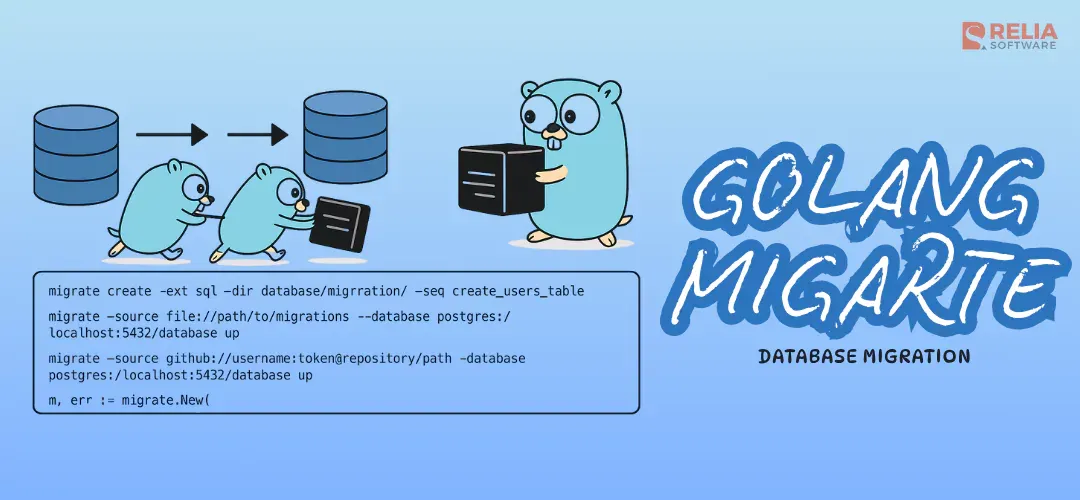
Why Database Migrations are Essential
In any long-running project, you'll inevitably need to:
- Add a new table for a new feature.
- Add a column to an existing table.
- Create an index to improve query performance.
- Change a data type.
Doing this directly on a production database is risky. What if you make a mistake? How do you apply the exact same change to your teammate's machine? This is where migrations come in. They are pairs of SQL scripts:
- An
upscript applies a new change. - A
downscript reverts that same change.
This pairing is critical. If a deployment goes wrong, you can run the down migration to roll the database schema back to its previous stable state, maintaining system integrity.
The golang-migrate tool is a popular choice in the Go ecosystem for managing this process. Let's watch a short video that introduces the tool and its core concepts.
[Backend #3] How to write & run database migration in Golang
The video '[Backend #3] How to write & run database migration in Golang' by TECH SCHOOL provides a fantastic, concise introduction to golang-migrate. We'll start with the first part, which explains the tool's purpose and how to install it.
Watch the first minute and a half, the introductory segment. This covers what golang-migrate is and how to install the command-line tool.
Hands-On: Your First Migration
Now, let's apply these concepts to our project. We will install the golang-migrate CLI, create our first migration files, write the SQL to define our initial database schema, and apply it to the PostgreSQL container we set up in the last lesson.
Step 1: Install the golang-migrate CLI
As shown in the video, you can install the tool using go install or a package manager like Homebrew. For a project-local and platform-agnostic setup, go install is often preferred. Make sure your $GOPATH/bin or $HOME/go/bin is in your system's PATH.
Open your terminal and run the following command. The postgres tag ensures the PostgreSQL driver is included in the build.
go install -tags 'postgres' github.com/golang-migrate/migrate/v4/cmd/migrate@latest
Verify the installation by checking the version:
migrate -version
Step 2: Create the Migration Files
We'll store our migration files in a db/migrations directory at the root of our project. First, create this directory:
mkdir -p db/migrations
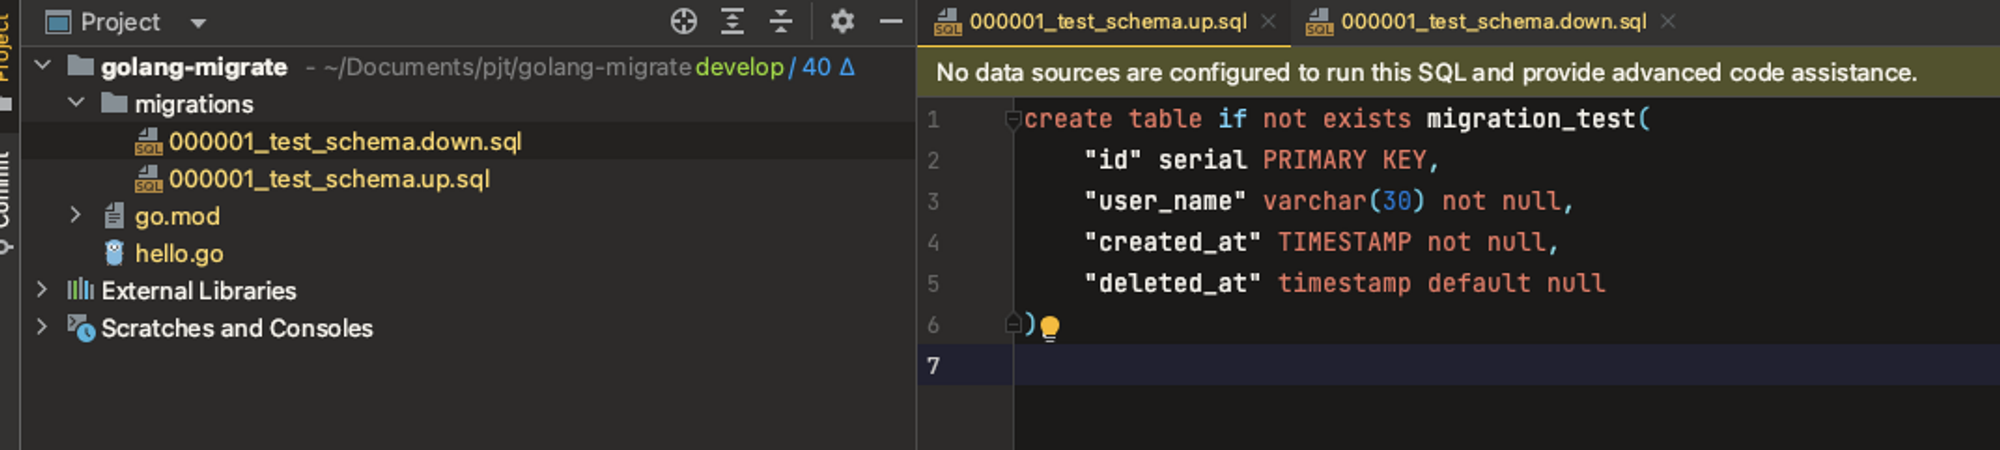
Now, use the migrate CLI to generate your first set of up and down files. The -seq flag tells it to use sequential numbers for versioning, which is simple and effective for our project.
migrate create -ext sql -dir db/migrations -seq init_schema
This command will create two files in db/migrations:
000001_init_schema.up.sql000001_init_schema.down.sql
This file structure is the foundation of our schema management.
Step 3: Write the SQL Schema
Now, open the two newly created files and add the SQL to create and drop our initial tables. For our simple bank, we'll need an accounts table and a transfers table.
-
Add this content to
000001_init_schema.up.sql:-- 000001_init_schema.up.sql CREATE TABLE "accounts" ( "id" bigserial PRIMARY KEY, "owner" varchar NOT NULL, "balance" bigint NOT NULL, "currency" varchar NOT NULL, "created_at" timestamptz NOT NULL DEFAULT (now()) ); CREATE TABLE "transfers" ( "id" bigserial PRIMARY KEY, "from_account_id" bigint NOT NULL, "to_account_id" bigint NOT NULL, "amount" bigint NOT NULL, "created_at" timestamptz NOT NULL DEFAULT (now()) ); ALTER TABLE "transfers" ADD FOREIGN KEY ("from_account_id") REFERENCES "accounts" ("id"); ALTER TABLE "transfers" ADD FOREIGN KEY ("to_account_id") REFERENCES "accounts" ("id"); CREATE INDEX ON "accounts" ("owner"); CREATE INDEX ON "transfers" ("from_account_id"); CREATE INDEX ON "transfers" ("to_account_id"); CREATE INDEX ON "transfers" ("from_account_id", "to_account_id"); -
Add this content to
000001_init_schema.down.sql:-- 000001_init_schema.down.sql -- Note the order: dependent tables and constraints are dropped first. ALTER TABLE "transfers" DROP CONSTRAINT IF EXISTS "transfers_to_account_id_fkey"; ALTER TABLE "transfers" DROP CONSTRAINT IF EXISTS "transfers_from_account_id_fkey"; DROP TABLE IF EXISTS "transfers"; DROP TABLE IF EXISTS "accounts";
Notice the down script is the logical reverse of the up script. We must drop the transfers table before the accounts table because of the foreign key relationship. This discipline ensures your migrations are truly reversible.
Applying and Verifying Migrations
With our SQL written, it's time to run the migration and bring our database schema to life. The following video segment walks through exactly how to do this using the CLI.
[Backend #3] How to write & run database migration in Golang
Let's continue with the TECH SCHOOL video. This part demonstrates the migrate up and migrate down commands, which are the core actions you'll be using.
Watch the explanation of the up/down philosophy and then the commands in action. The first part explains the underlying philosophy, and the second part shows the commands being executed, including how to specify the database connection string and how to verify the result.
Step 4: Run the Migration
As shown in the video, the migrate up command requires the path to your migration files and the database connection URL.
Run the following command in your terminal. This uses the credentials from the docker-compose.yml file in the previous lesson.
migrate -path db/migrations -database "postgres://admin:secret@localhost:5432/simple_bank?sslmode=disable" -verbose up
If successful, you'll see output indicating that version 1 was applied.
Step 5: Verify the Changes in the Database
You can verify the tables were created by connecting directly to the database.
-
Connect to the database using
docker exec:docker exec -it simple-bank-db psql -U admin simple_bank -
Inside the
psqlshell, list the tables:\dtYou should see
accounts,transfers, and a new table calledschema_migrations. This last table is used bygolang-migrateto track which version your database is currently at. -
Inspect the
accountstable structure:\d accountsThis will show the columns, types, and indexes you defined. You can exit
psqlby typing\q.
Step 6: Automate with a Makefile
Manually typing the long migrate command is tedious. Since you already have a Makefile from Module 1, let's add targets to automate this, a common practice in Go projects.
Add the following to your Makefile:
# Database connection string
DB_URL=postgres://admin:secret@localhost:5432/simple_bank?sslmode=disable


# ... other targets like build, run, lint ...


# Database migration commands
migrateup:
	migrate -path db/migrations -database "$(DB_URL)" -verbose up

migratedown:
	migrate -path db/migrations -database "$(DB_URL)" -verbose down

.PHONY: migrateup migratedown
Now you can simply run make migrateup and make migratedown. This is not only convenient but also ensures everyone on your team uses the exact same command.
For a more comprehensive look at Makefile integration and other CLI commands, this article is an excellent reference.
How to Implement Database Migrations in Go with golang-migrate
The article 'How to Implement Database Migrations in Go with golang-migrate' from OneUptime provides a great written summary of the CLI workflow, including a very useful Makefile example.
Read the section 'Running Migrations via CLI'. You've already done most of this, but pay attention to the 'Basic Migration Commands' table (find the command list just below the heading) and the 'Creating a Makefile for Convenience' section (read the Makefile rationale). This reinforces what you've learned and shows you other useful commands like goto and version.
Conclusion
Fantastic work today. You have successfully implemented a robust and repeatable process for managing your database schema. This is a critical skill that separates hobby projects from professional, maintainable systems. You now have a database with a defined structure, ready to accept data.
Key Takeaways:
- Database migrations are version-controlled scripts (
upanddown) that manage your database schema's evolution. golang-migrateis a powerful tool that can be used via its CLI to create, apply, and revert migrations.- The
upscript applies a change, and thedownscript must perfectly reverse it to allow for safe rollbacks. - The tool tracks the current schema version in a special
schema_migrationstable in your database. - Integrating migration commands into a
Makefilestreamlines the development workflow and ensures consistency.
Next Up
Our database is no longer a void—it has structure. The next logical step is to write the Go code that interacts with this structure. In the next lesson, you will execute parameterized queries and handle result scanning with pgx. You'll write the functions to create new accounts, retrieve them by ID, and finally begin building the PostgreSQL implementation of the Storage interface we designed earlier.