Introduction
Welcome to the final hands-on lesson of your UI/UX journey! In our previous session, you mastered the art of presenting your designs and facilitating client feedback, securing that crucial approval. Now, with the client's "yes" in hand, we move to the last, critical step in the design lifecycle: handing over your work to the developers who will bring it to life.
This process is less about creativity and more about precision, communication, and systematic organization—skills that should resonate strongly with your background in finance and audit. Just as an auditor prepares meticulous documentation so there is no room for misinterpretation, a designer prepares a Figma file so a developer can build the product with perfect accuracy.
Today, you will learn how to prepare a flawless developer handoff. We will focus on organizing your file, using Figma's Dev Mode to add context and specifications, and ensuring all assets are ready for export. This will ensure the final product is a true reflection of your design vision.
1. The Foundation: A Perfectly Organized Figma File
Effective handoff begins long before you switch to Dev Mode. A clean, logically structured file is the single most important factor in a smooth collaboration with developers. A messy file leads to confusion, incorrect implementation, and wasted time.
The video below provides an excellent overview of the professional standard for organizing a Figma project. This structure ensures that anyone—a developer, a fellow designer, or even your future self—can understand your work instantly.
Figma Tutorial: project organization that saves you hours of work
In "Figma Tutorial: project organization that saves you hours of work," the Flux Academy channel breaks down how to structure a design file for clarity and collaboration.
Pay close attention to these key organizational layers: Files: Understand when to create a new file for a project. For your freelance work, this will typically be one file per client project (e.g., "ClientName - Website"). Pages: Learn how to use pages to separate different phases or sections of your work. A common practice is to have pages like "Cover," "UI Library/Styles," "High-Fidelity," and "Archive." Frames: See how to logically sequence frames on the canvas to represent user flows or website structure (e.g., Home -> About -> Contact). Sections: This is a crucial concept for handoff. Sections allow you to group related frames (like an entire user flow) and label them for developers. Layer Naming: Absorb the simple but vital rule for naming layers. You don't need to name every rectangle, but naming key components and layout containers (Header, CTA-Section, Footer) makes your design understandable.
To complement the video, this checklist from VisualLoop provides a concise, actionable summary of what a well-organized file looks like. Think of this as your internal audit checklist before handoff.
The Complete Design Handoff Checklist: From Figma to Flawless ...
This article from VisualLoop provides a practical checklist for preparing your files.
Focus on the "File Organization Checklist" and "Component Naming Checklist" sections. Compare these points to the project files you've been building throughout this course. Do they meet this standard?
2. Preparing for Handoff in Dev Mode
Once your file is impeccably organized, it's time to switch to Dev Mode. This is a dedicated workspace within Figma that gives developers the tools they need to inspect your design and translate it into code. Your job is to prepare this workspace with all the necessary context.
Let's walk through the key actions a designer takes in Dev Mode before handoff.
Figma tutorial: Collaboration and handoff in Dev Mode
Figma's official channel provides a perfect walkthrough of the designer's role in the handoff process in this video, "Collaboration and handoff in Dev Mode." We'll follow the designer, Ash.
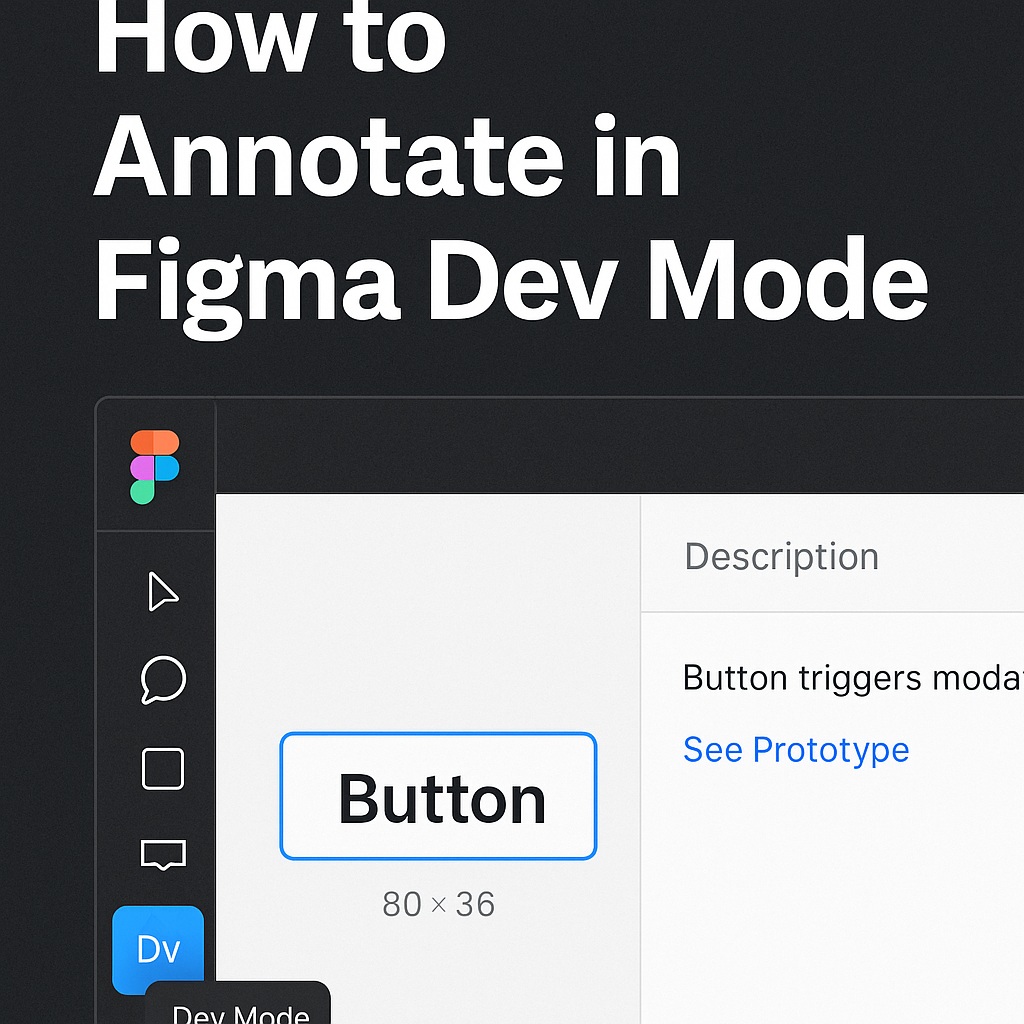
Watch these segments to see how a designer prepares the file: Adding Measurements: Ash uses the measure tool to explicitly call out spacing that might be ambiguous, like the distance from a headline to the top of the frame. This is useful when Auto Layout doesn't tell the whole story. Using Annotations: This is critical. Ash uses annotations to add context that isn't visible in the design, such as specifying the style change for an "active state." You can add notes, links to documentation, or explain complex interactions here. Marking as 'Ready for Dev': This is the final signal. By selecting a section and marking it "Ready for dev," you are officially flagging it for the development team to begin their work.
3. The Developer's View and Exporting Assets
To truly appreciate why this preparation is so important, let's look at it from the developer's perspective. When a developer opens your file in Dev Mode, they aren't just looking at a picture—they're inspecting a blueprint.
Figma tutorial: Collaboration and handoff in Dev Mode
Continuing with the same Figma video, we now switch roles to see how the developer, Apollo, uses the prepared file.
The 'Ready for Dev' View: Notice how Apollo doesn't have to hunt through your file. He can immediately see the specific sections you've marked as ready for work, creating a clear and focused to-do list. Comparing Versions: Dev Mode allows developers to compare different versions of a design. When you make an update, they can see exactly what changed (e.g., a color value, a piece of text), which prevents errors.
Exporting Assets
A final, crucial piece of handoff is providing all necessary image and icon assets in the correct formats. In the past, this was a manual and tedious process. Figma streamlines this significantly.
As a designer, your job is to mark which elements need to be exportable.
- Select the layer or group you want to make exportable (e.g., an icon, a logo, a photo).
- In the Design panel (on the right-hand sidebar), scroll to the bottom and click the "+" next to Export.
- Choose the format. A general rule of thumb:
- SVG: For logos, icons, and any vector-based graphics. They scale infinitely without losing quality.
- PNG: For images that require a transparent background.
- JPG: For photographs and complex raster images where file size is a concern.
- You can add multiple export settings to a single asset (e.g., providing a logo at 1x, 2x, and 3x resolution for different screen densities).
Once you've set these export settings, the developer can easily select the asset in Dev Mode and download it in the format you've specified from the "Assets" section of the inspect panel.
Figma's official documentation provides a comprehensive reference for all things Dev Mode.
Read the "Inspect" section of this guide. Skim through the different panels (A-I) to familiarize yourself with all the information a developer can access. Pay special attention to: G: View layer properties: This is where developers get the CSS values for your design. H: View applied styles: This shows them which color and text styles you used. I: Download assets: This shows the assets section where a developer can download anything you've marked for export.
Conclusion
You've now completed the entire design-to-handoff workflow. By treating your Figma file as a precise set of instructions rather than a simple picture, you bridge the gap between design and development, ensuring your vision is executed flawlessly. Your structured thinking and attention to detail, honed in your finance career, are immense assets in this final, critical phase.
Key Takeaways:
- Organization is Paramount: A clean file structure with logical naming for pages, frames, and layers is the foundation of a successful handoff.
- Dev Mode is Your Communication Hub: Use Dev Mode to formally prepare your designs. Mark sections as "Ready for dev" to signal what's actionable.
- Annotate for Clarity: Use measurements and annotations to communicate anything that isn't immediately obvious from the design itself, such as interaction logic, spacing rules, or content requirements.
- Prepare for Export: Mark all necessary assets (icons, images) for export in the correct formats (SVG, PNG, JPG) so developers can easily access them.
This lesson marks the end of the core technical skills in our curriculum. You have journeyed from a blank Figma canvas to creating professional, client-ready designs, and now, developer-ready specifications.
Preview of the Final Lesson:
In our very last session, we will close the loop on the freelance business cycle. You'll learn how to create a smooth project closure process, including final deliverable handoff, professional invoicing, and—most importantly—how to request a client testimonial to help you land your next gig.