Hello! Welcome back to the course.
In the last few lessons, we've established a solid foundation in Unity. We have a world, we can spawn a character into it, and we've just implemented a point-and-click movement system so the player can direct them around the scene. Our character can move, but they have no inner life, no motivation. It's time to change that.
This lesson marks a shift back to our Rust backend. We will begin building the "brain" of our simulation by implementing one of its most critical components. Our goal is to implement a needs system in Rust with four needs (hunger, energy, social, fun) that decay over time. This system will become the primary driver for character behavior and the foundation for the autonomous AI we'll build later.
Let's start giving our characters some personality and purpose.
1. What is a Needs System?
In life simulation games, a needs system is a set of internal stats that represent a character's physical and mental state. These stats, or "needs," decrease over time, and the player (or the AI) must direct the character to perform actions to replenish them. Letting a need drop too low often results in negative consequences for the character's mood or health.
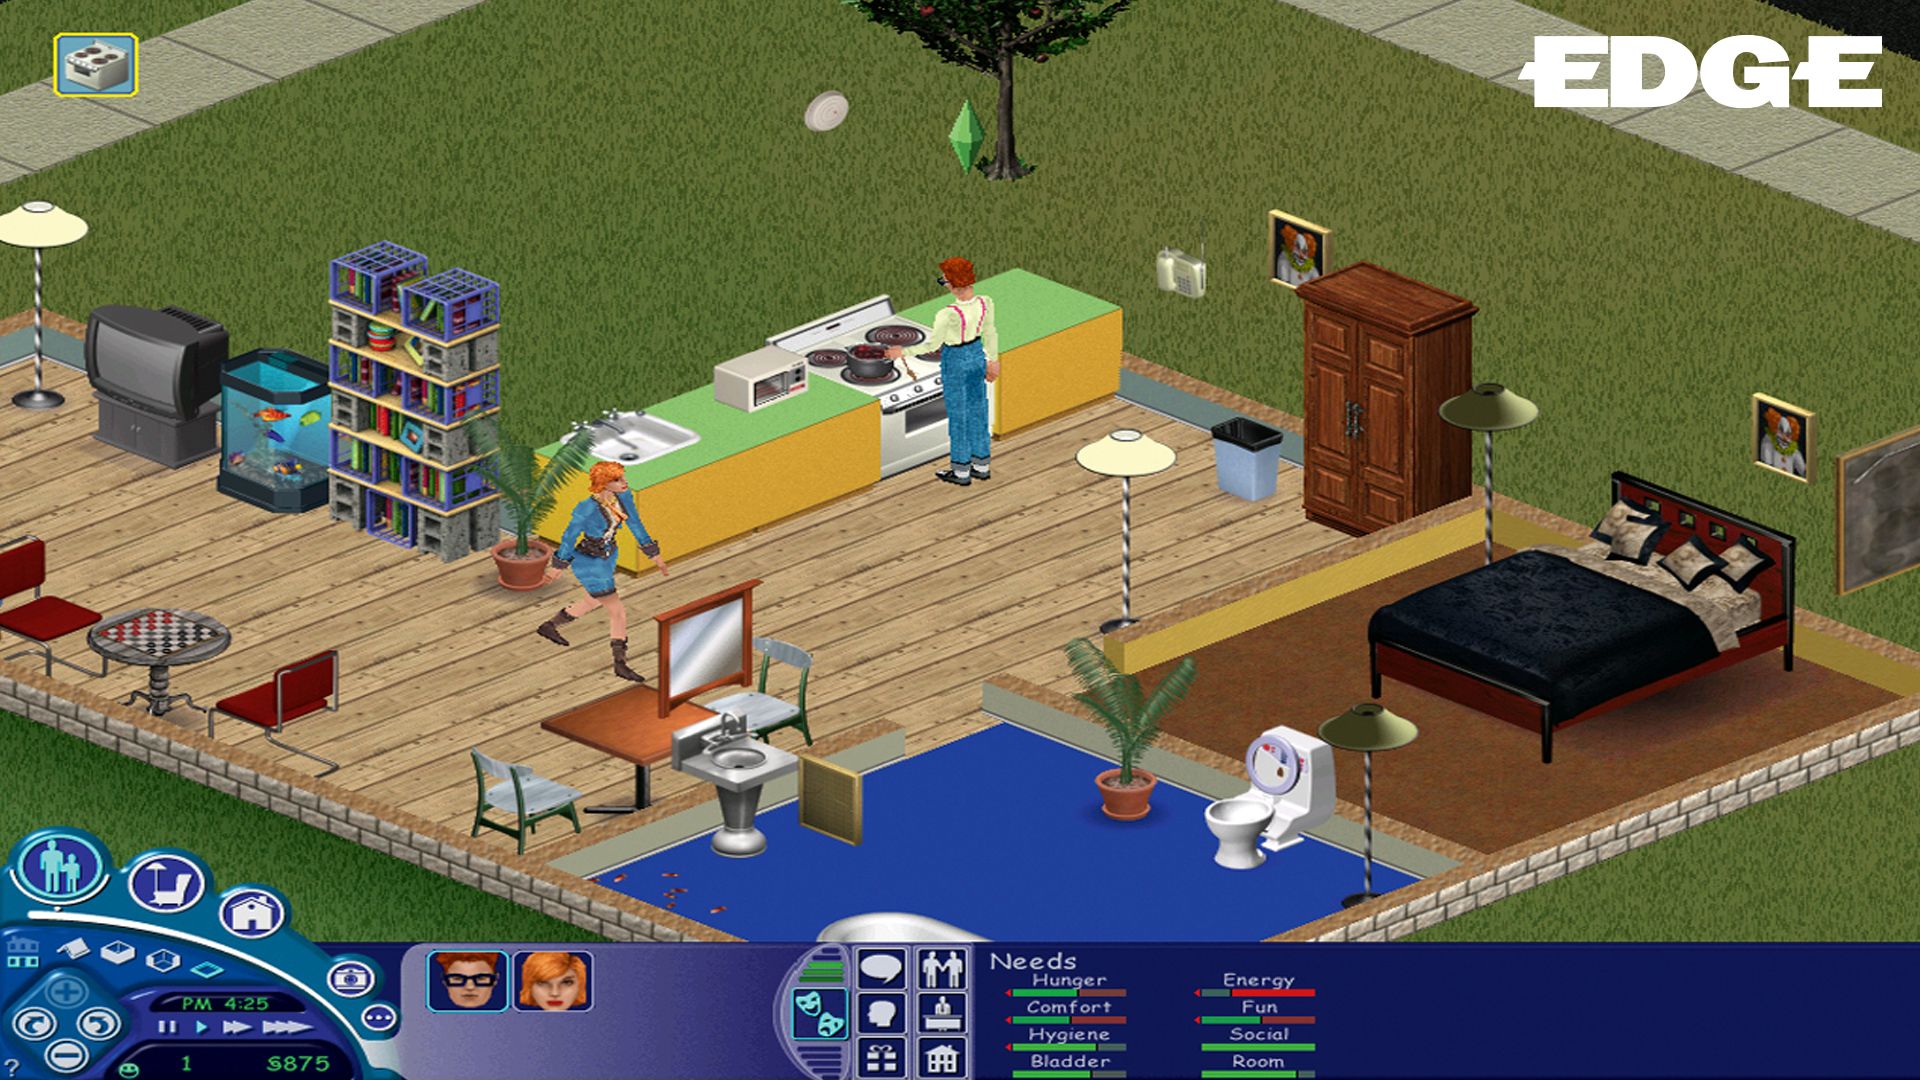
You've likely seen this in many games. The Sims is the classic example, where characters are driven by needs like Hunger, Hygiene, and Fun.
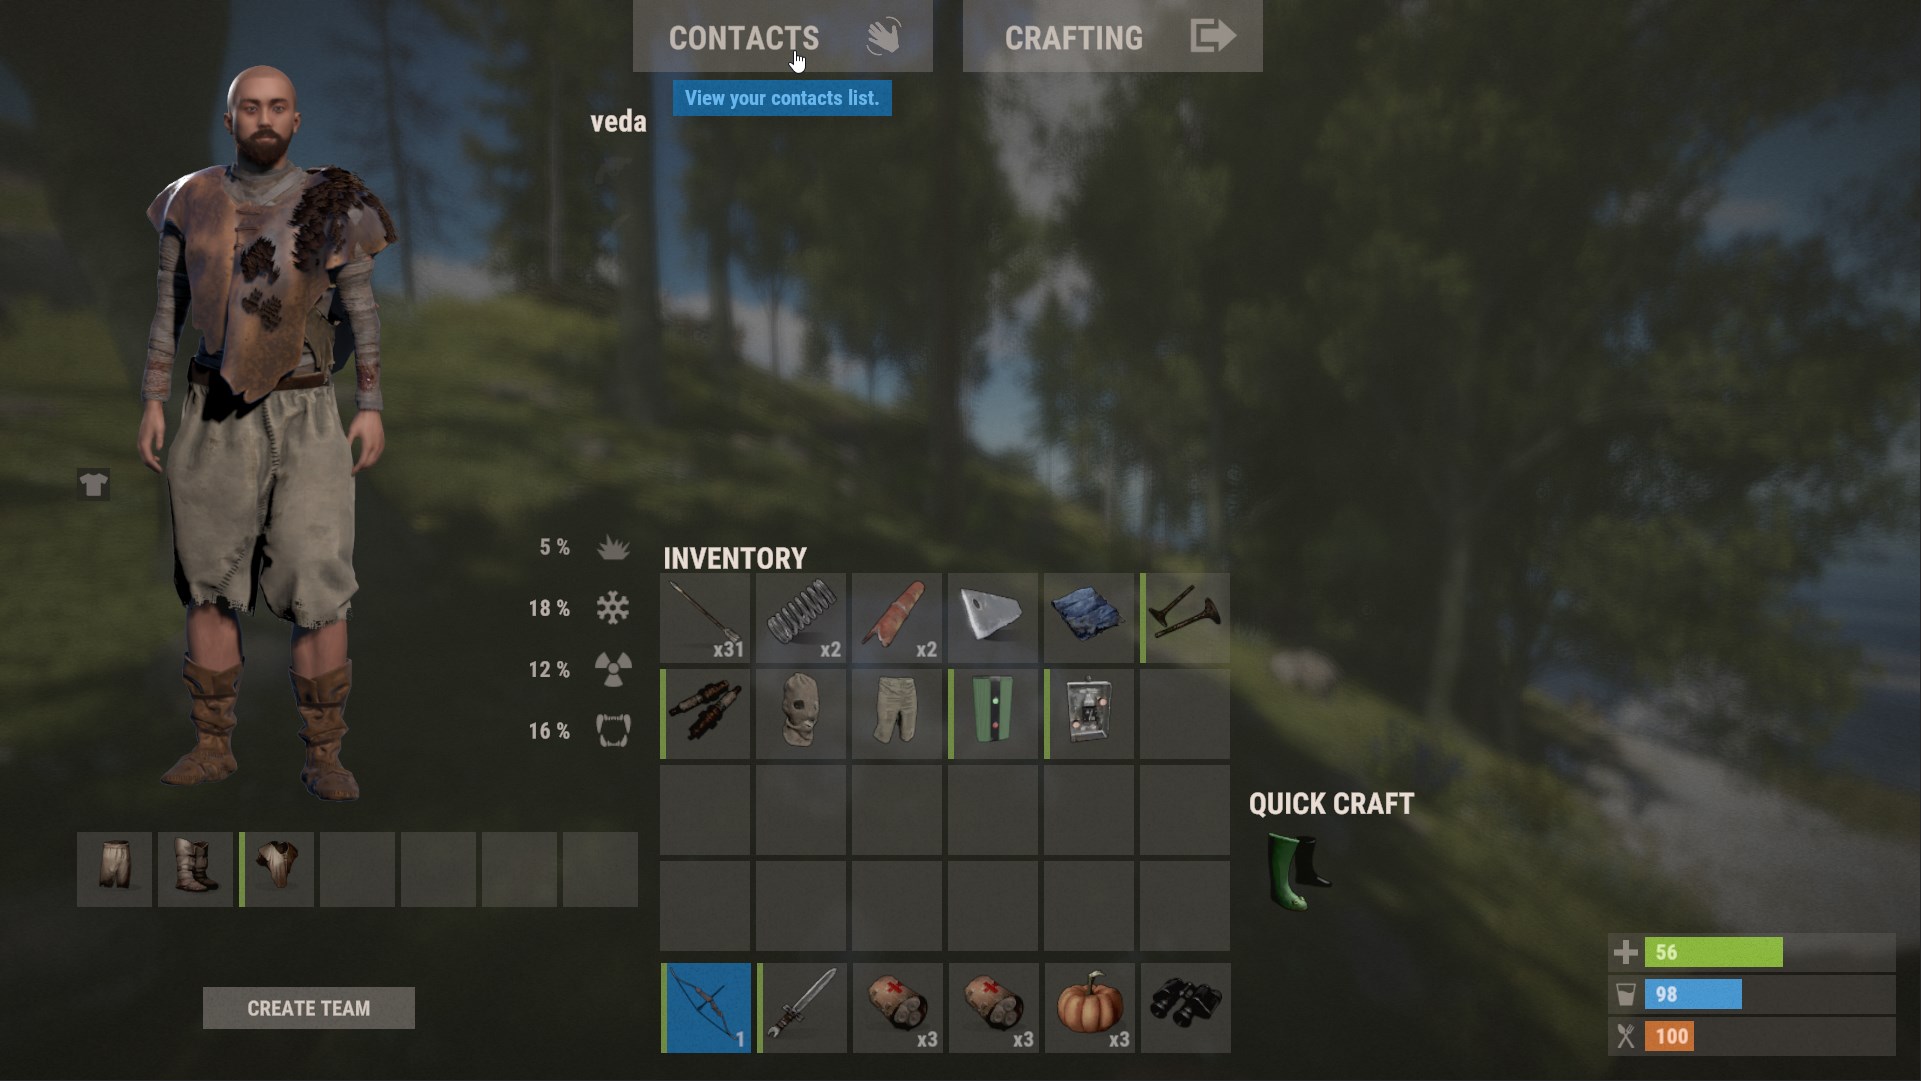
This concept isn't limited to life sims. Survival games like Rust use similar systems for hunger, thirst, and health, creating a sense of urgency and resource management.
For our game, we will start with four core needs:
- Hunger: The need to eat.
- Energy: The need to sleep or rest.
- Social: The need for interaction with other characters.
- Fun: The need for leisure and entertainment.
2. Implementing the Needs Struct in Rust
Let's get practical and write some Rust code. We'll start by defining a data structure to hold our four needs. A struct is perfect for this. We'll use f32 (32-bit floating-point numbers) for each need, representing their levels as a value from 0.0 (empty) to 1.0 (full).
Open your Rust project. In the file where you've defined your Character struct (e.g., lib.rs or a dedicated character.rs module), add the following code:
use serde::{Serialize, Deserialize};


#[derive(Serialize, Deserialize, Debug, Clone)]
pub struct Needs {
    pub hunger: f32,
    pub energy: f32,
    pub social: f32,
    pub fun: f32,
}

impl Needs {
    // A function to create a new Needs struct with default (full) values.
    pub fn new() -> Self {
        Needs {
            hunger: 1.0,
            energy: 1.0,
            social: 1.0,
            fun: 1.0,
        }
    }
}
A quick breakdown:
#[derive(Serialize, Deserialize, Debug, Clone)]: We're usingserde's derive macros so we can easily convert this struct to and from JSON for saving, loading, and communicating with Unity.Debugallows us to print it for debugging, andCloneallows us to make copies.pub: We make the struct and its fields public so they can be accessed from other parts of our code, including theCharacterstruct we'll modify next.impl Needs: This block is where we'll define functions (or "methods") that operate on theNeedsstruct. Thenew()function is a simple "constructor" that gives us a fresh set of needs, all at their maximum value.
Now, let's add this Needs struct to your main Character struct.
// Assuming you have a Character struct like this from previous lessons


#[derive(Serialize, Deserialize, Debug, Clone)]
pub struct Character {
    pub name: String,
    // ... other fields like age, personality, etc.
    pub needs: Needs,
}

impl Character {
    // You might have a constructor for Character already.
    // If so, modify it to initialize needs.
    pub fn new(name: String /*...other params...*/) -> Self {
        Character {
            name,
            // ...
            needs: Needs::new(), // Initialize with full needs
        }
    }
}
With this change, every character in our simulation now has their own set of needs.
3. Implementing Need Decay
Needs aren't static; their core gameplay function is to decay over time, creating motivation for action. We'll implement this with a decay function that reduces each need based on how much game time has passed.
First, let's define some constants for how quickly each need decays. Placing these at the top of your file is good practice. The values represent the amount of the need lost per second. You can tune these later to balance your game.
// Decay rates: units per second
const HUNGER_DECAY_RATE: f32 = 0.005;
const ENERGY_DECAY_RATE: f32 = 0.004;
const SOCIAL_DECAY_RATE: f32 = 0.003;
const FUN_DECAY_RATE: f32 = 0.0035;
Now, let's add the decay method to our impl Needs block. This function will take delta_time as an argument, which represents the time elapsed (in seconds) since the last update.
impl Needs {
    pub fn new() -> Self {
        // ... (as before)
    }

    // New method to handle decay
    pub fn decay(&mut self, delta_time: f32) {
        self.hunger -= HUNGER_DECAY_RATE * delta_time;
        self.energy -= ENERGY_DECAY_RATE * delta_time;
        self.social -= SOCIAL_DECAY_RATE * delta_time;
        self.fun -= FUN_DECAY_RATE * delta_time;

        // Clamp the values to ensure they stay between 0.0 and 1.0
        self.hunger = self.hunger.clamp(0.0, 1.0);
        self.energy = self.energy.clamp(0.0, 1.0);
        self.social = self.social.clamp(0.0, 1.0);
        self.fun = self.fun.clamp(0.0, 1.0);
    }
}
Explanation:
&mut self: This indicates that the method needs to modify theNeedsinstance it's called on.delta_time: Multiplying the decay rate bydelta_timemakes the decay frame-rate independent. A character will lose the same amount of hunger over 10 seconds whether the game is running at 30 FPS or 120 FPS..clamp(0.0, 1.0): This is a very useful function that ensures a value stays within a specified range. It prevents our needs from dropping below 0 or going above 1, which is important for when we start replenishing them.
4. Simulating Time with a Game Tick
We now have the logic to decay needs, but we need a central place to call it from. In game development, this is typically done in an update loop or a "game tick" function that runs repeatedly.
Let's define a main GameState struct and an update_simulation function. This structure will become the heart of our Rust backend.
// This struct will eventually hold all simulation data.


#[derive(Serialize, Deserialize, Debug, Clone)]
pub struct GameState {
    pub characters: Vec<Character>,
    // ... other world data will go here later
}

impl GameState {
    pub fn new() -> Self {
        GameState {
            characters: Vec::new(),
        }
    }

    pub fn update_simulation(&mut self, delta_time: f32) {
        for character in &mut self.characters {
            character.needs.decay(delta_time);
        }
    }
}
The update_simulation function is simple but powerful. It takes the delta_time, loops through every character currently in the game, and calls the decay method on their needs. In the future, this function will be called from Unity on every frame to keep the simulation state in sync with what the player sees.
5. Testing Your Logic
How can we be sure our decay logic works without connecting it to Unity yet? We can write a unit test. This is a great habit to get into, especially for backend logic that doesn't have an immediate visual component.
At the bottom of your Rust file, add the following test module:
#[cfg(test)]
mod tests {
    use super::*;


    #[test]
    fn needs_decay_over_time() {
        // 1. Setup
        let mut character = Character::new("Testy McTestface".to_string());
        assert_eq!(character.needs.hunger, 1.0); // Check initial state

        let delta_time = 10.0; // Simulate 10 seconds passing

        // 2. Action
        character.needs.decay(delta_time);

        // 3. Assertion
        let expected_hunger = 1.0 - (HUNGER_DECAY_RATE * delta_time);
        // Use a small epsilon for float comparison
        assert!((character.needs.hunger - expected_hunger).abs() < 1e-6);
        println!("Hunger after 10s: {}", character.needs.hunger);
    }


    #[test]
    fn needs_do_not_drop_below_zero() {
        // 1. Setup
        let mut character = Character::new("Bottom Out".to_string());
        character.needs.energy = 0.05; // Start with a low need

        let delta_time = 100.0; // Simulate a long time passing

        // 2. Action
        character.needs.decay(delta_time);

        // 3. Assertion
        assert_eq!(character.needs.energy, 0.0);
        println!("Energy after 100s: {}", character.needs.energy);
    }
}
You can run these tests from your terminal in your project's root directory using the command cargo test.
The first test, needs_decay_over_time, checks if a need decays by the correct amount over a 10-second interval. The second, needs_do_not_drop_below_zero, verifies that our clamp logic works and prevents a need from falling below 0.0.
Conclusion
Congratulations! You have successfully implemented the core of a needs system in Rust. This is a massive step towards creating believable, autonomous characters. While it's just numbers in the backend for now, this system lays the critical groundwork for everything from AI decision-making to player feedback.
Key Takeaways:
- A
Needsstruct is an effective way to organize a character's internal stats. - Using
f32and a0.0to1.0range is a flexible standard for representing needs. - Logic for changing stats over time should be
delta_timedependent to ensure it's not tied to the game's frame rate. - The
.clamp()function is essential for keeping values within a valid range. - A central
update_simulationfunction provides a single entry point for advancing the game state. - Unit tests are invaluable for verifying backend logic without needing a visual frontend.
In our next lesson, we will build directly on this foundation. We will define a mood score in Rust computed as a weighted function of current need levels. This will give us a single, high-level indicator of a character's well-being, which is crucial for both AI behavior and UI feedback.