Hello! Let's get started on the next part of our life simulation game.
In the last two lessons, you built the core persistence logic in Rust. You now have a save_game function to serialize the entire GameState to a JSON file and a load_game function to deserialize it back into memory. This is the foundation of our save/load system.
Today, we'll build the user-facing part of this system in Unity. Our learning outcome is to build a main menu screen with 'New Game' and 'Load Game' buttons. We'll create a dedicated Unity scene for the menu, add the necessary UI elements, and write the C# scripts to handle player choices. This lesson will focus on the Unity implementation; we'll connect these buttons to our Rust backend in the next one.
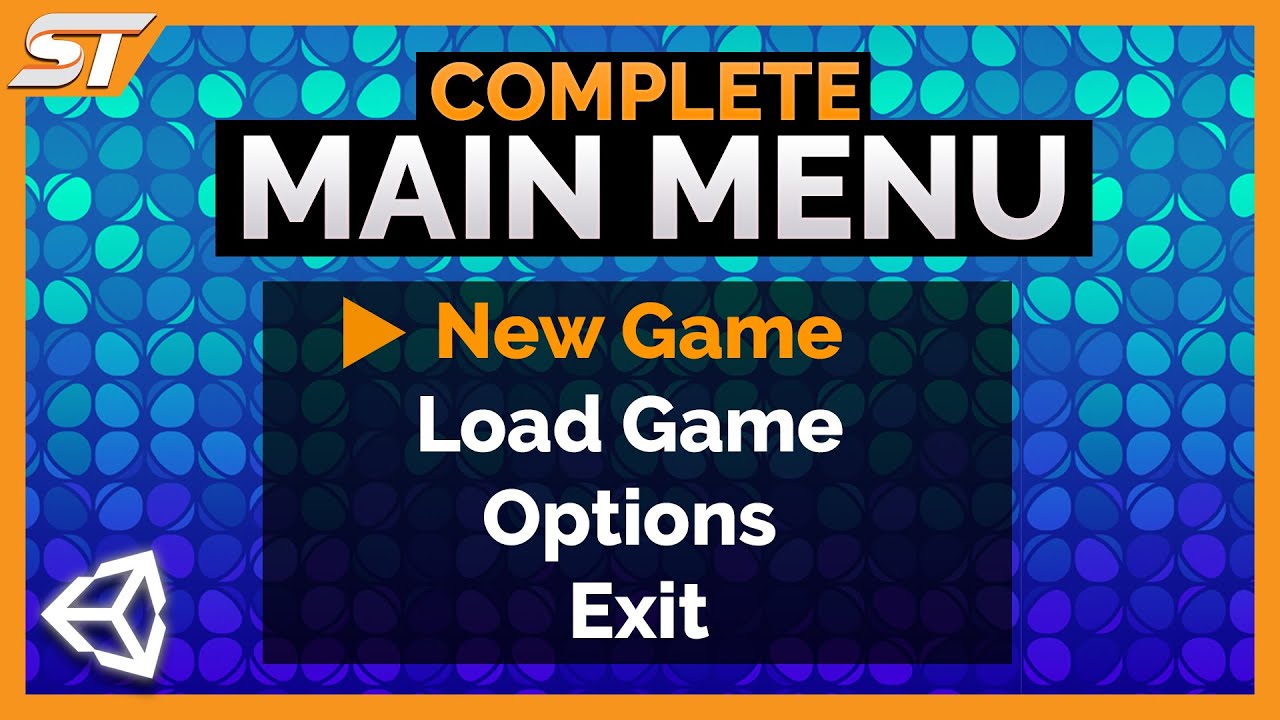
Here's an example of what a typical main menu looks like. This is the kind of clean, functional interface we're aiming for.
1. Setting Up the Main Menu Scene
First, every game needs at least two scenes: one for the main menu and one for the actual gameplay. We also need to tell Unity the order in which to load them.
- Create a new scene in your Unity project. Save it as
MainMenu. - Create another new scene and save it as
Game. This will be our main gameplay scene for now. - Add both scenes to the build order, ensuring
MainMenuis the first one (at index 0).
The following video provides a clear, step-by-step guide for setting up your scenes in the build settings.
Unity MAIN MENU 2022 Tutorial | Beginner Friendly
This video, 'Unity MAIN MENU 2022 Tutorial' by GarrettDeveloper, will guide us through the practical steps of creating the menu. First, let's see how to configure the scenes in your build settings.
Watch from 00:41 to 01:25. Follow the instructions to add your MainMenu and Game scenes to the 'Scenes In Build' list. Make sure MainMenu is at index 0 and Game is at index 1.
2. Building the Menu UI
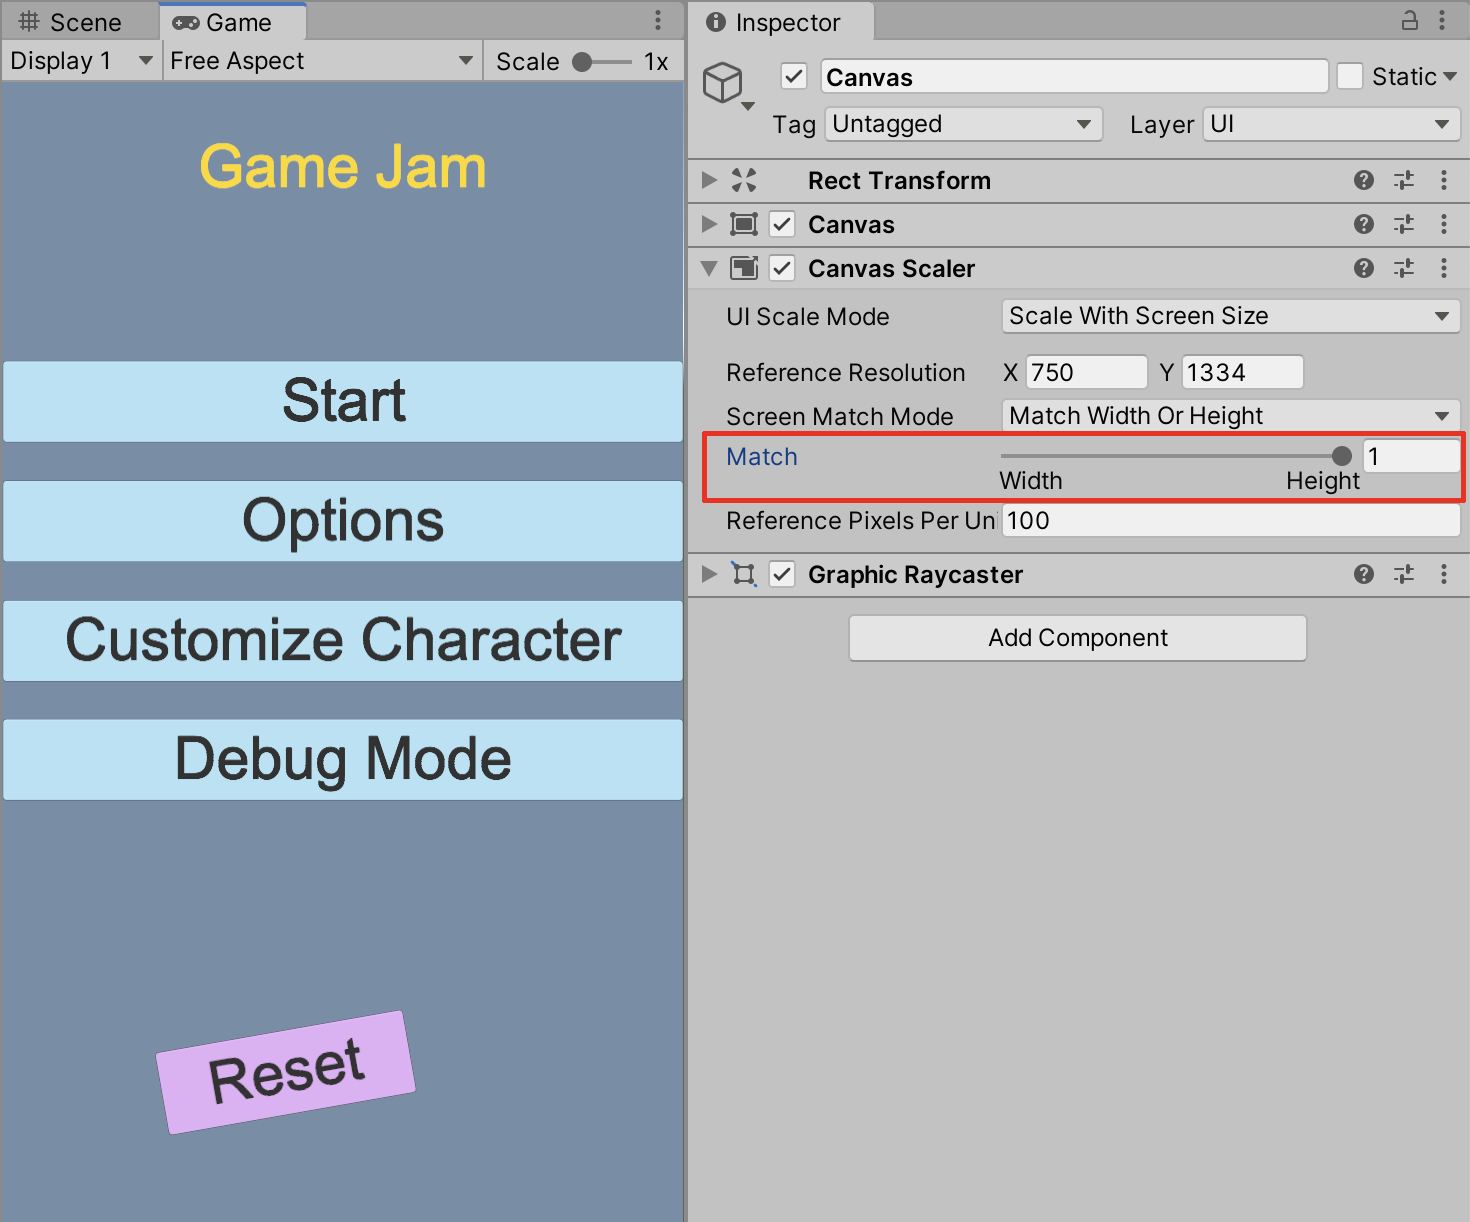
With our MainMenu scene open, we can now build the visual elements. In Unity's UI system, all elements like buttons and text must reside inside a Canvas. We'll also use a Canvas Scaler component to ensure our menu looks good on different screen resolutions.
Since you have experience with Unity, this should be a familiar process. The video below is an excellent refresher and guide.
Unity MAIN MENU 2022 Tutorial | Beginner Friendly
Now, let's create the Canvas and add our buttons. Follow along with the video to build the UI.
Watch from 01:33 to 05:40. (01:33-02:45) Follow the steps to create a Canvas and set up the Canvas Scaler. You can add a background panel or image for visual style. (02:45-05:40) Create three buttons using TextMeshPro. Name and label them 'New Game', 'Load Game', and 'Quit'. Don't worry about perfect positioning or style; focus on functionality.
The Canvas Scaler is a particularly important component for creating a responsive UI. Setting its UI Scale Mode to Scale With Screen Size is a common and effective strategy.
3. Scripting the Button Actions
Our buttons look right, but they don't do anything yet. We need a C# script to define their behavior and then link each button's OnClick event to the appropriate function in our script.
Create a new C# script named MainMenuController.cs and add it to an object in your scene, such as the Canvas itself. Then, open the script and add the following code. This provides the public methods we'll need for our buttons.
using UnityEngine;
using UnityEngine.SceneManagement;

public class MainMenuController : MonoBehaviour
{
    /// <summary>
    /// Called when the 'New Game' button is clicked.
    /// </summary>
    public void OnNewGameClicked()
    {
        Debug.Log("New Game button clicked! Loading game scene...");
        // For now, we just load the game scene.
        // We will add the logic to differentiate this from a 'Load' action next.
        SceneManager.LoadScene("Game"); // Use scene name for clarity
    }

    /// <summary>
    /// Called when the 'Load Game' button is clicked.
    /// </summary>
    public void OnLoadGameClicked()
    {
        Debug.Log("Load Game button clicked! Loading game scene...");
        // This also loads the game scene.
        // The magic happens in how we tell the scene *to load data*.
        SceneManager.LoadScene("Game");
    }

    /// <summary>
    /// Called when the 'Quit' button is clicked.
    /// </summary>
    public void OnQuitClicked()
    {
        Debug.Log("Quit button clicked!");
        Application.Quit();

        // This line is to make the quit button work in the Unity Editor


        #if UNITY_EDITOR
        UnityEditor.EditorApplication.isPlaying = false;


        #endif
    }
}
Now, let's hook these functions up to the buttons in the Unity Editor.
Unity MAIN MENU 2022 Tutorial | Beginner Friendly
The next step is to connect each button's OnClick event to the methods we just wrote. This video demonstrates the process clearly.
Watch from 10:17 to 11:28. The video shows how to drag a script object into the OnClick event slot and select a public function. Apply this process for all three of your buttons: New Game Button -> MainMenuController.OnNewGameClicked Load Game Button -> MainMenuController.OnLoadGameClicked Quit Button -> MainMenuController.OnQuitClicked
At this point, you can enter Play mode and test your buttons. 'New Game' and 'Load Game' should both load your empty Game scene, and 'Quit' should stop the application.
4. Differentiating New Game vs. Load Game
We have a challenge: both the 'New Game' and 'Load Game' buttons load the same scene. How does the Game scene know whether it should start a fresh game state or load one from a file?
We need a way to pass information from the MainMenu scene to the Game scene. A simple and robust way to do this is with a static class that holds the player's intent. This class will persist across scene loads.
- Create a new C# script named
GameLaunchManager.cs. - Replace its contents with the following code. Note that this is a plain C# class, not a
MonoBehaviour.
// GameLaunchManager.cs
public static class GameLaunchManager
{
    public static bool ShouldLoadSavedGame { get; private set; }

    public static void SetLoadIntent(bool shouldLoad)
    {
        ShouldLoadSavedGame = shouldLoad;
    }
}
Now, let's update our MainMenuController to use this manager.
Modify the OnNewGameClicked and OnLoadGameClicked methods in MainMenuController.cs:
// In MainMenuController.cs

public void OnNewGameClicked()
{
    Debug.Log("New Game button clicked! Setting launch intent to NEW.");
    // Set the intent to start a new game
    GameLaunchManager.SetLoadIntent(false);
    SceneManager.LoadScene("Game");
}

public void OnLoadGameClicked()
{
    // First, check if a save file actually exists.
    // We will implement the full check in the next lesson.
    // For now, we assume it exists if the player clicks 'Load'.

    Debug.Log("Load Game button clicked! Setting launch intent to LOAD.");
    // Set the intent to load an existing game
    GameLaunchManager.SetLoadIntent(true);
    SceneManager.LoadScene("Game");
}
With this change, when the Game scene loads, a script within it can simply check GameLaunchManager.ShouldLoadSavedGame. If true, it will call our Rust load_game function. If false, it will initialize a new game state. This cleanly separates the responsibilities of each scene.
Conclusion
Excellent work! You've successfully built the user-facing entry point to our game. While it looks simple, you've established a critical piece of the application flow.
Key Takeaways:
- You created a dedicated
MainMenuscene and configured the game's scene-loading order in the Build Settings. - You built a responsive menu UI using a Canvas, Canvas Scaler, and TextMeshPro Buttons.
- You scripted the button actions in C# to handle scene transitions for starting a new game, loading a game, and quitting.
- You implemented a static manager class (
GameLaunchManager) to communicate the player's choice from the menu scene to the game scene—a crucial pattern for managing state across scene loads.
Preview of the Next Lesson:
Our main menu is ready, but it doesn't actually talk to our Rust backend yet. In our next lesson, "Integrate the save/load functions with the main menu and an in-game menu," we will complete the connection. You'll create a controller in the Game scene that reads the intent from GameLaunchManager and calls the appropriate function on our Rust FFI to either create a new game or load your savegame.json file.