Hello! Welcome back.
In our last lesson, you did the critical design work of creating a unified GameState struct. This acts as a comprehensive blueprint for your entire game world, holding everything from characters and their needs to the state of the world itself.
Today, we move from design to implementation. Our goal is to implement a save_game function that serializes the master game state struct into a single JSON file. We'll take an in-memory GameState instance, convert it into a human-readable JSON format, and write it to the disk. This is the first and most crucial step in making your game world persistent.
Let's get started.
1. The "Why" of Serialization
Before we dive into code, let's briefly frame what we're doing. The process of converting an in-memory data structure (like our Rust GameState struct) into a format that can be stored or transmitted (like a JSON file) is called serialization. The reverse process, which we'll tackle in the next lesson, is deserialization.
In game development, serialization is used for many things, but it's important to distinguish between saving level/world data for shipping with the game, and saving the player's progress. The video below makes this distinction clear.
Serialization (Saving/Loading Levels) | Game Engine Concepts #5
This short clip from GamesWithGabe's 'Game Engine Concepts' series clearly separates the idea of serializing scene data (for developers) from serializing game state (for players), which is exactly our focus today.
Watch from 02:00 to 03:17. Pay attention to the difference between the 'development phase' (serializing worlds) and the 'production phase' (game save slots).
Our save_game function is a "production phase" feature. We're capturing the live, dynamic state of the simulation so the player can return to it later.
2. The Tool for the Job: serde
In the Rust ecosystem, the gold standard for serialization is a library called serde. It's a framework that can convert Rust data structures to and from a multitude of formats. We'll be using it with serde_json to handle the JSON format specifically.
First, we need to add these dependencies to your project.
Hitchhiker's Guide to JSON Data in Rust 🦀 Serialize and Deserialize with Serde 🗺️ Rust Tutorial
This video, 'Hitchhiker's Guide to JSON Data in Rust' by Trevor Sullivan, provides a clear, step-by-step guide to setting up serde for a project. We'll use it to add the necessary crates.
Watch from 06:31 to 08:41. Follow along and run these two commands in your project's root directory: cargo add serde --features derive cargo add serde_json This will automatically update your Cargo.toml file with the correct dependencies.
With the dependencies added, you now have the tools you need to serialize your data.
3. Making Your GameState Serializable
serde works its magic through a powerful Rust feature called procedural macros. By adding an attribute to our structs, we can ask the compiler to automatically generate the code for serialization and deserialization.
The attribute is #[derive(Serialize, Deserialize)].
You must add this attribute to your GameState struct and every custom struct it contains. This includes Character, World, RelationshipManager, GameClock, and any structs they contain in turn (like Personality, Needs, etc.). If serde encounters a struct without this attribute during serialization, the process will fail.
Here's an example:
// in character.rs
use serde::{Serialize, Deserialize};


#[derive(Serialize, Deserialize)]
pub struct Needs {
    pub hunger: f32,
    pub energy: f32,
    pub social: f32,
    pub fun: f32,
}


#[derive(Serialize, Deserialize)]
pub struct Character {
    pub name: String,
    pub needs: Needs,
    // ... other fields
}

// in game_state.rs
use serde::{Serialize, Deserialize};
use crate::character::Character;
use std::collections::HashMap;


#[derive(Serialize, Deserialize)]
pub struct GameState {
    pub characters: HashMap<u64, Character>,
    // ... other fields
}
The video you just watched explains this concept clearly, demonstrating it on nested structs, which is exactly our use case.
Hitchhiker's Guide to JSON Data in Rust 🦀 Serialize and Deserialize with Serde 🗺️ Rust Tutorial
Let's return to the 'Hitchhiker's Guide' video to see how to apply the derive attribute and handle nested structs.
First, watch from 08:41 to 10:39 to see how #[derive(Serialize, Deserialize)] is applied to a simple struct. Then, jump to 19:11 and watch until 22:07 to understand how this works for nested structs (like a Dog having an Owner). This is directly analogous to our GameState containing Character structs.
Go ahead and add use serde::{Serialize, Deserialize}; and the #[derive(Serialize, Deserialize)] attribute to all the data-holding structs in your project that are part of the GameState.
4. Implementing the save_game Function
Now we can write the save_game method. We'll add it to the impl GameState { ... } block you created in the last lesson. The function will perform two main steps:
- Serialize the
GameStateinstance into a JSON string. - Write that string to a specified file.
Step 1: Serialize to a "Pretty" JSON String
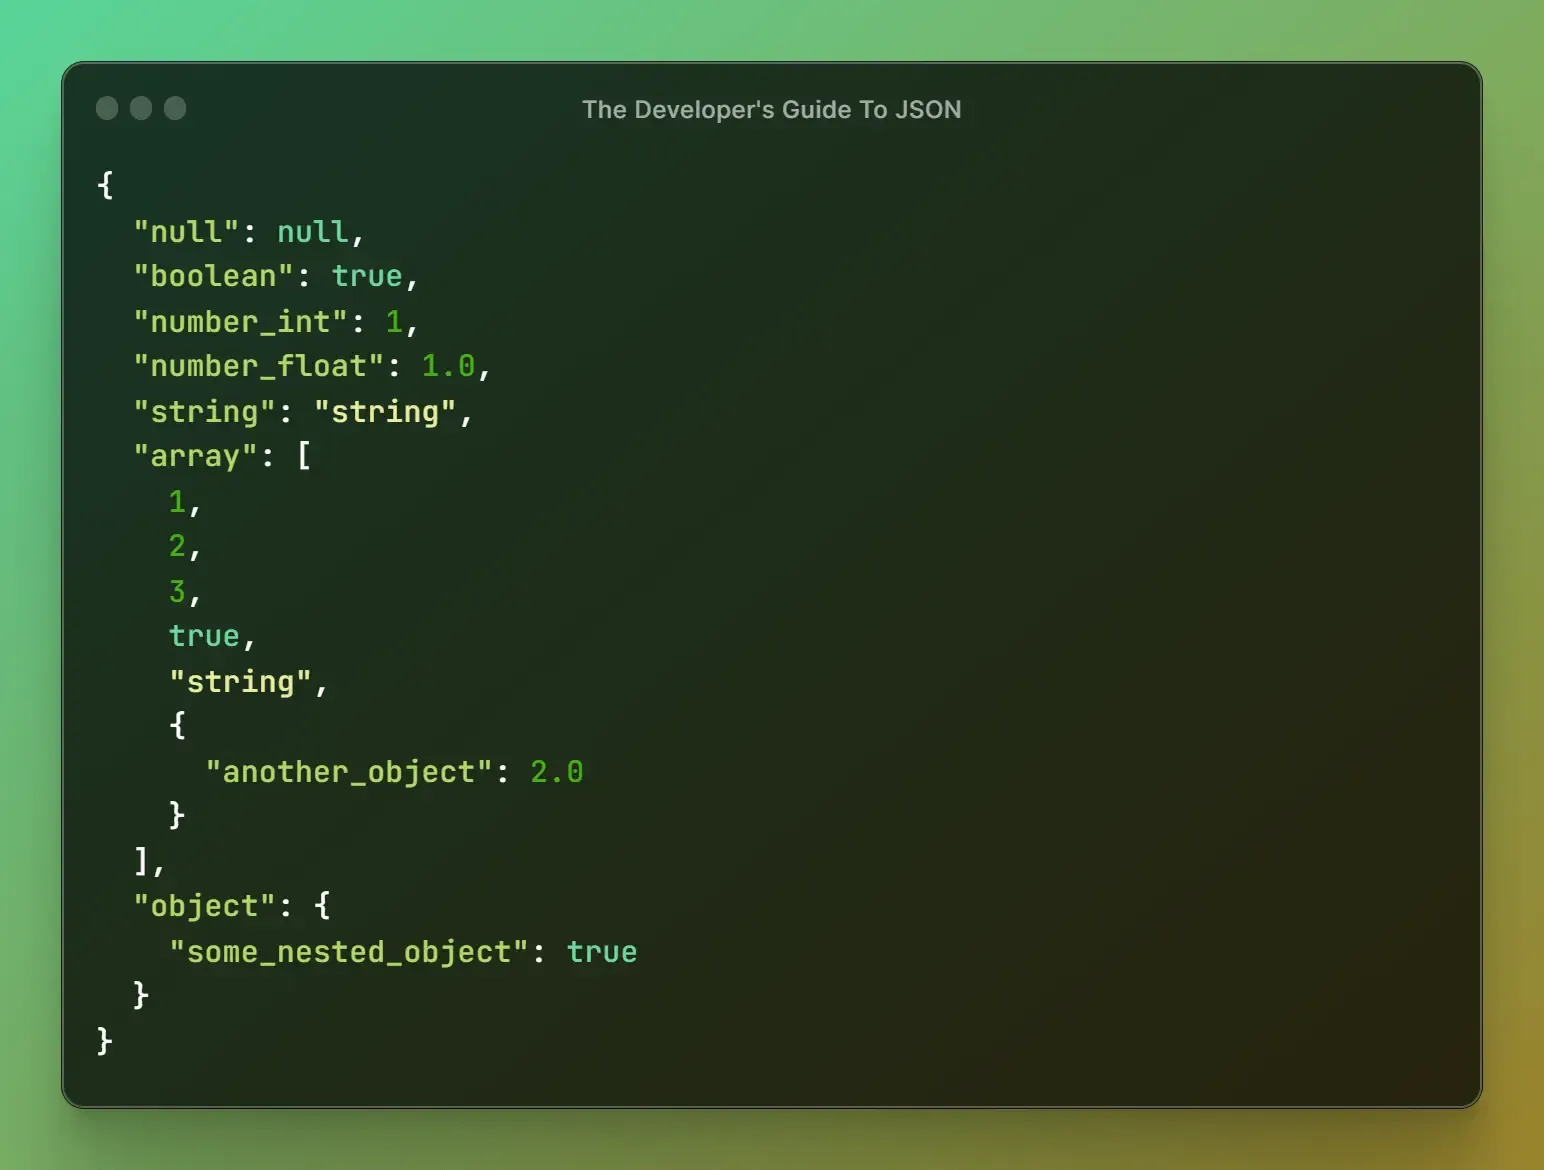
serde_json provides a handy function called to_string_pretty(). This converts our struct into a nicely formatted, indented JSON string, which is invaluable for debugging our save files.
Step 2: Write the String to a File
For file I/O, we'll use Rust's standard library. Specifically, we'll use std::fs::File to create the file and std::io::BufWriter for efficient writing.
The following resource provides a concise and idiomatic example of how to do this.
Creating and Writing JSON Data in Rust
This article, 'Creating and Writing JSON Data in Rust,' has a perfect example of how to write a generated JSON string to a file.
Read the section titled 'Writing JSON Data to a File'. Focus on the code example that uses File::create, BufWriter, and write_all. This is the pattern we will use for our save_game function.
Step 3: Putting It All Together
Let's combine these steps into a single function. Open your game_state.rs file and add the following method inside your impl GameState block. The function will return a Result to allow for robust error handling, whether the error comes from serialization or file I/O.
// In src/game_state.rs, inside impl GameState { ... }

use std::fs::File;
use std::io::{BufWriter, Write};
use std::path::Path;

// ... other methods like `new()`

/// Serializes the entire game state to a JSON file.
pub fn save_game(&self, path: &Path) -> Result<(), Box<dyn std::error::Error>> {
    // 1. Serialize the GameState struct to a pretty JSON string.
    // The `?` operator will propagate any serialization errors.
    let json_data = serde_json::to_string_pretty(self)?;

    // 2. Create the file.
    // The `?` operator will propagate any file creation errors.
    let file = File::create(path)?;

    // 3. Create a BufWriter for efficient writing.
    let mut writer = BufWriter::new(file);

    // 4. Write the JSON data to the file.
    // The `?` operator will propagate any I/O errors.
    writer.write_all(json_data.as_bytes())?;

    // The file is automatically closed when `writer` goes out of scope.
    Ok(())
}
5. Testing Your Implementation
Now, let's test it! You can create a temporary main function to create a GameState instance, populate it with some test data, and call your new save_game method.
- Open your
main.rsfile. - Add the following code to your
mainfunction.
use std::path::Path;
// Make sure to import your GameState struct
// use your_project_name::game_state::GameState;

fn main() {
    // 1. Create a GameState instance. For now, a new, empty state is fine.
    // In a real scenario, this would be the live state of your game.
    let game_state = GameState::new();

    // 2. Define the save file path.
    let save_path = Path::new("savegame.json");

    // 3. Call the save_game method and handle the result.
    println!("Attempting to save game to {}...", save_path.display());
    match game_state.save_game(save_path) {
        Ok(_) => println!("Game saved successfully!"),
        Err(e) => eprintln!("Error saving game: {}", e),
    }
}
- Run your project using
cargo run. - Check your project's root directory. You should now see a file named
savegame.json. Open it! You will see the JSON representation of yourGameStatestruct.
Congratulations, you've just created a persistent snapshot of your game world!
Conclusion
In this lesson, you took a major step toward making your simulation persistent. You've successfully bridged the gap between your in-memory Rust data structures and a concrete file on disk.
Key Takeaways:
- You added
serdeandserde_jsonto your project to handle serialization. - You learned to use the
#[derive(Serialize)]attribute to make yourGameStateand all its nested structs ready for conversion. - You implemented the
save_gamefunction, which serializes the game state to a pretty JSON string usingserde_json::to_string_pretty. - You used Rust's standard library file I/O (
File::create,BufWriter) to write the JSON data to asavegame.jsonfile.
Preview of the Next Lesson:
Saving is only half the story. In our next lesson, we will complete the cycle by implementing the load_game function. You'll learn how to read the savegame.json file, use serde to deserialize the JSON data back into a GameState struct, and effectively restore your saved game world.