Welcome back! In the last lesson, we covered structs and methods, focusing on the critical difference between value and pointer receivers. You learned that to modify an object's state, you must use a pointer receiver—a pattern you'll see constantly in the Redis operator code.
This lesson focuses on Go's built-in collection types: slices and maps. Slices are Go's take on dynamic arrays, and maps are its implementation of hash tables (or dictionaries). In any Go application, and especially in a Kubernetes operator, these are the workhorses for managing collections of data. You'll find them used for everything from lists of Pods and container arguments (slices) to Kubernetes labels and annotations (maps).
By the end of this 60-minute lesson, you will be able to create, manipulate, and iterate over slices and maps, equipping you with the tools to handle the collections of resources that an operator manages.
1. Slices: Flexible and Powerful Views of Data
While Go has fixed-size arrays, you will almost always use slices. A slice is a flexible, dynamic-length view into the elements of an underlying array. Given your background, you can think of them as being similar to Python's lists or C++'s std::vector.
Conceptually, a slice is a small struct containing three pieces of information:
- A pointer to the first element of an underlying array.
- The length (
len) of the slice (the number of elements it contains). - The capacity (
cap) of the slice (the number of elements in the underlying array, starting from the pointer).

This structure makes slices efficient; when you pass a slice to a function, you're only copying this small descriptor, not the entire underlying array.
To get started, let's watch a video that introduces arrays, then quickly moves on to the more important topic of slices.
Arrays, Slices, Maps - Go Programming Tutorial #3
This video from NeuralNine provides a good introduction to slices. It contrasts them with fixed-size arrays and then demonstrates how to create, append to, and perform slicing operations.
Watch from 07:12 to 13:24. Pay close attention to how slices are created with make, how append works, and the syntax for creating a new slice from an existing one (e.g., s[1:4]).
Creating and Manipulating Slices
As you saw, there are a few common ways to create a slice:
-
Slice literal (most common for short, initialized slices):
// A slice of pod names podNames := []string{"redis-0", "redis-1", "redis-2"} -
Using
make(when you need to specify size and/or capacity):// Creates a slice of integers with length 0 and capacity 5. // This is efficient if you know you'll be adding up to 5 elements. numbers := make([]int, 0, 5) // Now we can append elements. The underlying array won't need to be reallocated // until we add the 6th element. numbers = append(numbers, 10, 20) // numbers is now [10, 20] fmt.Println(len(numbers), cap(numbers)) // Prints: 2 5Important: The
appendfunction returns a potentially new slice. If the original slice's capacity is exceeded, Go allocates a new, larger array and copies the elements over. You must always assign the result ofappendback to your slice variable:mySlice = append(mySlice, newValue). -
Slicing an existing array or slice:
allPods := []string{"redis-0", "redis-1", "redis-2", "redis-3"}

// Create a new slice containing only the followers
followers := allPods[1:] // ["redis-1", "redis-2", "redis-3"]
For more hands-on examples, including how append can be cleverly used to remove elements from a slice, this article provides excellent, concise code snippets.
Golang Tutorial - Slice and Map
This article from dev.to, 'Golang Tutorial - 5 Array, Slice and Map', has a great section on slices with clear code examples.
Read the 'Slice' section. Focus on the examples for creating slices with make, how append affects length and capacity, and the trick for removing elements using append(data[:i], data[j:]...).
Iterating Over a Slice
The idiomatic way to loop through a slice is with the for...range construct. This should feel familiar from Python's for item in list: or C++'s range-based for loop.
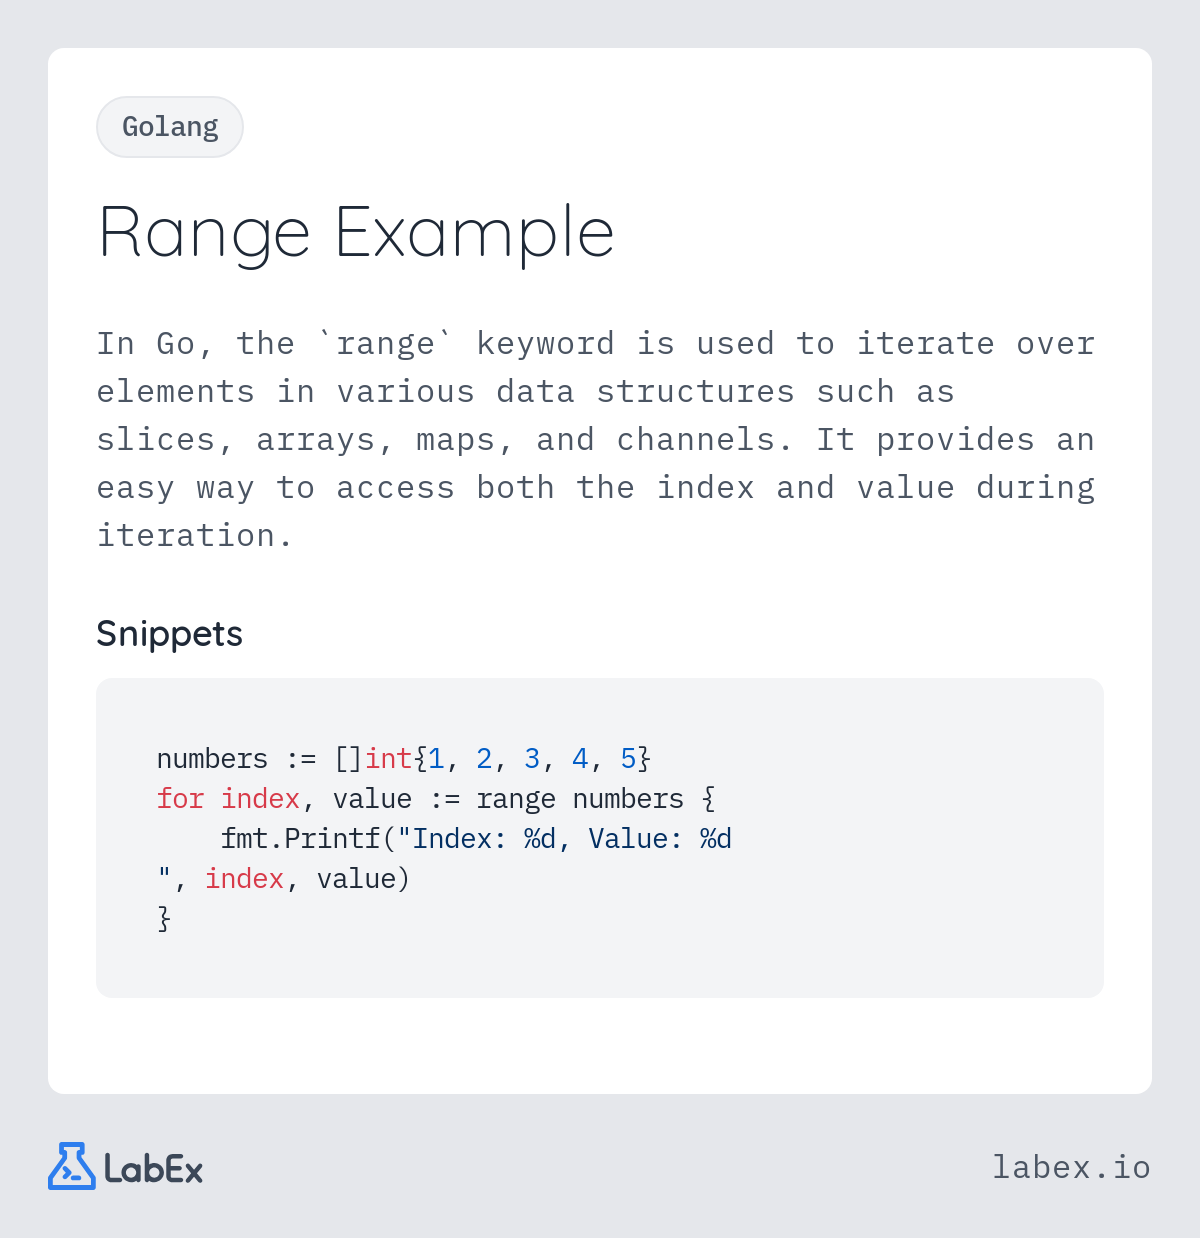
Here's how you'd use it:
podNames := []string{"redis-0", "redis-1", "redis-2"}

// Get both index and value
for i, name := range podNames {
    fmt.Printf("Pod at index %d is %s\n", i, name)
}

// If you only need the value, you can ignore the index with an underscore.
// This is very common.
for _, name := range podNames {
    fmt.Println("Processing pod:", name)
}
2. Maps: Go's Key-Value Store
Maps in Go are the built-in hash table implementation. They map unique keys to values, similar to Python's dictionaries or C++'s std::unordered_map. In the Redis operator, you'll see maps used extensively for Kubernetes labels and annotations.
map[KeyType]ValueType
The keys must be of a comparable type, meaning Go must be able to check them for equality (==). All the basic types like string, int, bool, and pointers are comparable. Structs are comparable if all their fields are comparable. Slices and maps are not comparable, so they cannot be used as map keys.
Let's watch a quick introduction to the basics of maps.
Arrays, Slices, Maps - Go Programming Tutorial #3
Continuing with the same video from NeuralNine, this next segment covers the essentials of maps.
Watch from 13:24 to 17:52. This section will show you how to make a map, add key-value pairs, delete entries, and, most importantly, use the 'comma ok' idiom to check if a key exists.
The "Comma Ok" Idiom
One of the most crucial patterns you just saw is checking for the existence of a key. Accessing a non-existent key in a map doesn't cause an error; it returns the zero value for the value type (e.g., 0 for int, "" for string, false for bool).
This can be ambiguous. Was the value 0 actually stored, or did the key not exist? To resolve this, Go's map access can return a second, optional boolean value:
// A map representing Kubernetes labels
labels := make(map[string]string)
labels["app"] = "redis"
labels["role"] = "master"

// Check for a key that exists
value, ok := labels["app"]
if ok {
    fmt.Printf("The 'app' label is: %s\n", value) // Prints: The 'app' label is: redis
}

// Check for a key that does NOT exist
value, ok = labels["tier"]
if !ok {
    fmt.Println("The 'tier' label is not set.") // Prints: The 'tier' label is not set.
}
Maps are Reference Types
Like slices, maps have reference-like behavior. When you assign a map to another variable or pass it to a function, you are copying a pointer to the same underlying data structure. This means modifications made through one reference are visible to the other.
func addAnnotation(annotations map[string]string) {
    // This modification will be visible to the caller.
    annotations["last-updated"] = "2024-10-27"
}

podAnnotations := map[string]string{"owner": "db-team"}
addAnnotation(podAnnotations)

fmt.Println(podAnnotations["last-updated"]) // Prints: 2024-10-27
This is a key difference from structs, where you needed a pointer receiver (*MyStruct) to achieve the same effect. With maps and slices, this behavior is built-in.
For a deeper dive into these more advanced map concepts, the following video is excellent.
Maps in Golang | Intermediate level
This video by Sreekanth provides a more intermediate look at maps, perfect for your background. It covers details that are crucial for writing robust code.
Watch the following segments: Comparable Keys (00:01 - 01:21): Understand what types can be used as map keys. Nil vs. Empty Maps (01:57 - 02:48): Learn the danger of writing to a nil map. Maps as Pointers (03:31 - 04:20): Reinforces the reference-type behavior. Iteration (05:23 - 06:59): See how to use for...range with maps and learn that the order is not guaranteed.
3. Practice Exercise
Let's combine what you've learned about structs, slices, and maps to solve a problem directly related to Kubernetes operators.
A common task for an operator is to find all the Pods it manages that have a specific set of labels.
Task:
- Reuse the
Podstruct from the previous lesson's exercise, but add aLabelsfield of typemap[string]string. - In your
mainfunction, create a slice ofPodstructs. Initialize a few pods with different names, namespaces, and labels. - Write a function
FindPodsByLabels(pods []Pod, selector map[string]string) []Pod. - This function should take a slice of all pods and a
selectormap. It should return a new slice containing only the pods that have all the key-value pairs present in theselector. - Call your function from
mainand print the names of the returned pods to verify it works.
Example data:
- A pod with labels
{"app": "redis", "role": "master"}should match a selector{"app": "redis"}. - The same pod should not match a selector
{"app": "redis", "role": "follower"}.
Solution
package main

import "fmt"

// 1. Pod struct with a Labels field
type Pod struct {
    Name      string
    Namespace string
    Status    string
    Labels    map[string]string
}

// 3. Function to find pods based on a label selector
func FindPodsByLabels(pods []Pod, selector map[string]string) []Pod {
    var matchingPods []Pod // Initialize an empty slice to store results

    // Iterate over each pod
    for _, pod := range pods {
        isMatch := true // Assume it's a match until proven otherwise

        // Iterate over the required labels in the selector
        for requiredKey, requiredValue := range selector {
            // Check if the pod's labels have this key and if the value matches
            value, ok := pod.Labels[requiredKey]
            if !ok || value != requiredValue {
                isMatch = false // If key doesn't exist or value differs, it's not a match
                break         // No need to check other labels for this pod
            }
        }

        // If after checking all selector labels, it's still a match, add it to our list
        if isMatch {
            matchingPods = append(matchingPods, pod)
        }
    }

    return matchingPods
}

func main() {
    // 2. Create a slice of Pods with different labels
    allPods := []Pod{
        {Name: "redis-master-0", Labels: map[string]string{"app": "redis", "role": "master"}},
        {Name: "redis-follower-0", Labels: map[string]string{"app": "redis", "role": "follower"}},
        {Name: "redis-follower-1", Labels: map[string]string{"app": "redis", "role": "follower"}},
        {Name: "other-app-0", Labels: map[string]string{"app": "other", "role": "web"}},
    }

    // 4. Define a selector and call the function
    fmt.Println("Finding pods with role: follower")
    selector := map[string]string{"role": "follower"}
    found := FindPodsByLabels(allPods, selector)

    // 5. Print the results
    for _, pod := range found {
        fmt.Println("-", pod.Name)
    }
}
Expected Output:
Finding pods with role: follower
- redis-follower-0
- redis-follower-1
Conclusion
Excellent work. Slices and maps are fundamental data structures, and you've now seen how to declare, initialize, manipulate, and iterate over them. The exercise demonstrated a very realistic scenario you'd encounter when building operator logic.
Key Takeaways:
- Slices are dynamic-length views on an underlying array, defined by a pointer, length, and capacity. Use
maketo create them with a specific size andappendto add elements. - Maps are key-value stores. Use
maketo initialize them. The zero value of a map isnil, which you cannot write to. - The
for...rangeloop is the idiomatic way to iterate over both slices and maps. Remember that map iteration order is not guaranteed. - The "comma ok" idiom (
value, ok := myMap[key]) is the standard, safe way to check for a key's existence in a map. - Both slices and maps are reference types, meaning function arguments receive a copy of a pointer to the underlying data. Modifications within the function are visible to the caller.
In our next lesson, we'll cover functions with multiple return values. We've already seen this in action with the "comma ok" idiom. We will formalize this concept, as it's a cornerstone of Go's design, especially for error handling.