Introduction
Hello! In our last lesson, we mastered how to read station signs for cardinal directions, enabling you to find specific exits like the 西口 (nishiguchi - West Exit) or 南口 (minamiguchi - South Exit). This is a vital skill for getting your bearings inside Japan's large and often complex train stations.
Now that you can navigate to the ticket gates, our next step is to purchase the ticket itself. This lesson focuses on the practical, step-by-step process of using an automated ticket machine to buy a standard train ticket. The process is quite logical and procedural, much like following a user guide for a new piece of software.
By the end of this lesson, you will be able to confidently walk up to a ticket machine, determine the correct fare for your destination, and purchase your ticket.
1. The First Step: Finding Your Fare
Before you even touch the ticket machine, you need to know how much your journey will cost. In Japan, for local train travel, you typically buy a ticket for a specific fare amount, not a specific destination.
Above most banks of ticket machines, you'll find a large map or chart called a 運賃表 (unchinhyō), which means "fare table."
Here is the process:
- Locate your current station on the map (it's usually highlighted or marked as 本駅 - hon'eki, "this station").
- Find your destination station on one of the train lines spreading out from your current location.
- Note the price listed next to your destination's name. This is the fare you need to pay.
For a clear description of this process, the travel website Japan-guide.com provides an excellent summary.
Please read the following section from the article 'Taking the train in Japan' on Japan-guide.com. It outlines the standard procedure for buying a short-distance ticket.
Please read subsection 'a) Purchase a ticket at a ticket machine'. Focus on the 5-step process described, which starts with finding your fare on the map above the machine.
2. Using the Ticket Machine: A Step-by-Step Algorithm
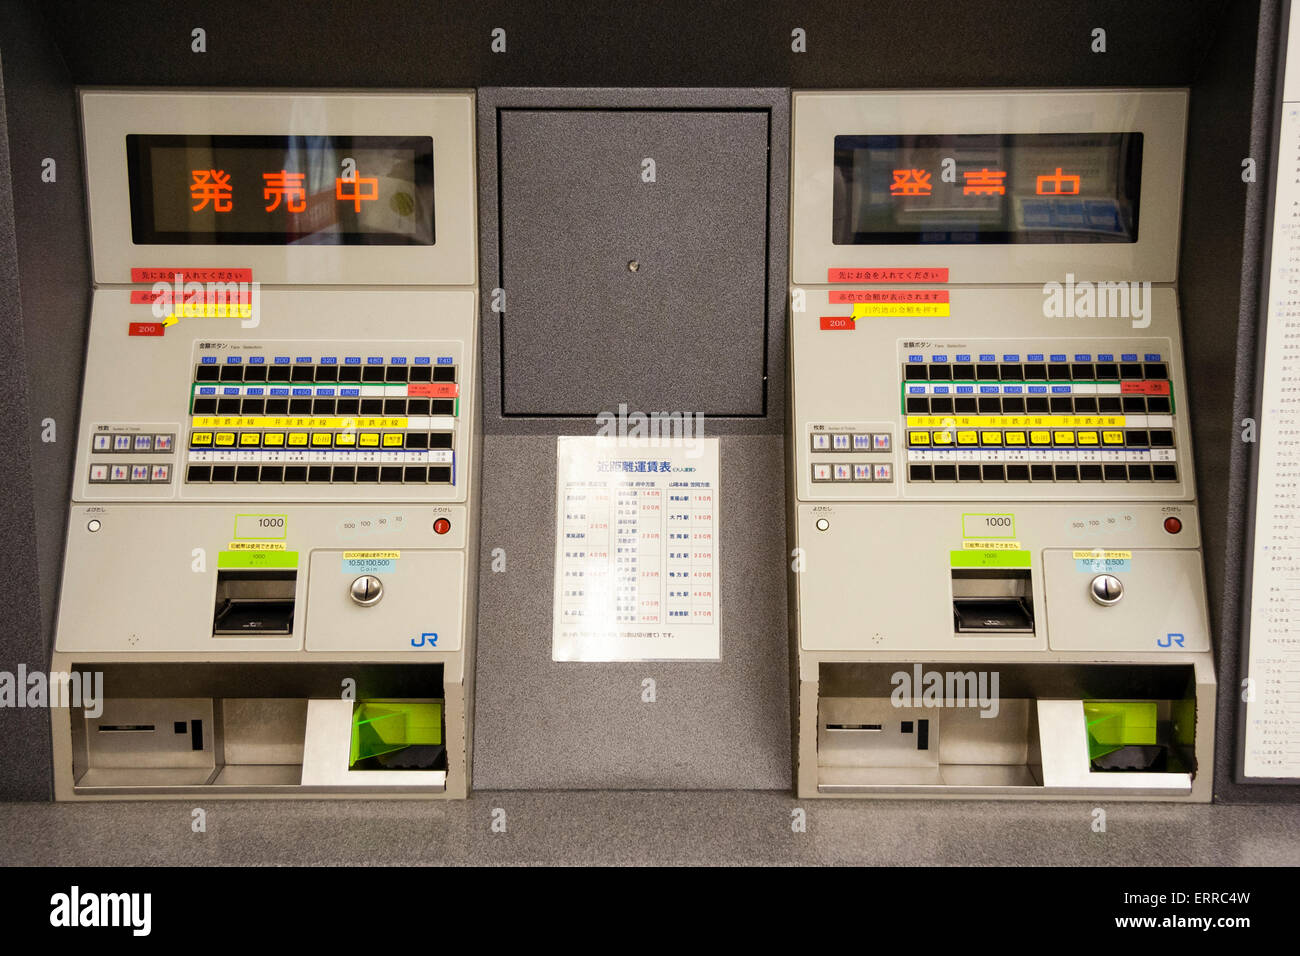
Once you know the fare amount (for example, 210円), you can proceed to the machine. The interface is essentially a grid of buttons corresponding to different fare values.

Here is the basic algorithm for purchasing a ticket:
-
(Optional but Recommended) Switch to English: Look for a button that says "English" in the corner of the screen. Most modern machines in cities have this option. The JR West guide below shows this clearly.
-
Insert Money: The machines accept coins (10, 50, 100, 500 yen) and bills (typically 1000 yen notes). You can usually insert money before or after selecting the fare.
-
Select the Fare Amount: Press the button on the screen that matches the fare you found on the 運賃表 (unchinhyō). For example, if your fare is 210円, press the "210" button.
-
(Optional) Select Number of People: The default is one adult. If you are buying for more people, look for buttons with icons of people (e.g., one for adults, one for children) to select the correct number of tickets.
-
Collect Your Ticket and Change: The machine will dispense your ticket(s) and any change into a tray at the bottom. Don't forget to take both!
To see these steps illustrated with official images, the JR West railway company provides a helpful guide.
How to use a ticket vending machine | West Japan Railway Company
Now, let's walk through an official guide from a Japanese railway company. This guide visually confirms the steps we've just discussed and also shows an alternative method where you can search by station name, which some machines offer.
Read the section 'Local service tickets'. Follow the step-by-step images, from switching the language to inserting money and receiving your ticket. This will give you a clear visual model of the entire process.
3. The Traveler's Safety Net: Fare Adjustment Machines
What happens if you can't find your destination on the map, or you buy a ticket for the wrong amount by mistake? This is a common concern, and the Japanese train system has an elegant solution.
If you arrive at your destination with a ticket that has insufficient fare, you do not need to worry. Before you reach the exit gates, you will see a group of yellow machines called 精算機 (seisanki), or "Fare Adjustment Machines."
Here’s how they work:
- Insert your original ticket into the 精算機 (seisanki).
- The machine's screen will display the amount of money you still owe.
- Insert the remaining amount in cash.
- The machine will then issue you a new exit ticket. You use this new ticket to pass through the exit gates.
This means you can even intentionally buy the cheapest ticket available at your departure station if you're in a hurry, and then simply pay the difference at your destination.
Let's refer back to the Japan-guide.com article for a confirmation of this process.
The resource we looked at earlier also explains this 'safety net' feature. Please read the short section on fare adjustment.
Find the section at the very end of the article, just above the 'Questions?' link. Read the paragraph about 'Fare Adjustment' machines. This is a crucial piece of practical information for stress-free travel.
Conclusion
You now have the complete workflow for buying a local train ticket in Japan. This is one of the most frequent and essential tasks you'll perform as a traveler, and knowing the process will make your transit smooth and efficient.
Key Takeaways:
- Step 1 is always the map: First, find your destination on the overhead fare chart (運賃表) to determine the correct price.
- The machine is for fares, not destinations: You will primarily be pressing a button with a yen amount (e.g., 210円), not typing in a station name.
- Look for the English button: It will make the process much simpler.
- Don't worry about mistakes: The fare adjustment machines (精算機) at your destination are a safety net that allows you to pay any fare difference before you exit.
Preview of the next lesson:
You've successfully found your exit, and now you can buy a ticket. But which train do you get on? In our next lesson, we'll learn some key phrases to ask for help finding the correct train line or platform for your destination.