Hello! Welcome to the first lesson in our module on Configuration Management with Ansible.
In the last module, you mastered how to provision and manage cloud infrastructure using Terraform. We wrapped up by integrating Terraform into CI/CD pipelines, establishing a robust workflow for Infrastructure as Code. Now, we shift our focus from provisioning the servers to configuring the software that runs on them.
This lesson addresses the learning outcome: Write idempotent Ansible playbooks to configure Linux services using common modules (e.g., package, service, template).
As a DevOps engineer, you understand the importance of declarative state and automation. Ansible applies these principles to server configuration. We'll start by writing your first playbook, focusing on the core concept that makes Ansible so powerful: idempotency.
1. From Shell Scripts to Ansible Playbooks
Before tools like Ansible, server configuration was often handled with shell scripts. While functional, they can be complex, error-prone, and difficult to maintain. Ansible provides a structured, declarative, and more readable way to achieve the same goals.
Ansible 101 - Episode 3 - Introduction to Playbooks
To understand the value of playbooks, let's watch this segment from Jeff Geerling's 'Ansible 101' series. He explains why playbooks are superior to ad-hoc commands or shell scripts.
Watch the segment from 24:38 to 26:39. Focus on the benefits he highlights: readability (YAML), version control, and the ability for people from different programming backgrounds to understand them easily.
An Ansible Playbook is a YAML file that describes a desired state for your systems. It contains:
- Plays: A set of tasks run against a specific group of hosts.
- Hosts: The servers or nodes you want to manage, defined in your inventory.
- Tasks: Individual actions performed by Ansible, each using a specific module.
become: A directive that tells Ansible to use privilege escalation (likesudo) to run tasks.
2. The Core Principle: Idempotency
The single most important concept in Ansible is idempotency.
How to Write Idempotent Ansible Tasks
The article 'How to Write Idempotent Ansible Tasks' explains this concept clearly. Let's read the introduction to understand what idempotency is and why it's crucial for reliable automation.
Read the introduction and the 'Why Idempotency Matters' section. The key idea is that an idempotent task can be run multiple times, but it will only make a change if the system is not already in the desired state.
Running a playbook should be a safe operation. If you run it once to install and configure Apache, running it a second time shouldn't cause errors or unintended side effects. It should simply report that everything is already "ok". This is what idempotency guarantees.
While you can run shell commands directly in Ansible, this often breaks idempotency. The real power comes from using Ansible's built-in modules, which are designed to be idempotent.
3. Building an Idempotent Playbook
Let's build a playbook step-by-step to install and configure a web server. We will translate the logic of a typical shell script into a robust, idempotent Ansible playbook using core modules.
The video below walks through this entire process, from a non-idempotent shell script to a proper Ansible playbook.
Ansible 101 - Episode 3 - Introduction to Playbooks
We'll return to Jeff Geerling's 'Ansible 101' video. He provides a masterclass in converting a basic server setup script into a proper playbook.
Watch the following segments, paying close attention to how each shell command is replaced by an idempotent Ansible module. Shell Script vs. Initial Playbook (28:26 - 39:34): First, he shows a typical shell script to install Apache. Then, he creates an initial playbook by simply wrapping these shell commands in command tasks. This illustrates the basic structure but is not the final goal. The yum Module (39:34 - 44:05): He replaces the command: yum install... task with the yum module. Notice how state: present ensures the package is installed but doesn't re-run the installation if it's already there. This is idempotency in action. The copy Module (44:05 - 48:43): He replaces cp commands with the copy module. This module checks if the destination file is different before overwriting it, avoiding unnecessary file operations. The service Module (48:43 - 51:04): He uses the service module with state: started and enabled: true. This ensures the service is running and enabled on boot, but it won't try to restart a service that's already running. Running the Playbook (52:01 - 55:13): Finally, he runs the complete playbook, demonstrating the become: true directive at the play level for privilege escalation.
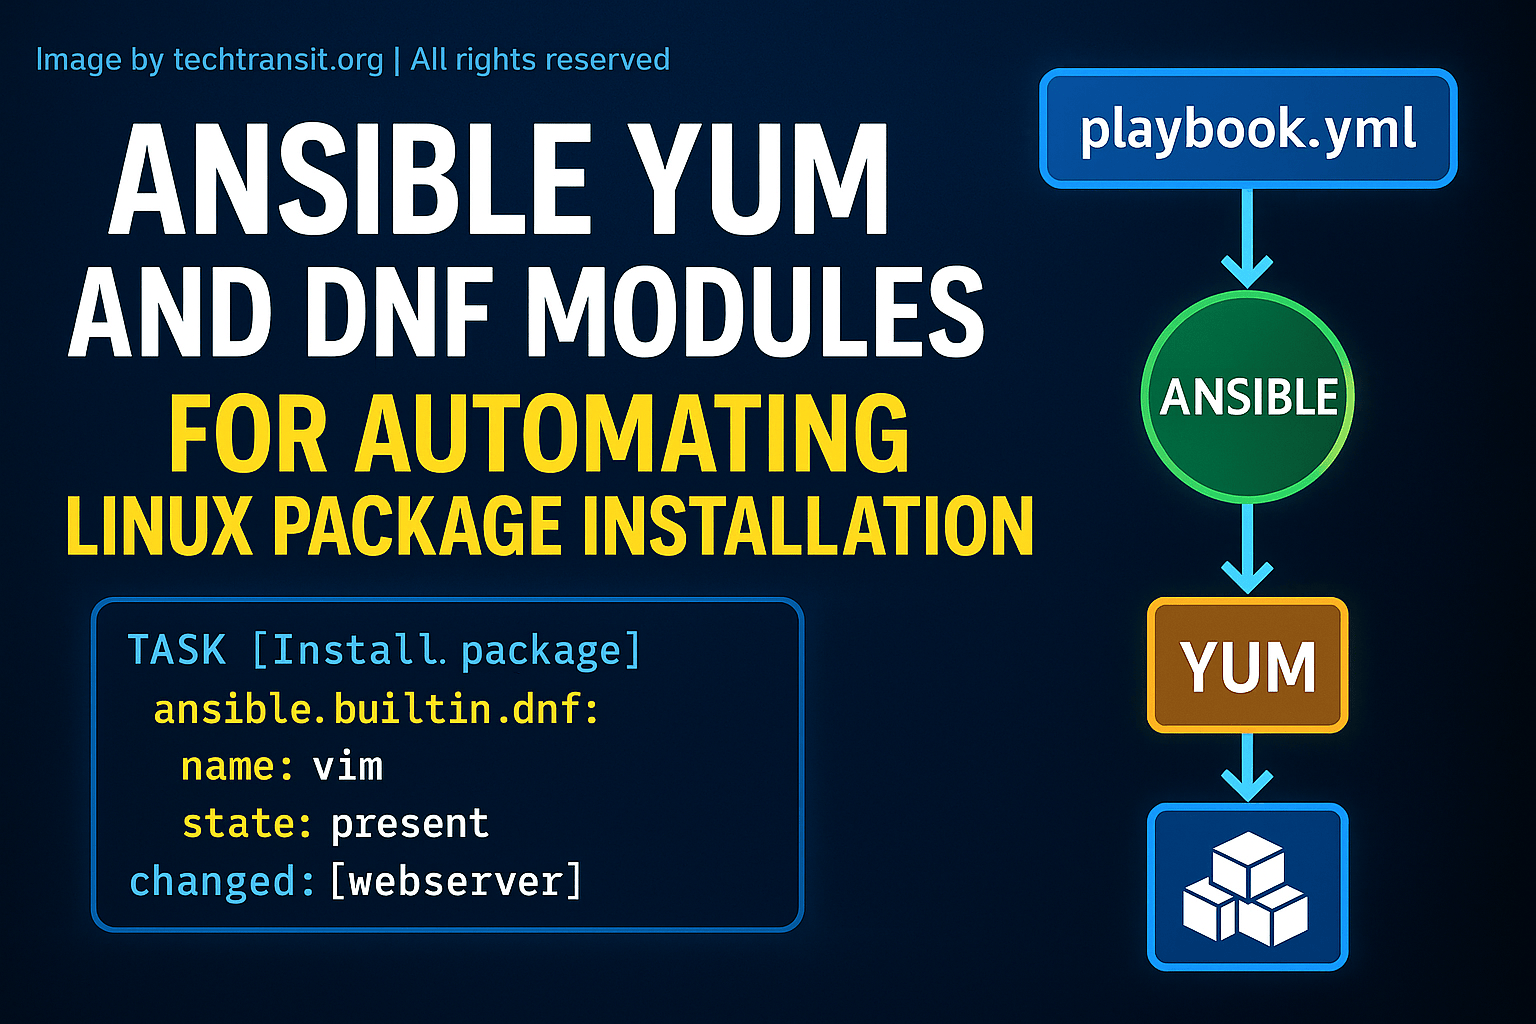
This walkthrough covers three of the most common modules you will ever use:
- Package Module (
yum,apt,dnf): Manages software packages. - Copy Module: Copies static files to your managed nodes.
- Service Module (
service,systemd): Manages system services.
4. Dynamic Configuration with the template Module
The copy module is great for static files, but configuration files often need to be dynamic. They might contain host-specific information like IP addresses or environment-specific settings. For this, Ansible provides the template module.
The template module uses the Jinja2 templating engine, which you might recognize from other tools. It allows you to embed variables and logic inside your configuration files.
Getting started with Ansible 16 (Series Finale) - Templates
The video 'Getting started with Ansible 16 (Series Finale) - Templates' from Learn Linux TV provides a clear, practical guide to using templates.
Watch the following parts to understand the templating workflow: Introduction to Templates (00:34 - 01:02): A quick overview of what templates are for. Creating Template Files (03:16 - 06:09): See how to create a templates directory and copy existing config files into it, renaming them with a .j2 extension. Adding Variables to a Template (06:09 - 07:32): Observe how a static value in a config file is replaced with a Jinja2 variable, like {{ ssh_users }}. The template Task (09:55 - 11:08): Look at the playbook task. Instead of copy, it uses template. The src is the .j2 file and the dest is the final configuration file path on the target server. Introducing Handlers (11:08 - 11:52): This is a key pattern. The template task has a notify directive. When the template generates a new config file (a change), it notifies a 'handler' to restart the service. The handler only runs if notified, and only runs once at the end of the play.
A common and highly recommended pattern is:
- A
templatetask deploys a configuration file. - The task includes a
notifykeyword that points to a handler. - A
handleris defined, which is a special task (e.g., to restart a service). - If the configuration file is changed by the
templatetask, the handler is triggered at the end of the play, ensuring the service picks up the new configuration. If the file is unchanged, the handler is not triggered, and the service is not needlessly restarted.
5. Your First Idempotent Playbook: Example
Let's put it all together. Here is a complete, idempotent playbook that installs Apache, deploys a configuration from a template, and ensures the service is running. This example uses apt for Debian/Ubuntu systems.
---
- hosts: webservers
  become: yes
  vars:


    # Variables can be defined here or in separate files
    server_admin_email: "admin@yourdomain.com"

  tasks:
    - name: "Install Apache web server"
      ansible.builtin.apt:
        name: apache2
        state: present
        update_cache: yes

    - name: "Deploy Apache virtual host configuration from template"
      ansible.builtin.template:
        src: templates/apache-vhost.conf.j2  # A .j2 file in a local 'templates' folder
        dest: /etc/apache2/sites-available/000-default.conf
        owner: root
        group: root
        mode: '0644'
      notify: Restart Apache

    - name: "Ensure Apache service is running and enabled"
      ansible.builtin.service:
        name: apache2
        state: started
        enabled: yes

  handlers:
    - name: Restart Apache
      ansible.builtin.service:
        name: apache2
        state: restarted
To test for idempotency: Run this playbook against a server using ansible-playbook -i <inventory_file> <playbook_file.yml>.
- First run: You should see "changed" states for tasks that made modifications. The "Restart Apache" handler will likely run.
- Second run: You should see
changed=0in the final summary. All tasks should report "ok" because the system is already in the desired state. This confirms your playbook is idempotent.
Conclusion
In this lesson, you've learned the fundamental principles of Ansible by writing your first idempotent playbook. This is the foundation of reliable and scalable configuration management.
Key Takeaways:
- Idempotency is Key: Ansible's strength lies in its ability to be run repeatedly without causing unintended changes.
- Modules over Commands: Always prefer using built-in, idempotent modules (
apt,service,template,copy) over rawshellorcommandtasks. - Playbook Structure: Playbooks are YAML files containing plays that target hosts and execute a series of tasks.
- Templates for Dynamic Files: Use the
templatemodule with Jinja2 (.j2files) to create dynamic configuration files. - Handlers for Service Restarts: Use
notifyon a task to trigger ahandleronly when a change has occurred. This avoids unnecessary service restarts.
What's Next?
While a single playbook file is great for simple automation, real-world configurations quickly become complex. In our next lesson, "Organize automation using Ansible Roles with a standard directory structure for reusability," we will learn how to break down our playbooks into reusable, shareable components called Roles. This is the standard way to manage complex Ansible projects.