Introduction
In our last lesson, we gave your components an internal memory using the useState hook. You learned that when a component's state changes, React re-renders it to reflect the new reality. This is the "effect." Today, we'll focus on the "cause": how do we trigger these state changes in the first place? The answer lies in handling user events.
This lesson bridges the gap between static UIs and interactive applications. You'll learn how to listen for user actions—like clicks and typing—and connect them to the state-updating functions you practiced with last time. By the end of this session, you'll be able to build components that respond dynamically to user input, which is the very essence of frontend development and a core skill for a Design Engineer.
What is an Event Handler?
In your design work, you define interactions: a tap on a button, typing into a field, selecting an option from a dropdown. In React, the code that runs in response to these interactions is called an event handler.
Event handlers are functions that you pass as props to JSX elements. These props follow a specific naming convention: on followed by the event name in camelCase.
- A click event is handled by the
onClickprop. - A change to an input field is handled by the
onChangeprop. - A form submission is handled by the
onSubmitprop.
You define a function inside your component and pass its name to the appropriate prop.
function MyButton() {
  function handleClick() {
    alert('You clicked the button!');
  }

  return (
    <button onClick={handleClick}>
      Click Me
    </button>
  );
}
A crucial rule to remember is that you must pass the function itself, not call it.
- Correct:
onClick={handleClick}— This tells React: "Here is the function to run when the button is clicked." - Incorrect:
onClick={handleClick()}— This calls the function immediately when the component renders, which is not what you want.
This is one of the most common mistakes for newcomers, so it's vital to internalize.
The official React documentation provides the best introduction to this topic. It's clear, concise, and establishes the foundational rules.
Start by reading the section "Adding event handlers" to understand the basic syntax and naming conventions. Then, pay very close attention to the section labeled "Pitfall". This section masterfully explains the critical difference between passing and calling a function in an event handler.
Handling Clicks with onClick
The onClick event is the most common and straightforward event to handle. It connects a user's click or tap directly to a piece of logic. Let's combine this with the useState hook from our previous lesson to create a simple counter.
import { useState } from 'react';

export default function Counter() {
  const [count, setCount] = useState(0);

  // This is our event handler function.
  function handleIncrement() {
    // It calls the state setter function.
    setCount(count + 1);
  }

  return (
    <div>
      <p>You clicked {count} times</p>
      {/* We pass the event handler to the button's onClick prop. */}
      <button onClick={handleIncrement}>
        Click me
      </button>
    </div>
  );
}
This simple example demonstrates the complete interactive loop in React:
- User Action: The user clicks the button.
- Event Fired: The
onClickevent is triggered. - Handler Executed: React calls our
handleIncrementfunction. - State Updated: The handler calls
setCount(), telling React to update the state. - Re-render: React re-renders the
Countercomponent with the newcountvalue, and the UI updates.
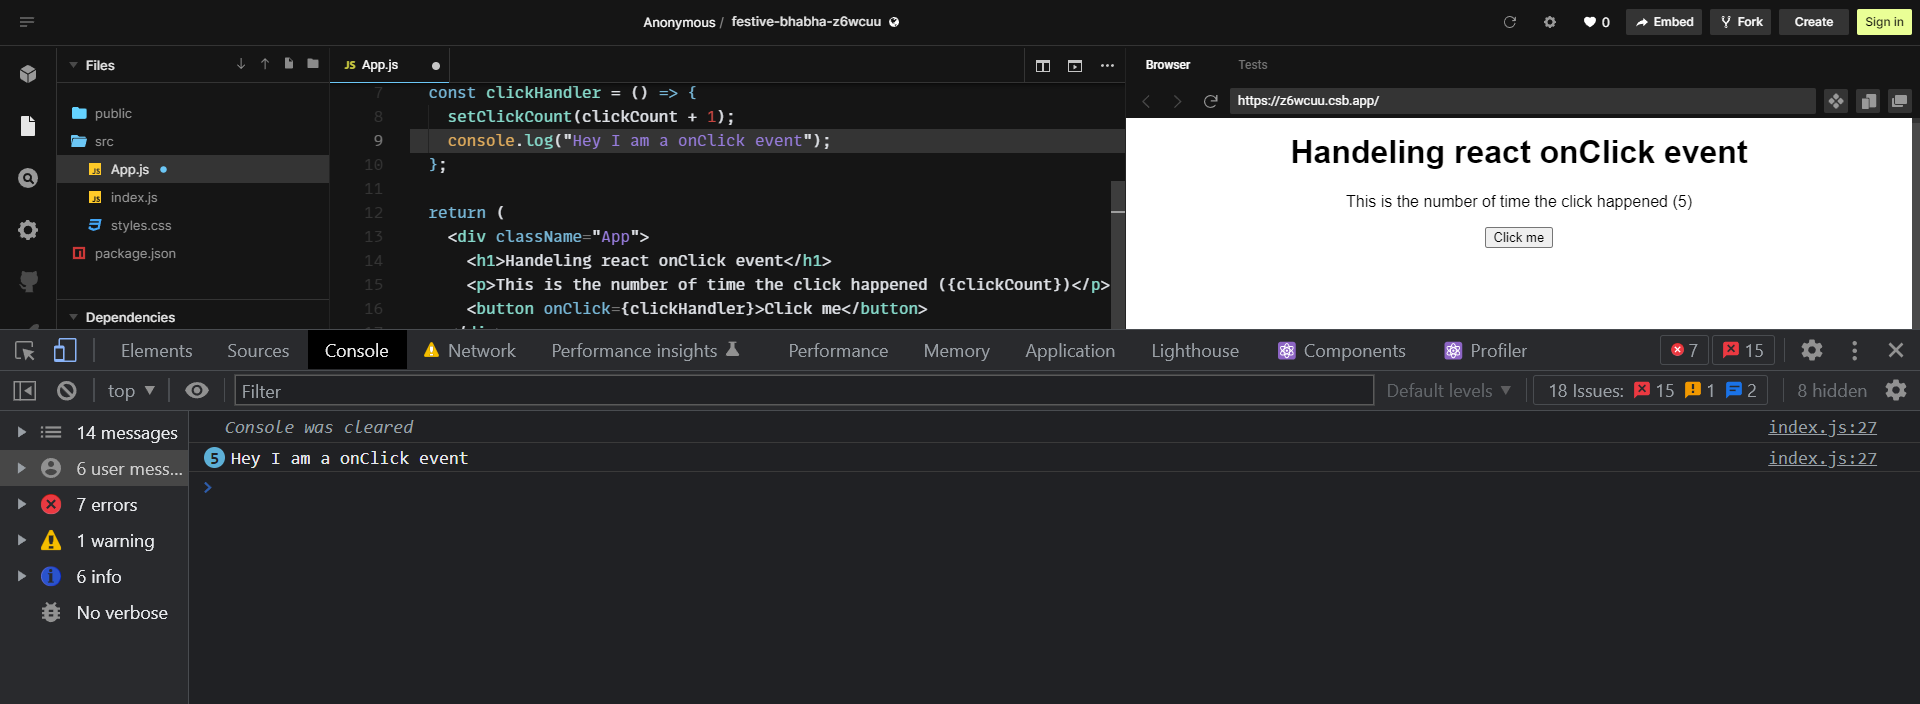
For a visual walkthrough of this concept, the following video provides an excellent summary.
This Is How You Handle Events In A React App
This video by Sam Meech-Ward concisely demonstrates how to add an onClick handler, pass a function reference, and what happens when you do.
Watch the first section from the beginning, where the presenter wires up a simple onClick event and explains the "pass, don't call" rule.
Thinking Declaratively: From UI States to Code
As a UI/UX designer, you already think in terms of states. A button can be in a default, hover, pressed, or disabled state. A form can be in an empty, typing, submitting, success, or error state.
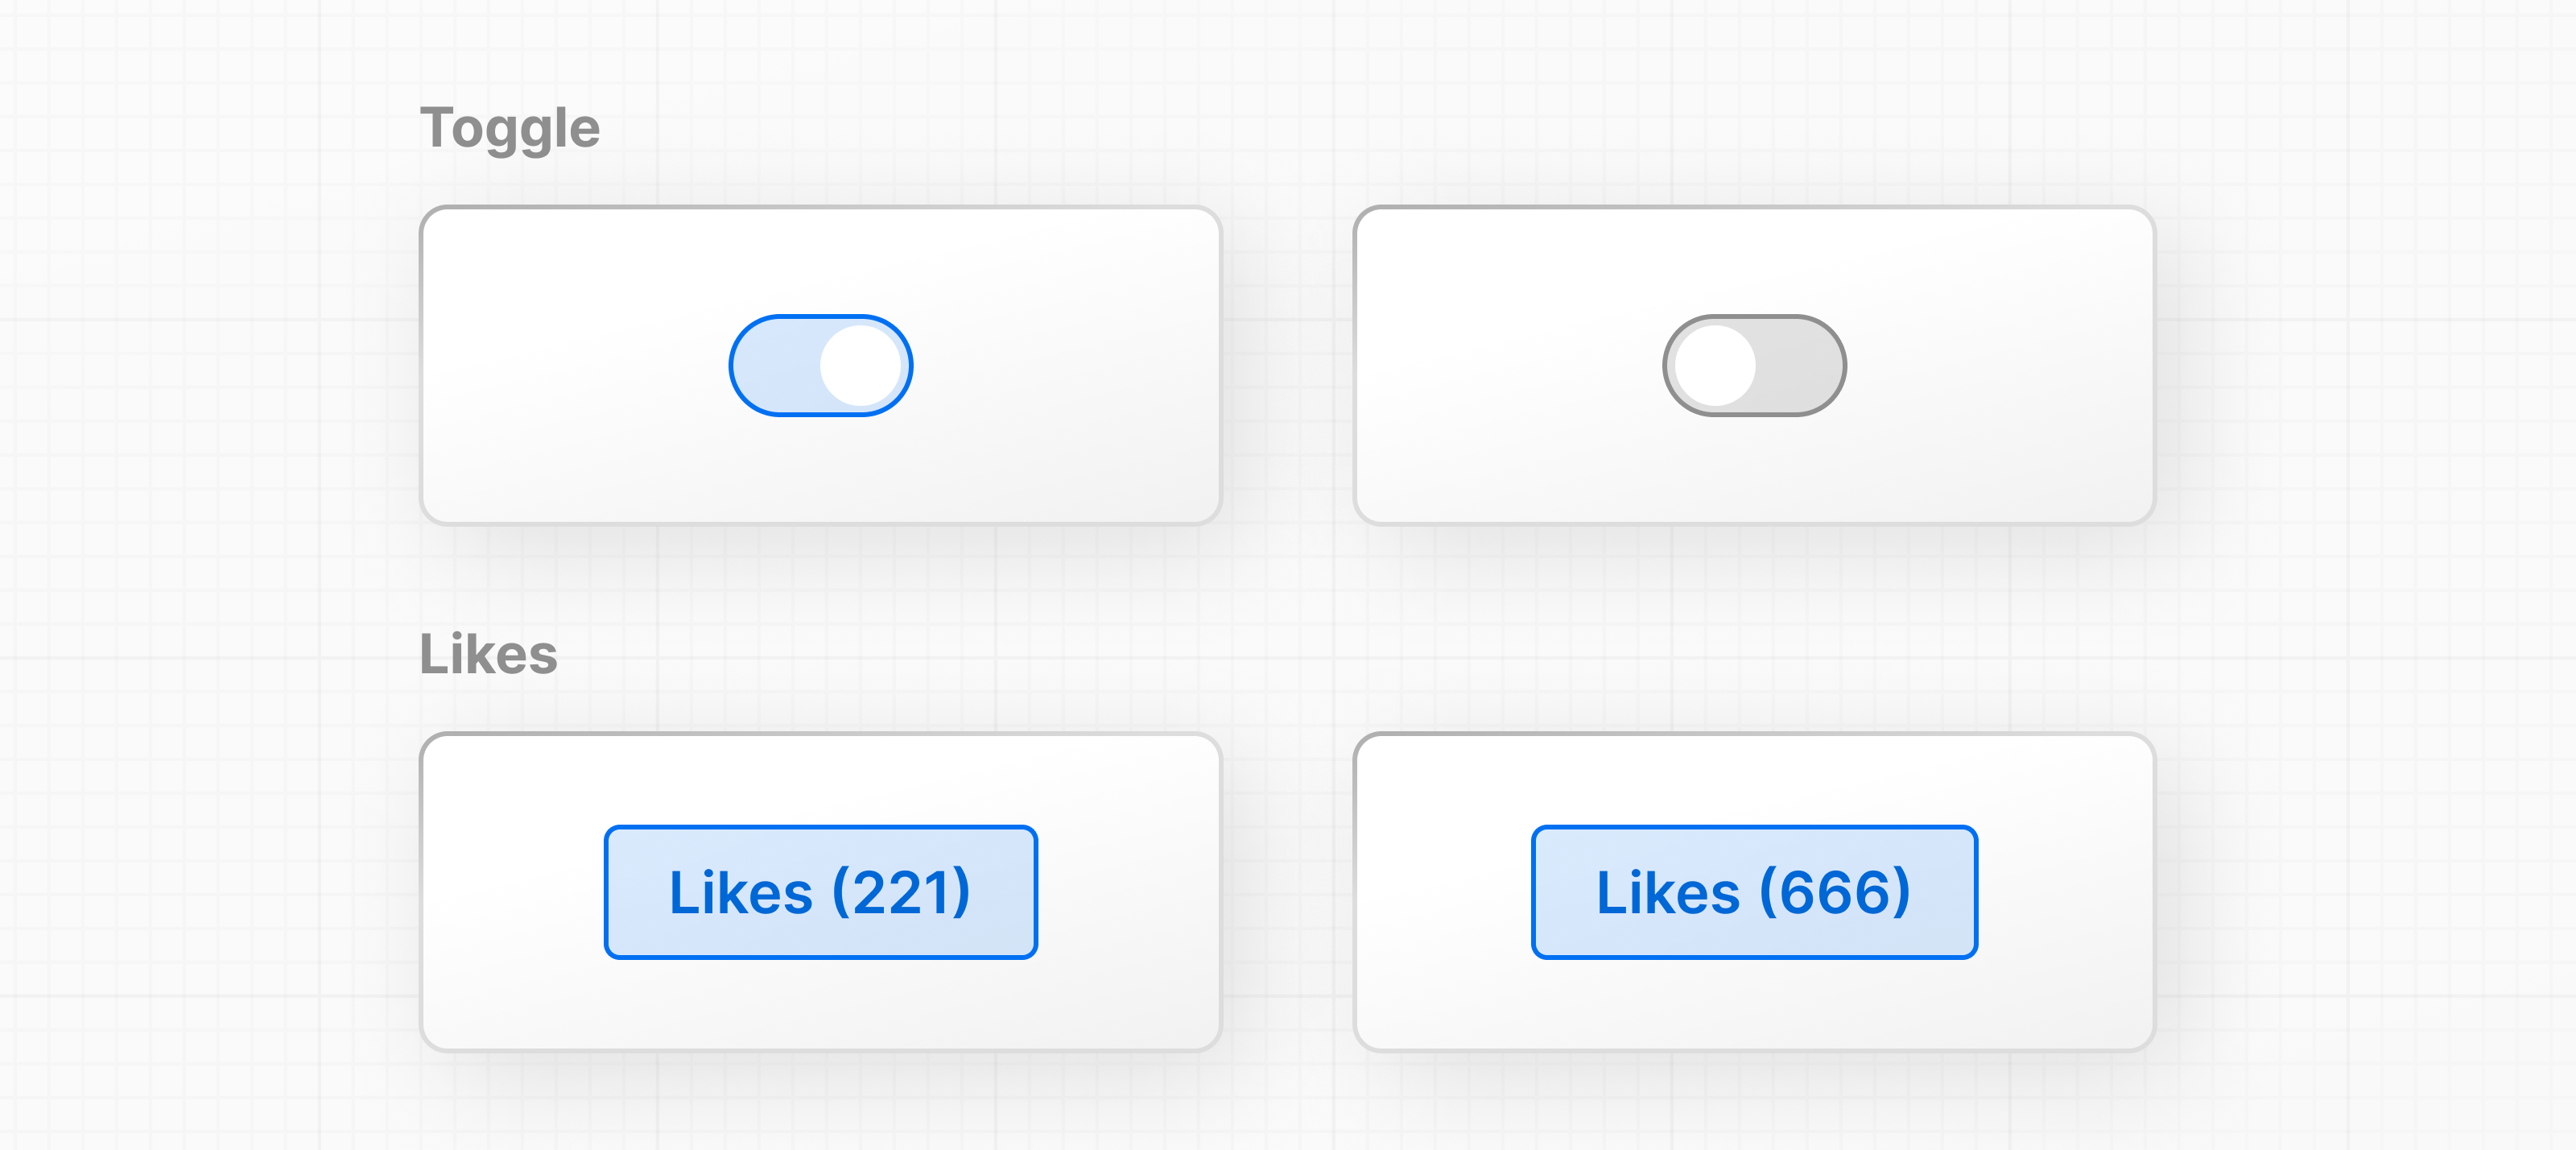
React embraces this way of thinking. Instead of writing imperative code that manually changes the UI (e.g., "disable the button, show the spinner"), you write declarative code that describes the UI for each state.
You tell React:
- "If the state is
'submitting', the button should be disabled and a spinner should be visible." - "If the state is
'success', a thank you message should be visible."
Your event handlers are responsible for one simple job: telling React to switch from one state to another. React then handles the complex task of figuring out exactly what needs to change on the screen.
This document from the React team is perfect for you, as it explicitly connects the design process of identifying visual states to the development process of implementing them.
Read the first three parts: "How declarative UI compares to imperative" explains the core philosophy. "Step 1: Identify your component's different visual states" shows how to translate design mockups into a list of states. "Step 2: Determine what triggers those state changes" connects user actions to state transitions, which is precisely what this lesson is about.
Handling Inputs with onChange and Controlled Components
Handling input from form fields like <input>, <textarea>, and <select> is a little more involved than a simple click, but it follows the same principles. The key is a pattern called a controlled component.
In a controlled component, the React component's state is the "single source of truth" for the input's value.
Here’s how it works:
- Create a state variable to hold the input's value (e.g.,
const [name, setName] = useState('');). - Bind the input element's
valueprop to this state variable (<input value={name} />). - Use the
onChangeevent handler to update the state variable whenever the user types.
The onChange handler receives an event object (conventionally named e). This object contains information about the event, and most importantly for us, e.target.value holds the current text inside the input field.
import { useState } from 'react';

export default function NameForm() {
  const [name, setName] = useState('');

  // The event handler receives the event object 'e'.
  function handleNameChange(e) {
    // We update the state with the input's current value.
    setName(e.target.value);
  }

  return (
    <div>
      <input
        value={name}
        onChange={handleNameChange}
        placeholder="Enter your name"
      />
      <p>Hello, {name}!</p>
    </div>
  );
}
With this setup, every keystroke triggers the onChange event, which updates the state, which in turn causes a re-render, displaying the new value. The data flow is explicit and controlled by React.
This pattern applies to all kinds of form inputs. The following video is a fantastic practical guide that walks through implementing onChange for text inputs, textareas, dropdowns, and more.
Learn the React onChange event handler 🚦
This tutorial from Bro Code is a very clear, step-by-step demonstration of using onChange with various common form elements.
Watch these three sections to cover the most essential input types: The text input example establishes the core "controlled component" pattern. The textarea example shows that the exact same pattern applies to multi-line text fields. The select/dropdown example demonstrates how to capture the value of the chosen option.
Handling Form Submissions
Typically, inputs are part of a <form>. The <form> element has its own event, onSubmit, which is usually triggered by clicking a submit button inside it.
A crucial detail is that the default browser behavior for a form submission is to reload the entire page. In a single-page application like one built with React, this is almost never what you want. We can prevent this default behavior by calling e.preventDefault() on the event object.
async function handleSubmit(e) {
  // 1. Prevent the page from reloading.
  e.preventDefault();

  // 2. Announce that we are submitting.
  console.log('Submitting with name:', name);

  // 3. (In a real app) Send the 'name' state variable to a server.
}
By combining onChange on your inputs with onSubmit on your form, you have a complete, robust pattern for handling user data entry.
Let's revisit the React documentation to see preventDefault in action.
Find the section "Preventing default behavior". It provides a clear example of using e.preventDefault() within an onSubmit handler to stop the page from reloading.
Supervising AI: Prompting for Interactive Behavior
When you use Cursor for Vibe Coding, describing events and their handlers is just as important as describing the visual design. You need to specify the behavior.
- Weak Prompt: "Create a search bar."
- Strong, Behavior-Driven Prompt: "Create a React component named
SearchBar. It needs a state variable calledqueryinitialized to an empty string. Render a text input. This input should be a controlled component: itsvalueshould be bound to thequerystate, and itsonChangeevent handler must update thequerystate with the input's current value (e.target.value)."
Your job as the supervisor is to inspect the AI's output for correctness:
- Is
useStateused correctly to hold the input's value? - Is the
valueprop of the<input>correctly tied to the state variable? - Is the
onChangeprop assigned a handler function? - Does that handler function correctly call the state setter with
e.target.value? - If it's a form, is
e.preventDefault()called in theonSubmithandler?
By being precise in your prompts and diligent in your review, you can effectively direct the AI to build fully interactive components.
Conclusion
You have now connected the dots between user actions and UI updates. You've learned how to listen for events and use their handlers to change a component's state, causing React to re-render the UI with new information.
Key Takeaways:
- Event handlers are functions passed as props (like
onClick,onChange) to JSX elements to respond to user interactions. - You must pass the function reference, not call the function, in an event prop:
onClick={myHandler}, notonClick={myHandler()}. - Controlled components are a core React pattern where an input's value is driven by state, and the
onChangehandler updates that state. - The event object (
e) provides context about the event, such as the input's value (e.target.value). - Use
e.preventDefault()in formonSubmithandlers to stop the browser from reloading the page.
In the next lesson, we'll build on this foundation by learning how to render dynamic lists of components from data stored in an array. This will allow you to build much more complex UIs, such as product grids, comment lists, and navigation menus.