Hello! In our last lesson, we learned how to make our application's routes dynamic using route parameters, allowing us to display specific content like a user's profile or a product's details based on the URL. This is a huge step toward building data-driven applications.
Today, we shift our focus from navigation to user input. Forms are the primary way users interact with and submit data in web applications. While a simple form with one or two fields is straightforward, things get complicated quickly as forms grow. This lesson directly addresses the learning outcome: Handle complex form state using a single state object or custom hook.
We'll tackle the challenge of managing state for forms with multiple inputs, moving from a verbose and hard-to-maintain approach to cleaner, more scalable patterns. Mastering this is essential for building everything from user registration flows to complex data entry dashboards.
1. The Problem: One State for Every Input
When you first learn React, the intuitive way to handle multiple form inputs is to create a separate useState hook for each one.
function InefficientForm() {
  const [firstName, setFirstName] = useState('');
  const [lastName, setLastName] = useState('');
  const [email, setEmail] = useState('');

  // ... and so on for every field

  return (
    <form>
      <input type="text" value={firstName} onChange={e => setFirstName(e.target.value)} />
      <input type="text" value={lastName} onChange={e => setLastName(e.target.value)} />
      <input type="email" value={email} onChange={e => setEmail(e.target.value)} />
    </form>
  );
}
While this works, it has significant downsides:
- Verbosity: The code gets very long with more fields.
- Maintenance Nightmare: Adding or removing a field requires changes in multiple places (state declaration, JSX, submission handler).
- Repetitive Logic: You're writing nearly identical
onChangehandlers repeatedly.
This image perfectly visualizes the anti-pattern and the more efficient approach we're about to learn.

2. The Solution: A Single State Object
A much better pattern is to manage the entire form's state within a single object. This consolidates all form-related data into one place.
The key to this pattern is a single, generic handleChange function that can update any field in the state object dynamically.
How It Works
- Initialize State: Use
useStatewith an object containing all your form field names as keys. - Use
nameAttributes: Ensure every input in your form has anameattribute that exactly matches a key in your state object. - Create a Generic Handler: This function will:
- Destructure the
nameandvaluefrom the event target (e.target). - Use the
setFormDatafunction with a callback to get the previous state. - Use the spread operator (
...) to copy the previous state. - Use computed property names (
[name]: value) to update only the property that changed.
- Destructure the
Let's see the "aha!" moment when you realize you're overwriting your state without the spread operator, and how to fix it.
ReactJS Tutorial 26: Handling Multiple Inputs In React
This video from Code Stoic clearly demonstrates the problem that arises when you try to update a property in a state object and how the spread operator elegantly solves it.
Watch these two key segments: The Problem Without Spread Operator (01:34 - 04:56): Pay close attention to how updating one input field erases the value of the other. This is a classic bug when first using state objects. The Spread Operator Solution (04:56 - 06:09): This is the most important part. Understand how ...name preserves the existing values while the subsequent property overwrites just the field being edited.
Now, let's put it all together into a complete, robust handler.
import { useState } from 'react';

function SingleObjectForm() {
  const [formData, setFormData] = useState({
    firstName: '',
    lastName: '',
    email: '',
  });

  const handleChange = (e) => {
    const { name, value } = e.target;
    setFormData(prevData => ({
      ...prevData,
      [name]: value,
    }));
  };

  const handleSubmit = (e) => {
    e.preventDefault();
    console.log('Form submitted:', formData);
    // You would typically send this data to an API
  };

  return (
    <form onSubmit={handleSubmit}>
      <input
        type="text"
        name="firstName" // Matches the state key
        value={formData.firstName}
        onChange={handleChange}
        placeholder="First Name"
      />
      <input
        type="text"
        name="lastName" // Matches the state key
        value={formData.lastName}
        onChange={handleChange}
        placeholder="Last Name"
      />
      <input
        type="email"
        name="email" // Matches the state key
        value={formData.email}
        onChange={handleChange}
        placeholder="Email"
      />
      <button type="submit">Submit</button>
    </form>
  );
}
The magic lies in [name]: value. Because the name variable holds a string like "firstName" or "email", this syntax allows you to dynamically set the key of the object you're updating.
For a more advanced example that handles different input types (like checkboxes), the following video is an excellent resource.
How to Use a Single Function to Manage React Form State
Dave Gray provides a thorough walkthrough of building a complex form handler that manages a single state object and can even accommodate different input types like checkboxes.
Focus on the section from 04:24 to 08:47. Pay attention to how he creates a single handleChange function. Notice how he uses the input's name attribute to dynamically update the state object and uses a ternary operator to handle checkboxes differently from text inputs. This is a very practical, real-world implementation.
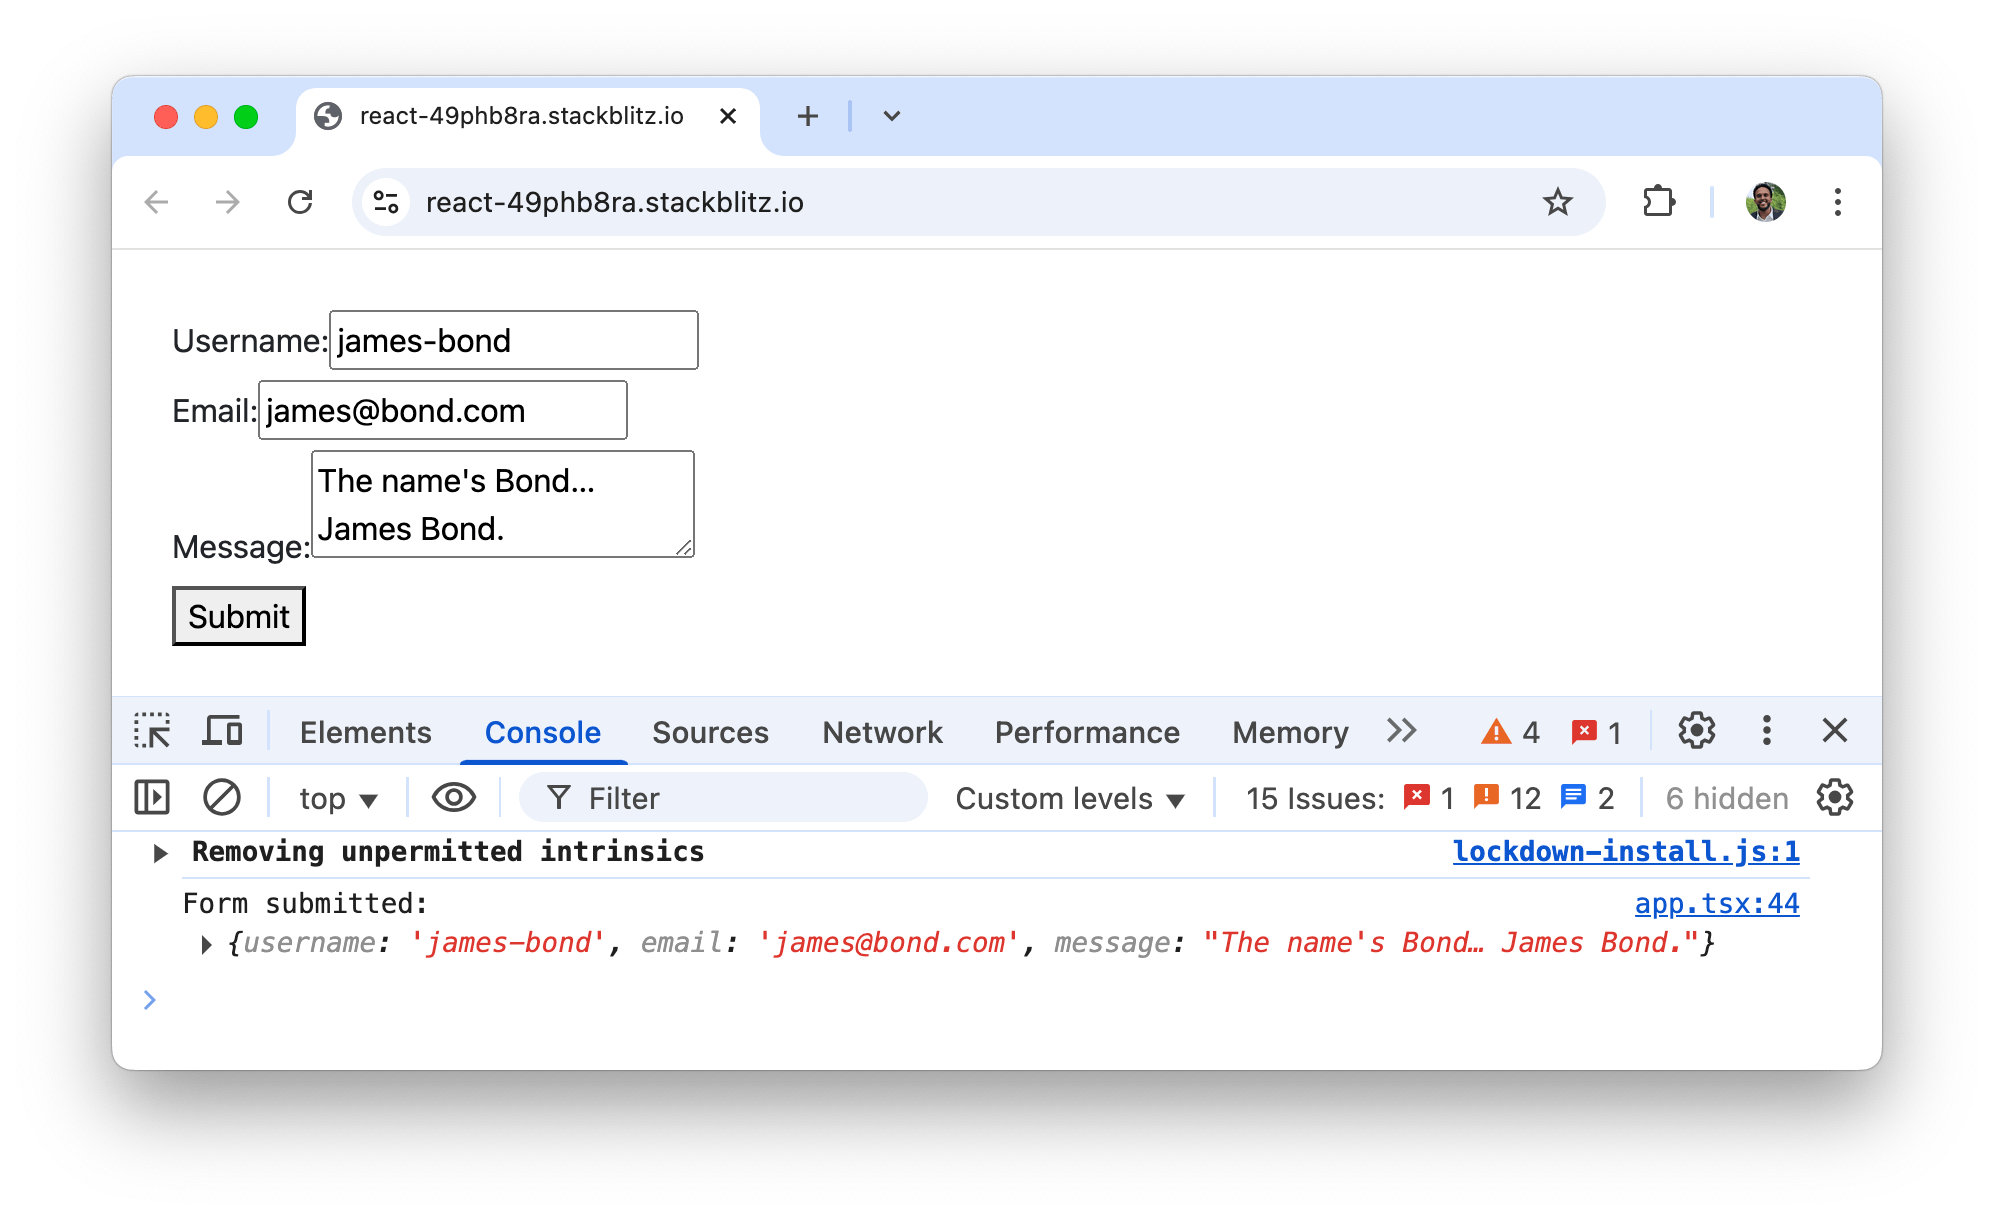
After implementing this, submitting the form would produce a clean object, ready to be sent to a server.
Test your understanding!
You have an existing form component that manages username and password. You need to add a rememberMe checkbox.
function LoginForm() {
  const [credentials, setCredentials] = useState({
    username: '',
    password: '',
    rememberMe: false, // Initial state for the checkbox
  });

  const handleChange = (e) => {
    // Your code here! How would you update this handler
    // to work for both text inputs and the new checkbox?
  };

  // ... JSX for the form ...
}
How would you modify the handleChange function to correctly handle the text inputs (value) and the checkbox (checked)?
Show answer
You need to check the type of the input. For a checkbox, the value comes from e.target.checked, not e.target.value.
const handleChange = (e) => {
  const { name, value, type, checked } = e.target;
  setCredentials(prev => ({
    ...prev,
    [name]: type === 'checkbox' ? checked : value
  }));
};
3. The Next Level: Custom useForm Hook
The single state object pattern is great, but you'll find yourself writing the same useState and handleChange logic in every component that has a form. Your CSE background will recognize this as an opportunity for abstraction. In React, the solution is a custom hook.
A custom hook is just a JavaScript function whose name starts with use and that can call other hooks (like useState). It allows us to extract and reuse stateful logic.
Let's create a useForm hook to encapsulate our form state management.
Mastering Custom Hooks in React: A Comprehensive Guide
This DEV.to article provides a clear introduction to custom hooks and includes a perfect example of a useForm hook that does exactly what we need.
Please read the following sections: "What are Custom Hooks?": To get a formal definition. "Example 2: Form Handling": This is the core of this section. Study the useForm hook implementation and see how cleanly it's used in the App component. This directly demonstrates how to abstract our form logic. "Best Practices for Custom Hooks": Quick, helpful guidelines to keep in mind.
Based on the article, here's how we'd create and use our own useForm hook:
1. Create the hook (src/hooks/useForm.js):
import { useState } from 'react';

export function useForm(initialValues) {
  const [values, setValues] = useState(initialValues);

  const handleChange = (e) => {
    const { name, value, type, checked } = e.target;
    setValues(prevValues => ({
      ...prevValues,
      [name]: type === 'checkbox' ? checked : value,
    }));
  };

  return {
    values,
    handleChange,
  };
}
2. Use the hook in your component (src/components/MyForm.jsx):
import { useForm } from '../hooks/useForm';

function MyForm() {
  const { values, handleChange } = useForm({
    firstName: '',
    lastName: '',
    email: '',
  });

  const handleSubmit = (e) => {
    e.preventDefault();
    console.log('Form submitted:', values);
  };

  return (
    <form onSubmit={handleSubmit}>
      {/* The JSX remains the same! */}
      <input name="firstName" value={values.firstName} onChange={handleChange} />
      <input name="lastName" value={values.lastName} onChange={handleChange} />
      <input name="email" value={values.email} onChange={handleChange} />
      <button type="submit">Submit</button>
    </form>
  );
}
Look how much cleaner the component is! The implementation details of state management are now hidden away in our reusable useForm hook.
4. A Glimpse into Professional Form Libraries
While our custom hook is powerful, production applications often have even more complex requirements:
- Sophisticated validation (e.g., password strength, valid email format).
- Displaying error messages for specific fields.
- Managing submission state (loading, success, error).
- Performance optimizations for large forms.
For these reasons, the industry standard is to use a dedicated form library. React Hook Form is one of the most popular. It takes the ideas we've discussed and builds upon them to provide a comprehensive, performant solution.
You don't need to learn it in-depth right now, but being aware of it is crucial for job-readiness. It handles state management (often in a more performant "uncontrolled" way) and gives you tools for validation, error handling, and more, right out of the box.
Why would I use React Hook Form? - Matt Burgess
This article by Matt Burgess is a great read. It starts with a form built with manual state management (much like our first example) and refactors it using React Hook Form, showing the dramatic improvement.
You don't need to read the whole article. Just skim these two parts: "Our Code": Look at the BadSignupForm component. You'll recognize the pattern of having many useState and useEffect calls to manage the form. This sets the stage for the problem. "We’ve made a lot of changes...": Scroll down to the GoodSignupForm component. Just look at the code. Notice how much state logic has been removed from the component itself. Functions like register and handleSubmit from the library have taken over, making the component much cleaner. This is just to give you an idea of the benefits.
We'll be diving into validation in our next lesson, and libraries like React Hook Form make that process significantly easier.
Conclusion
You've learned how to wrangle complex form state in React, moving from a brittle, verbose pattern to robust, scalable solutions.
Key Takeaways:
- Using a separate
useStatefor each form input is not scalable. - The single state object pattern combined with a generic
handleChangefunction is a clean and efficient way to manage form state. - The key to the generic handler is using the input's
nameattribute and computed property syntax ([name]: value). - You can abstract form logic into a reusable custom
useFormhook to keep your components lean and clean. - For professional, production-grade forms, developers often turn to powerful libraries like React Hook Form to handle state, validation, and submission.
In our next lesson, we'll build directly on this foundation. Now that we can effectively manage our form's data, our next step is to learn how to implement client-side form validation and display user-friendly error messages.