Hello! Welcome to your next lesson in the "Full-Stack User Authentication" module.
In our last session, we created a fantastic system for managing global authentication state. Using the Context API, we built an AuthProvider and a custom useAuth hook. Now, any component in our application can easily find out if a user is logged in.
But what do we do with that information? Right now, any user can type /dashboard or /profile into the URL and access those pages, whether they're logged in or not. That's a security gap we need to close.
Today's lesson focuses on exactly that. Our goal is to create protected route components in React to restrict access to authenticated users. We'll build a "gatekeeper" component that checks a user's login status before letting them see a page.
The Gatekeeper: The Protected Route Component
The fundamental idea is simple: we'll create a special React component that acts as a wrapper. Its job is to:
- Check for an authenticated user using our
useAuthhook. - If the user is logged in, it will render the requested page (the "children").
- If the user is not logged in, it will redirect them to the
/loginpage.
For this, we'll use the <Navigate> component from react-router-dom, which programmatically changes the user's URL.
The following video from Codevolution provides a crystal-clear demonstration of building this exact component, which they call RequireAuth.
React Router Tutorial - 15 - Authentication and Protected Routes
This video, 'React Router Tutorial - 15 - Authentication and Protected Routes', walks through building a component to protect routes. It integrates perfectly with the useAuth pattern we established in the last lesson.
Please watch from 12:03 to 14:44. Focus on how the RequireAuth component is constructed: It gets the auth object using useAuth(). It checks if auth.user exists. It returns <Navigate to='/login' /> if the user is not authenticated. It returns its children if the user is authenticated.
Implementing a ProtectedRoute
Let's write our own version of this component. Based on the video and best practices, we'll call it ProtectedRoute.
Create a new file, for example, src/components/ProtectedRoute.js:
import React from 'react';
import { Navigate } from 'react-router-dom';
import useAuth from '../hooks/useAuth'; // Assuming our hook is in this path

const ProtectedRoute = ({ children }) => {
  const { user } = useAuth();

  if (!user) {
    // If there is no user, redirect to the login page
    return <Navigate to="/login" />;
  }

  // If there is a user, render the child component
  return children;
};

export default ProtectedRoute;
This component is elegant and single-purpose. It encapsulates our protection logic perfectly.
Now, how do we use it? In your main routing file (likely App.js), you simply wrap the element of the route you want to protect.
// In App.js or your router setup file
import { BrowserRouter, Routes, Route } from 'react-router-dom';
import Dashboard from './pages/Dashboard';
import Login from './pages/Login';
import ProtectedRoute from './components/ProtectedRoute';

function App() {
  return (
    <AuthProvider> {/* From our previous lesson */}
      <BrowserRouter>
        <Routes>
          {/* Public Route */}
          <Route path="/login" element={<Login />} />

          {/* Protected Route */}
          <Route
            path="/dashboard"
            element={
              <ProtectedRoute>
                <Dashboard />
              </ProtectedRoute>
            }
          />

          {/* You could add more protected routes here the same way */}

        </Routes>
      </BrowserRouter>
    </AuthProvider>
  );
}
With this in place, if a non-logged-in user tries to visit /dashboard, the ProtectedRoute component will intercept the request and immediately redirect them to /login.
A More Scalable Pattern: The Layout Route
The wrapper approach works perfectly, but what if you have ten or twenty protected routes? Wrapping each one can become repetitive.
React Router v6 offers a more streamlined pattern using a Layout Route and the <Outlet /> component.
- A Layout Route is a parent
<Route>that doesn't have apath, but has anelementthat provides a layout (in our case, the protection logic). - The
<Outlet />component acts as a placeholder within that layout, where all nested child routes will be rendered.
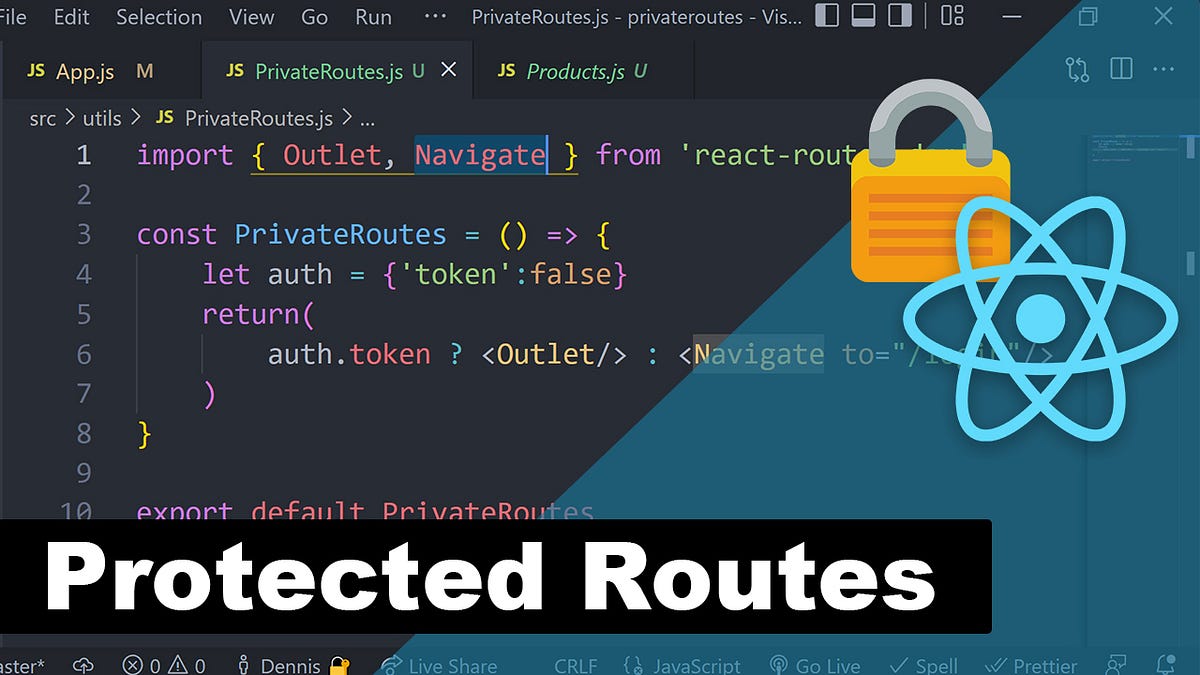
Let's see how to adapt our ProtectedRoute to use this pattern. The video from Dennis Ivy explains this modern approach very well.
The New Way To Create Protected Routes With React Router V6
The video 'The New Way To Create Protected Routes With React Router V6' demonstrates how to refactor a protected route component to use the <Outlet /> for a cleaner, more scalable routing structure.
Watch from 03:48 to 06:03. The key takeaway is changing the component to return <Outlet /> instead of children. This turns it from a simple wrapper into a layout.
Let's create a new component for this pattern, ProtectedLayout.js:
import React from 'react';
import { Navigate, Outlet } from 'react-router-dom';
import useAuth from '../hooks/useAuth';

const ProtectedLayout = () => {
  const { user } = useAuth();

  if (!user) {
    return <Navigate to="/login" />;
  }

  // Renders the child route's element
  return <Outlet />;
};

export default ProtectedLayout;
With this ProtectedLayout component, our routing configuration in App.js becomes much cleaner:
// In App.js
import ProtectedLayout from './components/ProtectedLayout';
import Dashboard from './pages/Dashboard';
import Profile from './pages/Profile';
import Settings from './pages/Settings';
import Login from './pages/Login';

function App() {
  return (
    <AuthProvider>
      <BrowserRouter>
        <Routes>
          {/* Public Routes */}
          <Route path="/login" element={<Login />} />
          <Route path="/" element={<HomePage />} />

          {/* Protected Routes */}
          <Route element={<ProtectedLayout />}>
            <Route path="/dashboard" element={<Dashboard />} />
            <Route path="/profile" element={<Profile />} />
            <Route path="/settings" element={<Settings />} />
          </Route>
        </Routes>
      </BrowserRouter>
    </AuthProvider>
  );
}
Now, any route nested inside the <Route element={<ProtectedLayout />}> is automatically protected. This is far more maintainable as your application grows.
Test your understanding!
You are building a blog application. Here is a list of routes:
/(Home page, shows all public posts)/posts/:id(Shows a single public post)/login(Login page)/admin/dashboard(Shows post statistics, requires login)/admin/create-post(A form to write a new post, requires login)/admin/edit-post/:id(A form to edit an existing post, requires login)
How would you structure your <Routes> using the ProtectedLayout pattern?
Show answer
<Routes>
  {/* Public Routes */}
  <Route path="/" element={<HomePage />} />
  <Route path="/posts/:id" element={<PostPage />} />
  <Route path="/login" element={<LoginPage />} />

  {/* Protected Admin Routes */}
  <Route path="/admin" element={<ProtectedLayout />}>
    <Route path="dashboard" element={<AdminDashboard />} />
    <Route path="create-post" element={<CreatePostPage />} />
    <Route path="edit-post/:id" element={<EditPostPage />} />
  </Route>
</Routes>
Notice how we can even group the protected routes under a common path prefix like /admin. The path on the layout route is combined with the paths of the nested routes.
Improving User Experience
One final touch. Right now, if you try to visit /dashboard while logged out, you get sent to /login. After you log in, where do you go? Back to the home page. It would be much better if, after logging in, you were sent to the /dashboard page you originally wanted to see.
This is a common UX pattern, and it can be achieved using the useLocation hook. You can read how to implement this in the DigitalOcean article below, or watch the Codevolution video for a walkthrough.
How To Add Login Authentication to React Applications
The article 'How To Add Login Authentication to React Applications' provides an excellent text-based reference for what we've learned. It also covers this UX improvement.
Skim Step 4, which covers the basic ProtectedRoute. Then read Step 7, which shows how to update the ProtectedRoute to use a useAuth hook, just like we did. This will reinforce what you've just learned.
To see the implementation of redirecting a user back to their intended page, you can revisit the Codevolution video from 14:44 to 17:35. This is a great enhancement to add to your projects.
Conclusion
You've now secured the front door of your application! By creating and implementing protected route components, you can ensure that only authenticated users can access sensitive pages.
Key Takeaways:
- A protected route component acts as a gatekeeper, checking for authentication before rendering a page.
- The
<Navigate>component fromreact-router-domis used to redirect unauthenticated users. - The logic relies on a global authentication state, which we conveniently access with our
useAuthhook from the previous lesson. - You learned two patterns:
- A wrapper component (
<ProtectedRoute><Dashboard /></ProtectedRoute>) for protecting individual routes. - A layout route (
<Route element={<ProtectedLayout />}><.../></Route>) for protecting groups of routes with<Outlet />, which is the more scalable and modern approach.
- A wrapper component (
Preview of the Next Lesson:
We've locked down entire pages, but what about smaller parts of the UI? For instance, how do we show a "Logout" button to a logged-in user, but a "Login" button to a guest? In the next lesson, we will focus on how to conditionally render UI elements based on the user's authentication status, applying the same core concepts to finer-grained UI control.