Hello! Welcome back to your wedding dress project.
In our last lesson, you masterfully crafted the pleated panels for your bodice, transforming flat fabric into pieces with beautiful architectural detail. You now have a collection of components, each one prepared with an underlining for stability and a series of precise, hand-tacked pleats.
This week, we move from component creation to assembly. Your learning outcome is to assemble the main fabric shell and the separate bodice lining. You will stitch your pleated panels together to reveal the three-dimensional form of the outer bodice. Then, you'll do the same for the lining, creating the clean interior that will eventually house the boning.
From your product design perspective, this is the stage where the individual parts you've fabricated are joined to create the main product housing. The precision of this assembly is what defines the final silhouette and quality.
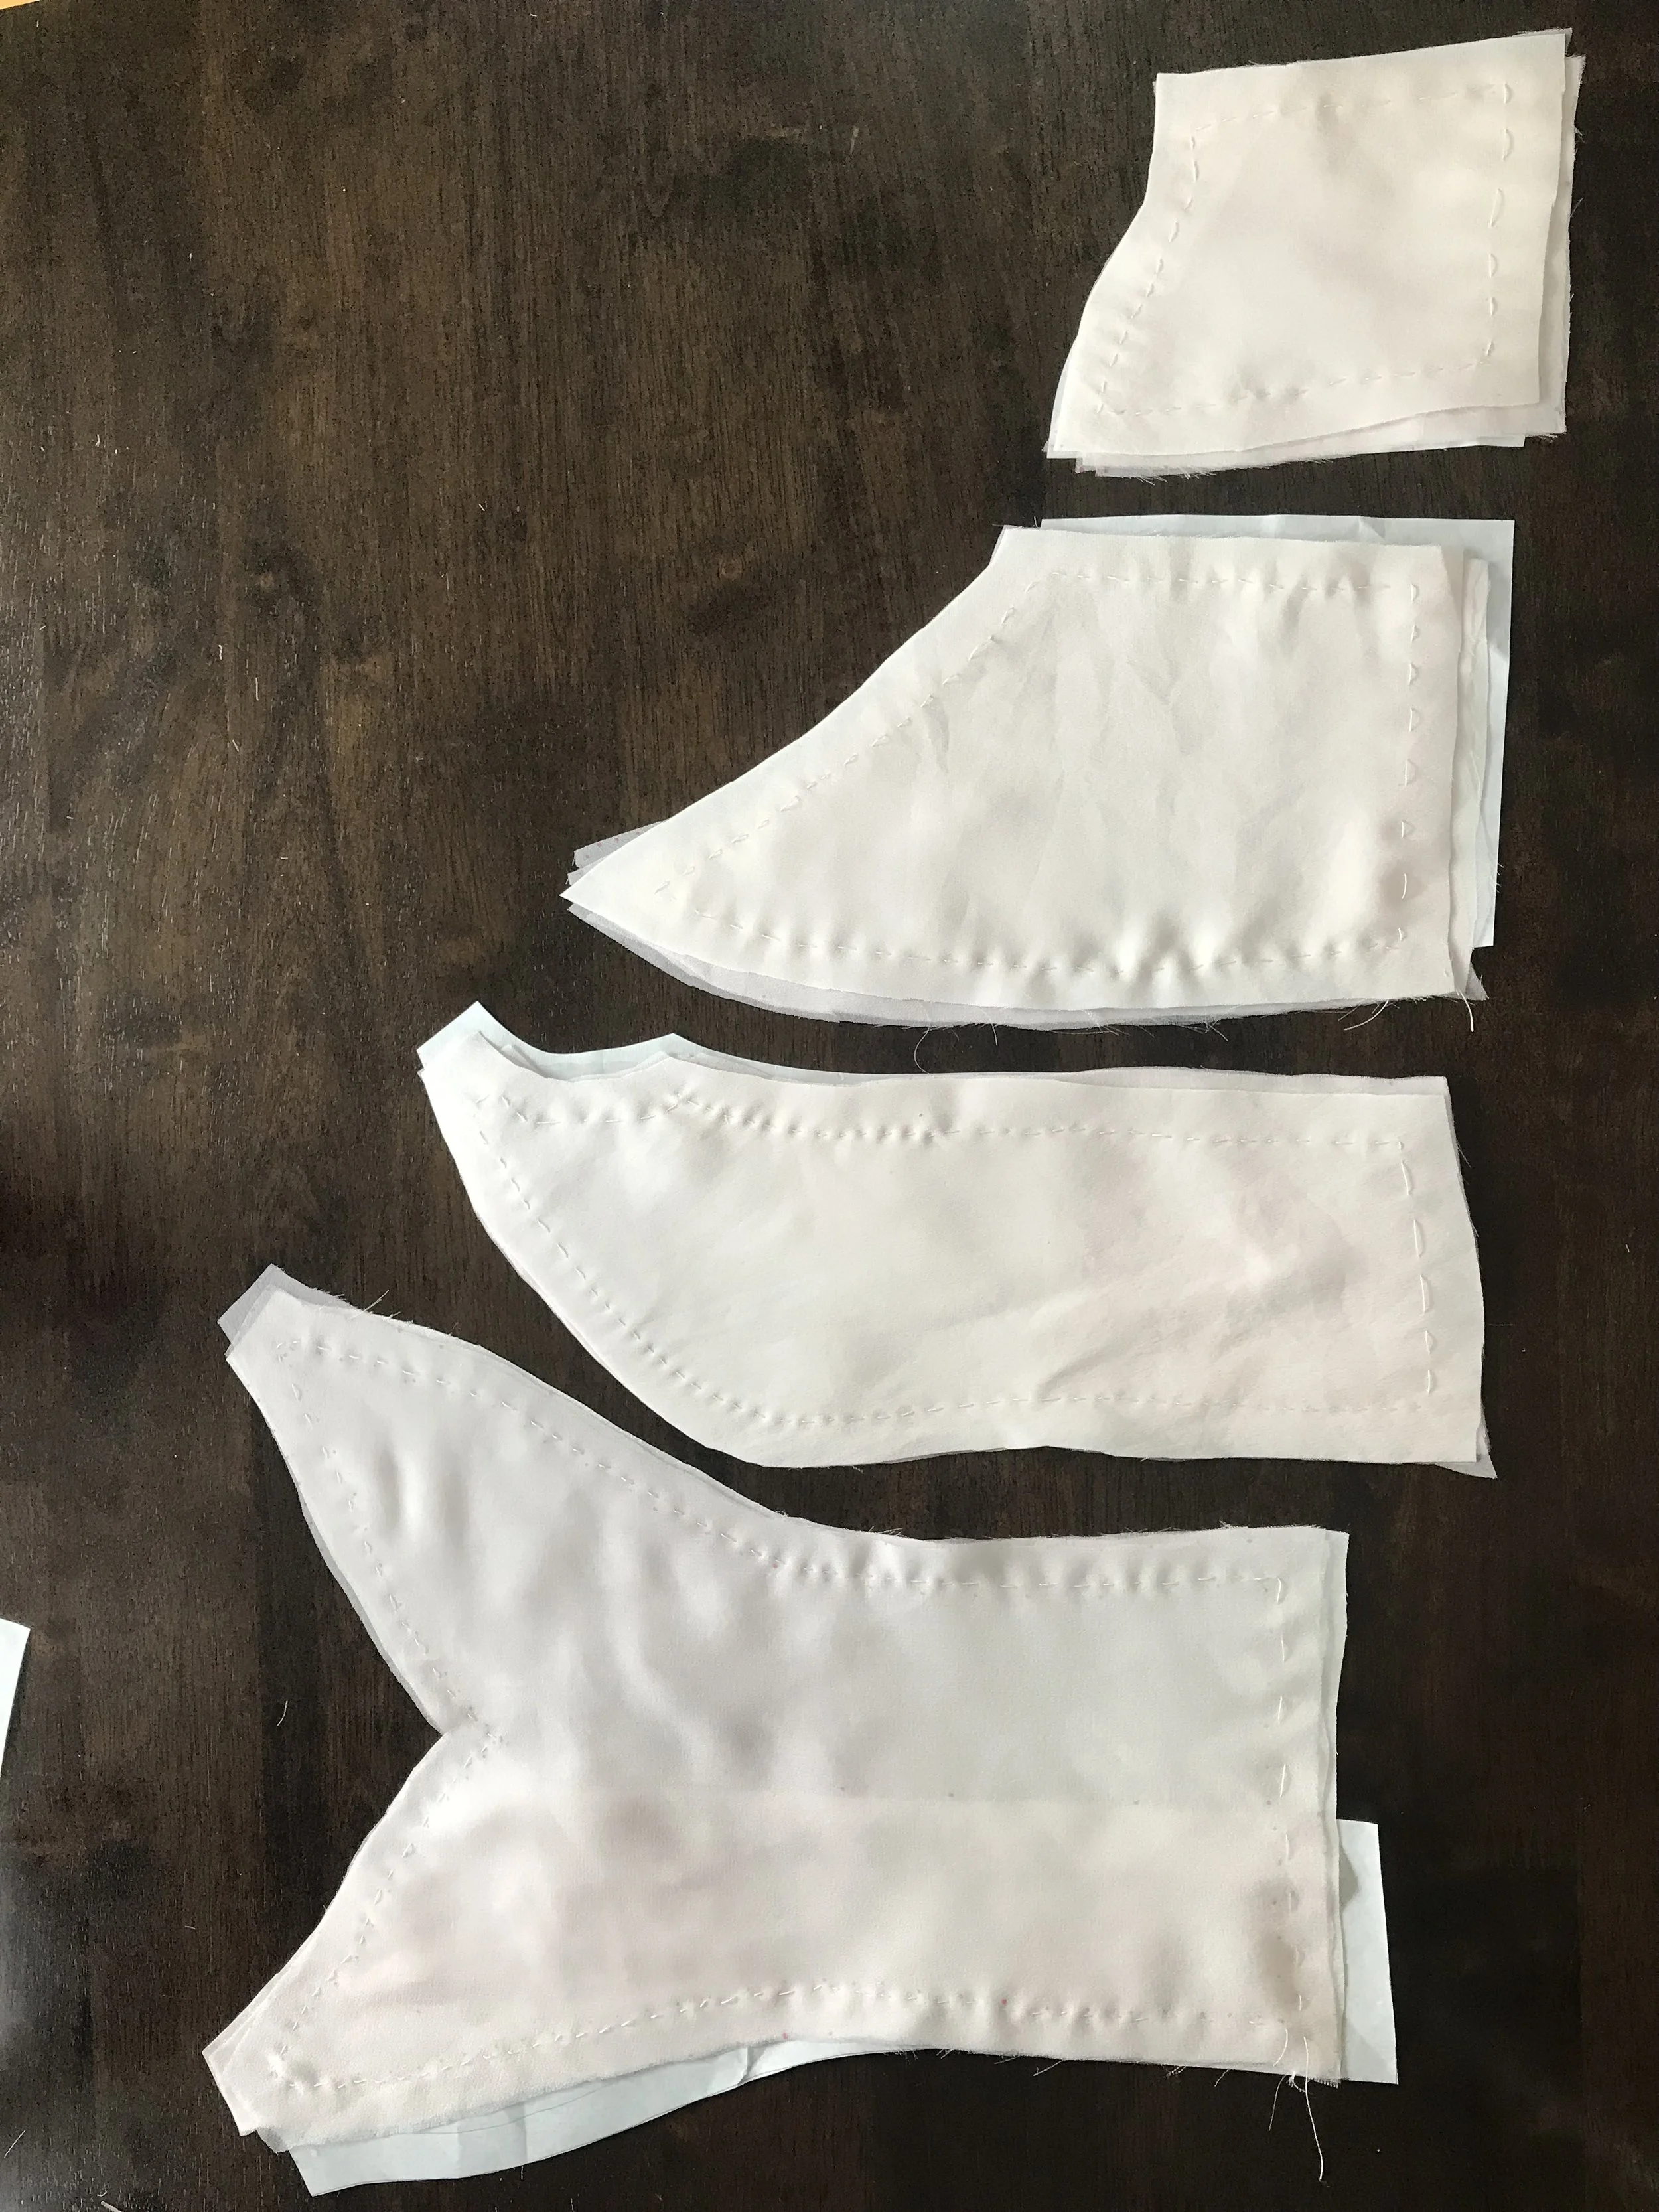
1. Assembling the Main Fabric Shell
The primary task is to sew your pleated shell panels together. Most of these will be "princess seams," which create the beautiful contouring over the bust. This involves sewing a convex (outward) curve to a concave (inward) curve—a technique that requires care and precision.
The key is to work slowly, matching your notches and easing the fabric together without stretching.
The video 'Sewing a Strapless Bodice' from the SCFE Fashiondesign channel provides an excellent demonstration of this process. The presenter works with silk, a fabric similar in behavior to what you'll be using, and clearly shows how to manage the opposing curves.
Watch the section from 03:13 to 10:09. \nFocus on these key steps: Laying out the pieces (03:13): Notice how she arranges all the panels in order before sewing to avoid mix-ups. Pinning the curved seam (06:02): Pay close attention to how she matches the notches and eases the two curved edges together. The fabric won't lie flat once pinned—this is expected as it's creating the 3D shape. Stitching the curve (07:24): Observe her hand placement, using her fingers to guide and gently manipulate the slippery fabric layers under the needle to prevent puckers.
The process is methodical:
- Lay out your pleated shell panels in the correct order.
- Working from the center out, pin your first two panels with right sides together. Match the notches at the bust and waist, and align the top and bottom edges.
- Stitch the seam, going slowly and carefully, especially around the apex of the bust curve.
- Before sewing the next panel, you must press this first seam.
2. The Art of Pressing Curved Seams
Pressing is what molds the fabric into a smooth, architectural shape. Simply ironing a curved seam flat on an ironing board will create creases and flatten the bust shape you just created. You need to press it over a curved surface.
A tailor's ham is the ideal tool, but you can achieve the same result using the narrow end of a sleeve board or even a rolled-up towel.
Let's return to the 'Sewing a Strapless Bodice' video for a masterclass in pressing. This step is what separates a homemade look from a professional one.
Watch from 10:09 to 15:23. The presenter demonstrates how to press a bust seam open. Notice how she presses only a small section at a time, moving the garment along the curve of the sleeve board. She uses just the tip of the iron to avoid creating an impression of the seam allowance on the right side of the fabric—a crucial detail for a clean finish.
After you press each seam, you can then attach and sew the next panel in the sequence, repeating the process until the full outer shell is assembled.
3. Assembling the Bodice Lining
The bodice lining is a separate, internal copy of the bodice shell. It provides a comfortable layer against the skin, hides all the interior construction (like your pleat tacking stitches), and will be used to create the channels for the boning in a later step.
You will assemble the lining panels in exactly the same way as the shell panels.
Make a Corset : 16 Steps (with Pictures) - Instructables
The Instructables guide 'Make a Corset' confirms this parallel workflow. It's a simple instruction, but core to the 'bagged lining' construction method.
Read 'Step 5: Sew the Panels Together.' The instructions are brief but clear: 'Sew together the panels together for the outer fabric. Do the same for the lining fabric.' It also reinforces the need to clip and press the seams well.
Since the lining fabric is likely a stable cotton and doesn't have the bulk of pleats, you'll find it much easier and quicker to sew. The principles of pinning curves and pressing seams open remain the same.

Your Action Plan for This Week
Set aside time to work methodically. Rushing these curved seams can lead to puckers that are difficult to fix.
-
Assemble the Shell:
- Lay out your pleated outer shell panels in order.
- Starting with the center front seam, pin and stitch the panels together one by one, with right sides facing.
- After sewing each seam, press it open over a tailor's ham or sleeve board.
- Continue until your entire outer shell is a single, three-dimensional piece.
-
Assemble the Lining:
- Lay out your lining panels in order.
- Repeat the exact same process: pin, stitch, and press each seam, working from the center outwards.
- You will finish with a complete lining, identical in shape to your outer shell.
At the end of this session, you should have two separate pieces: your completed bodice shell and your completed bodice lining.
Conclusion
Congratulations! You've successfully transitioned from working with flat components to constructing the three-dimensional form of your bodice. This is a huge milestone. By carefully stitching and pressing the curved princess seams, you've sculpted the fabric and established the foundational shape of the gown's upper body.
Key Takeaways:
- The bodice shell and lining are constructed as two separate, complete units.
- Sewing opposing curves (princess seams) requires careful pinning, matching of notches, and slow stitching to prevent puckers.
- Pressing curved seams open over a curved surface like a tailor's ham is non-negotiable for achieving a smooth, professional 3D shape.
In our next lesson, we will begin the process of putting it all together. You will learn how to join the bodice shell and lining at the neckline and center back, and we'll introduce understitching—a vital technique for ensuring your lining stays perfectly out of sight.