Hello! Welcome back to the workshop.
In our last lesson, you meticulously cut all the fabric layers for your skirt. That was a task requiring immense precision, especially with the delicate sheers, and you now have a complete "kit" of parts ready for assembly.
Today, we move from the cutting table to the sewing machine to bring the first part of your skirt to life. The learning outcome for this lesson is to assemble the underlining skirt layer. This opaque layer is the foundation of your skirt. In product design terms, this is the structural chassis upon which the beautiful, aesthetic bodywork—the sheer overlays—will be supported. It provides the A-line silhouette and ensures opacity, allowing the delicate nature of the organza and chiffon to shine without distraction.
Let's begin by assembling this foundational piece.
1. The Role of the Underlining
Before we start sewing, it's helpful to be precise about this layer's function. While it's constructed like a separate skirt, its purpose is to underline the sheer layers that will go on top.
How to underline a garment, plus some mistakes to avoid!
To clarify this concept, let's read a short article from Forget Me Not Patterns that explains the 'why' behind underlining.
Please read the sections titled 'What is underlining?' and 'Why underline?'. Focus on the reasons provided, such as making a sheer fabric more opaque and providing support. This is exactly what your underlining will do for your sheer overlays.
As you can see, this layer is essential for achieving the clean, architectural look you envision. It hides internal structures and seam allowances and gives the skirt its core shape.
2. The Assembly Process: Panels to Skirt
Your A-line skirt is constructed from several geometric panels. The process is a systematic sequence of pinning, sewing, finishing, and pressing each seam to join these panels into a whole.
This process is almost identical to how you assembled your muslin skirt, but now we are working with the final fabric, so precision is key.
How to Sew a STUNNING Paneled Dress inspired by Oscar de la Renta: Tutorial + Pearl Sewing Pattern
The 'How to Sew a STUNNING Paneled Dress' video by Dressmaking Amore provides an exceptionally clear, step-by-step demonstration of assembling a paneled garment. We will watch a few key sections that mirror the process you will follow.
Please watch the following segments: Pinning & Sewing the Panels (02:34 - 04:56): Observe how she carefully pins the panels right-sides-together, matching all the notches. She then sews the seams, finishes the raw edges with a serger (you can use your machine's zigzag or overlock stitch), and presses the seams toward the center. Assembling the Back (04:56 - 05:50): This shows the same process for the back panels. Notice the constant emphasis on pressing at every stage. Applying the Logic to a Lining/Underlining (08:22 - 08:55): Here, she explicitly states that the lining is constructed in the exact same way as the main dress shell. This confirms the process you're about to undertake. \nFocus on the methodical workflow: Pin -> Sew -> Finish -> Press.
Your Assembly Workflow:
- Organize Your Pieces: Lay out your cut underlining pieces and identify the front panel(s), side panels, and back panels.
- Pin Seams: Following the logic from the video, pin your first two panels together with right sides facing. Ensure you align the notches and edges perfectly.
- Sew the Seam: Stitch the seam using the seam allowance specified by your pattern (likely 1.5 cm or 5/8").
- Finish the Seam Allowance: Finish the raw edges of your seam allowance using a zigzag stitch or an overlock stitch, as you practiced in Module 1. This prevents the fabric from fraying.
- Press: Press the seam flat first to "set" the stitches, then press the seam allowances to one side (typically towards the center front or center back, as shown in the video). Use a press cloth to protect your fabric.
- Repeat: Continue this process, adding one panel at a time, until all your skirt panels are joined. Leave the center back seam open for now; this is where the zipper will be installed later.
3. A Key Insight for A-Line Skirts
Assembling panels for a flared or A-line skirt introduces a subtle but critical detail related to fabric grain, which you're now familiar with. Getting this right is crucial for a skirt that drapes evenly without twisting.
Handmade Wedding Dress Chapter 11: Skirt Construction and ...
Let's look at a blog post from another maker who documented her wedding dress journey. She discovered an important rule about joining panels firsthand.
Read the first paragraph of this section, where the author describes sewing her middle skirt layer. Pay close attention to the problem she encountered and her solution, which she calls 'lesson one': sewing biases to biases and straight grains to straight grains. This is a fundamental principle for assembling a paneled skirt that hangs correctly.
Your pattern pieces are likely designed to follow this principle. As you pin your seams, you can double-check that you are joining two 'bias' edges or two 'straight grain' edges together. This ensures that any stretch or drape in the fabric is balanced across the garment.
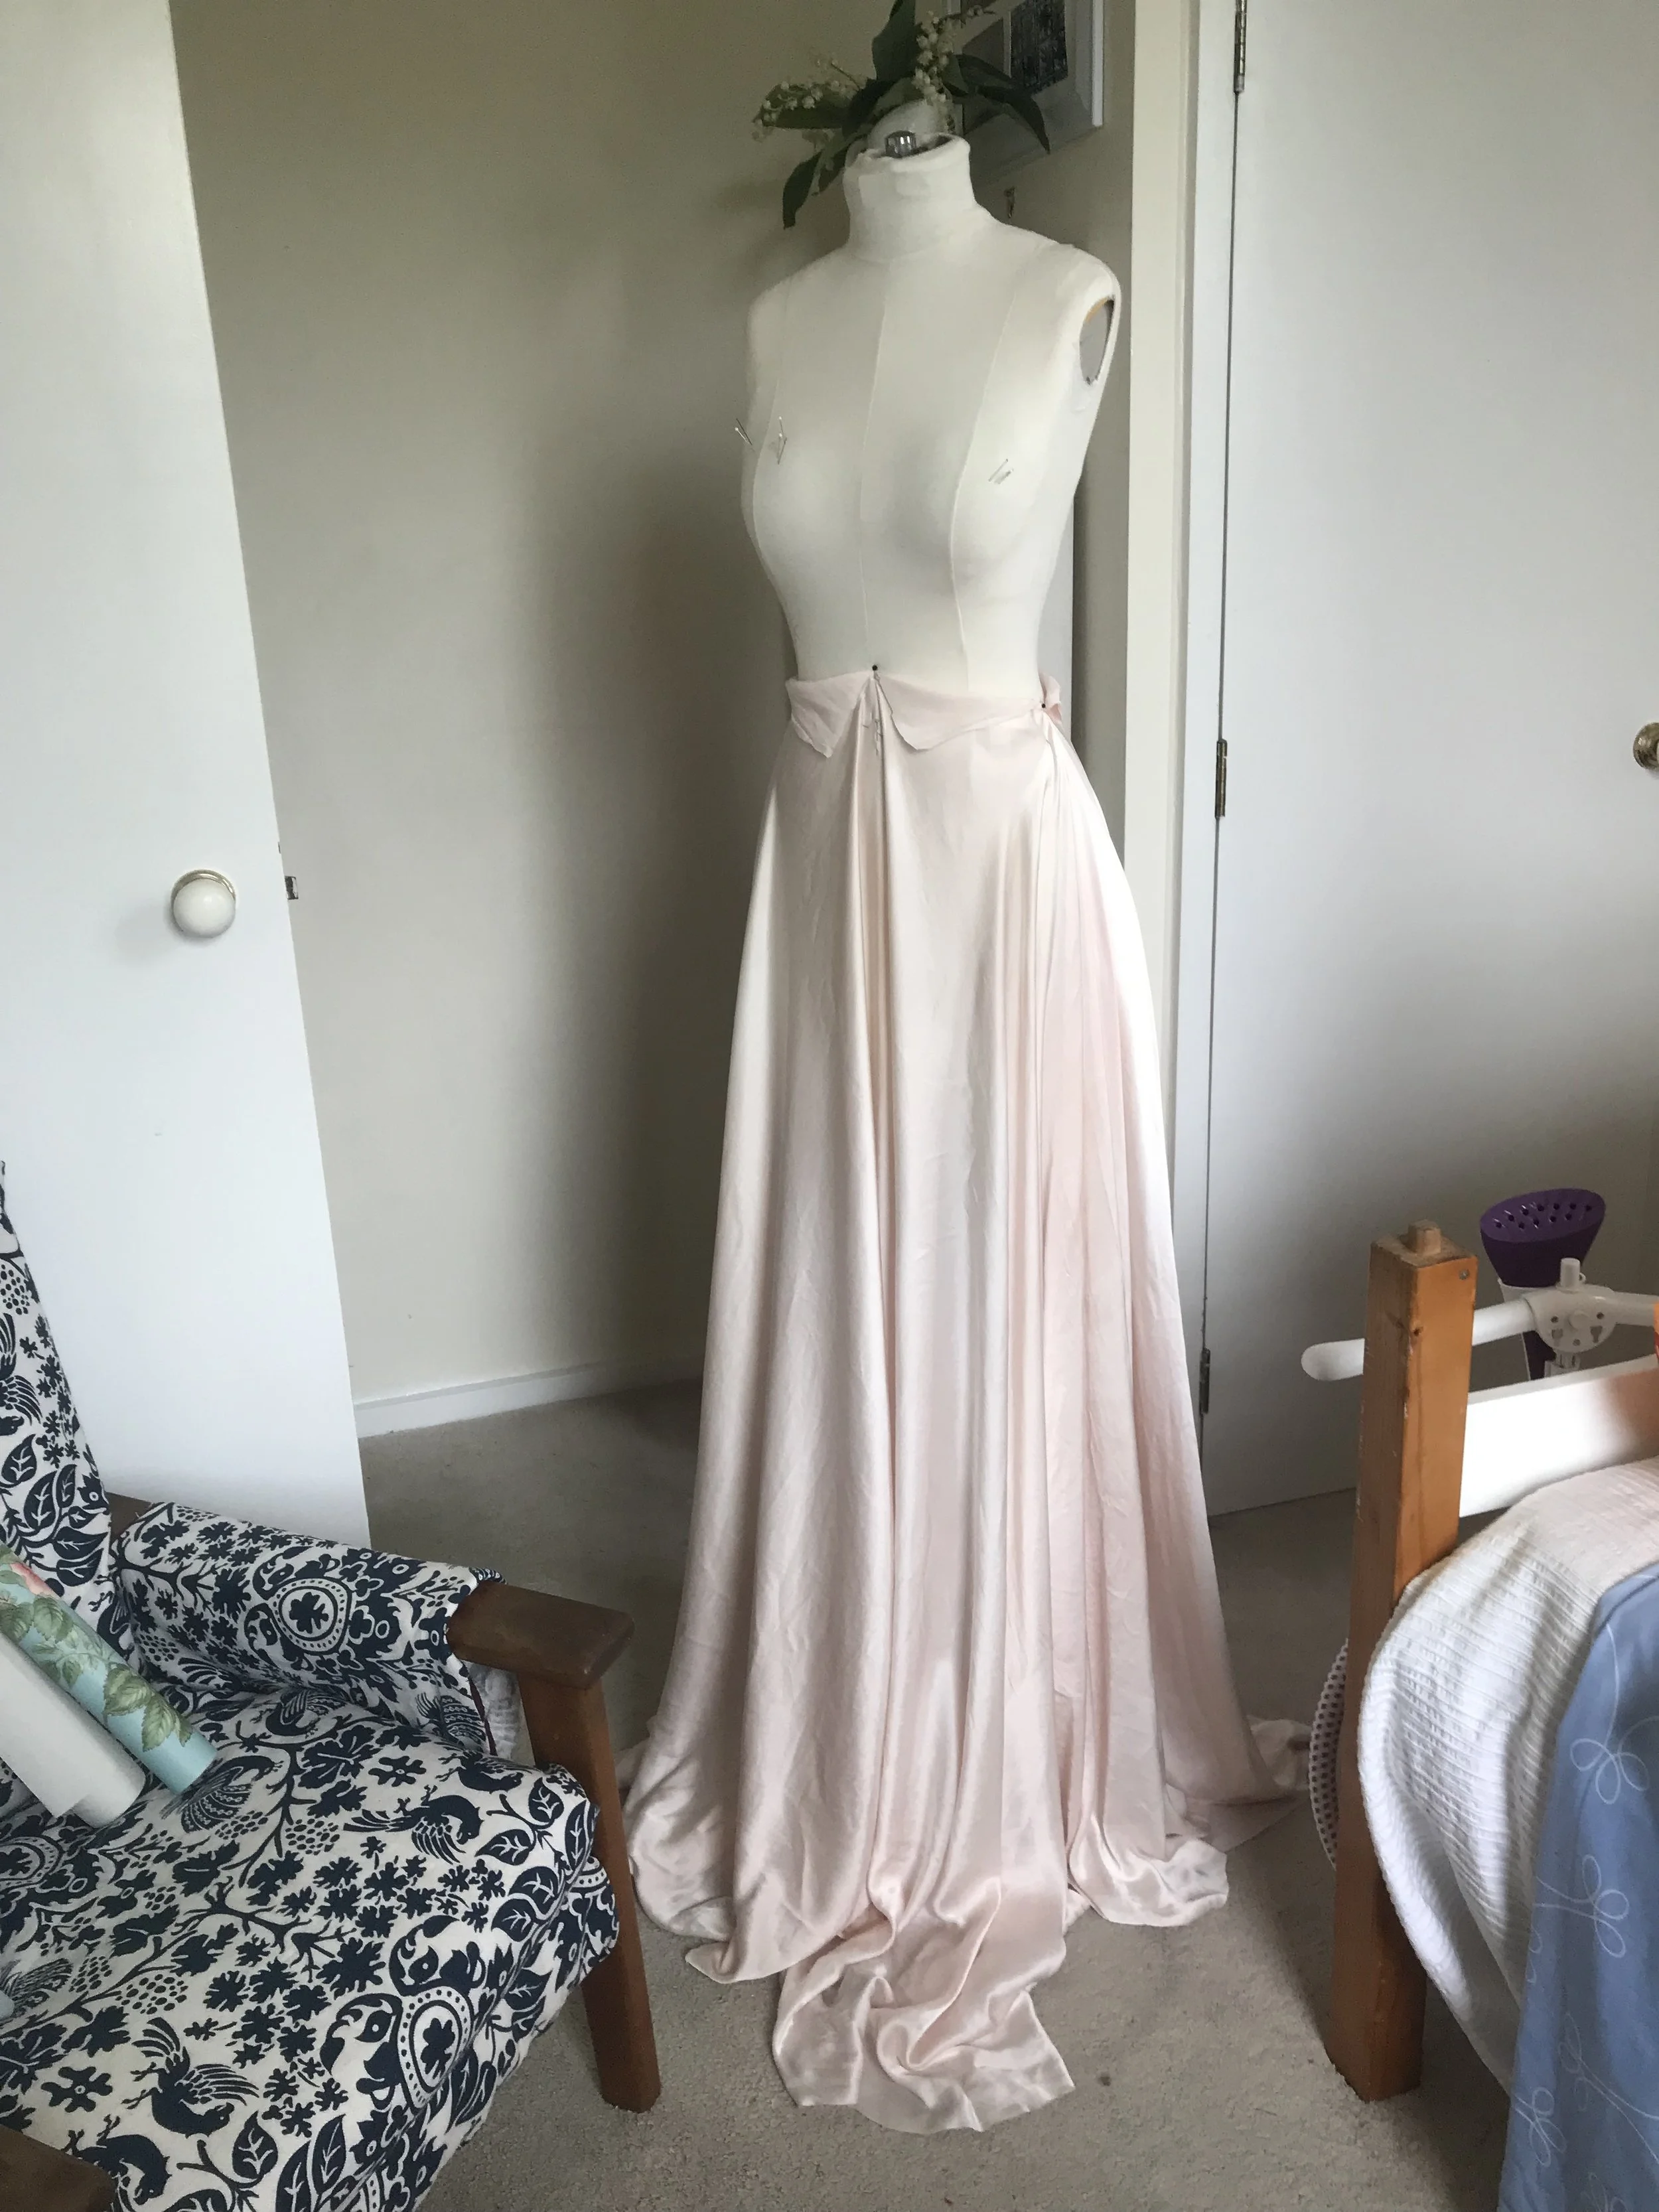
This image from the Kat Makes blog shows the completed underlining skirt layer, just like the one you are creating now. This is your goal for this lesson.
4. Optional Feature: Adding Pockets
Before you sew your side seams, you have a design decision to make. Many modern wedding dresses include in-seam pockets. From a product design perspective, this is a 'feature' that adds significant utility. If you'd like to include them, the process is straightforward.
How To Make The Most Beautiful Ombre Bridal Skirt (With Pockets!!) \\ Pattern & Tutorial
This video, 'How To Make The Most Beautiful Ombre Bridal Skirt,' shows how to integrate pockets into the side seams of the base layer.
If you're interested in adding pockets, watch from 11:18 to 12:10. Notice how she sews the pocket pieces to the open side seams of the front and back skirt panels before stitching the entire side seam closed. This is the standard method for creating clean, hidden in-seam pockets.
This is entirely optional, but now is the moment to decide and act if you want this feature in your dress.
Conclusion
Well done. You have now transformed a set of flat fabric pieces into the three-dimensional form of your skirt's underlining. By following a systematic process, you've created the foundational structure that will define your gown's silhouette.
Key Takeaways:
- The underlining layer provides essential opacity and structure for the sheer overlays.
- Skirt assembly is a methodical process: pin, sew, finish, and press each seam in sequence.
- For a balanced drape, ensure you are joining corresponding grainlines (bias-to-bias, straight-to-straight).
- Pressing is not optional; it melds the stitches with the fabric and creates crisp, professional seams.
In our next lesson, we will tackle the sheer overlays. Our learning outcome will be to assemble the sheer overlay skirt layers using French seams. While the panel assembly process is the same, the delicate, fray-prone nature of organza and chiffon requires a special, enclosed seam finish that is both durable and beautiful.