Hello! Welcome back to your wedding dress project.
In our last lesson, you did the crucial work of preparing the bodice lining for its internal structure by sewing in the boning channels. That sets us up for a beautifully supported, architectural bodice later on.
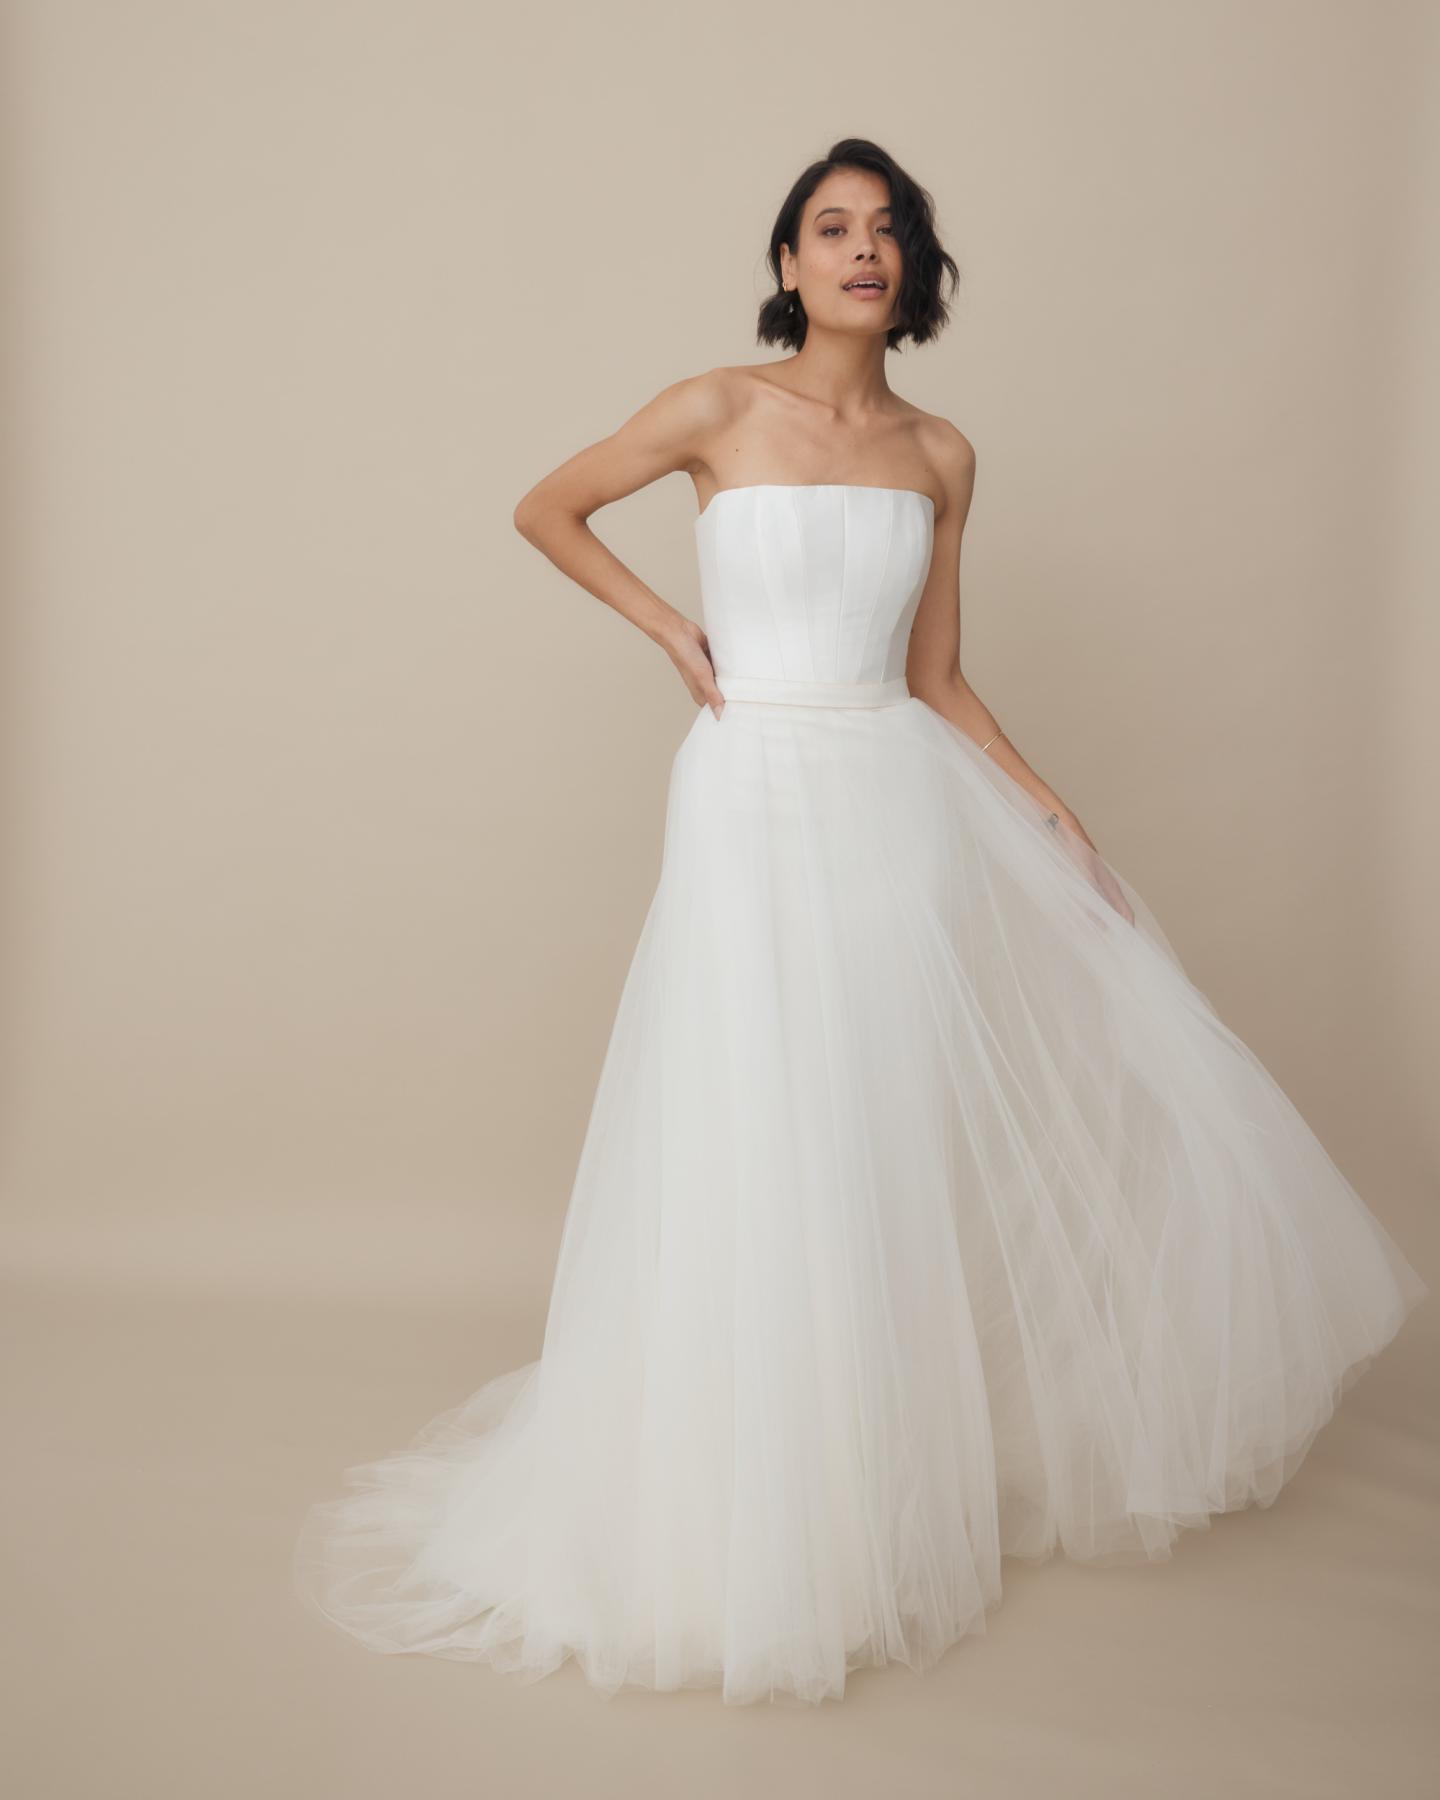
Today, we shift our focus from the bodice to the skirt. This is an exciting moment as we begin to work with the final, beautiful fabrics you've chosen. Your A-line design calls for a skirt with an opaque underlining for structure and opacity, topped with delicate, sheer overlays for a soft, ethereal effect.
Our learning outcome for this lesson is to cut all layers of the final skirt: the opaque underlining and sheer overlays.
This is a high-stakes step where precision is paramount. In product design terms, we've completed our prototyping with the muslin, and now we're moving into final production. Careful preparation and a methodical approach here will ensure your skirt hangs beautifully and flows as you envisioned.
1. Fabric Preparation: The Foundation for a Perfect Cut
Before you even think about laying out your pattern pieces, we must prepare your precious silk fabrics. Silks, especially chiffon and organza, can shrink or change their texture (their "hand") when washed. Pre-treating your fabric ensures that any changes happen before you cut, not after you've constructed the garment.
This is a critical step, so let's walk through it carefully.
How to Sew With Silk | Fabric Guide
The video 'How to Sew With Silk' from Seamwork provides an excellent, clear guide on how to handle and pre-wash silk. This process will prevent any unwanted surprises later on.
Please watch the section from 03:12 to 04:49. The presenter details the correct way to pre-wash silk. Pay close attention to her advice on using lukewarm water, gently agitating, rolling the fabric in a towel to remove excess water (never wringing!), and pressing while slightly damp with a low iron setting and a press cloth. Crucially, always test this process on a small swatch first!
After pre-treating and pressing, your fabric should be perfectly smooth, dry, and ready for the cutting table.
2. The Cutting Blueprint: Why Grainline is Everything
You've already worked with grainlines when making your muslins, but it's worth a quick, focused review now that we're using the final fabric. The way a skirt drapes is almost entirely dictated by the fabric grain.
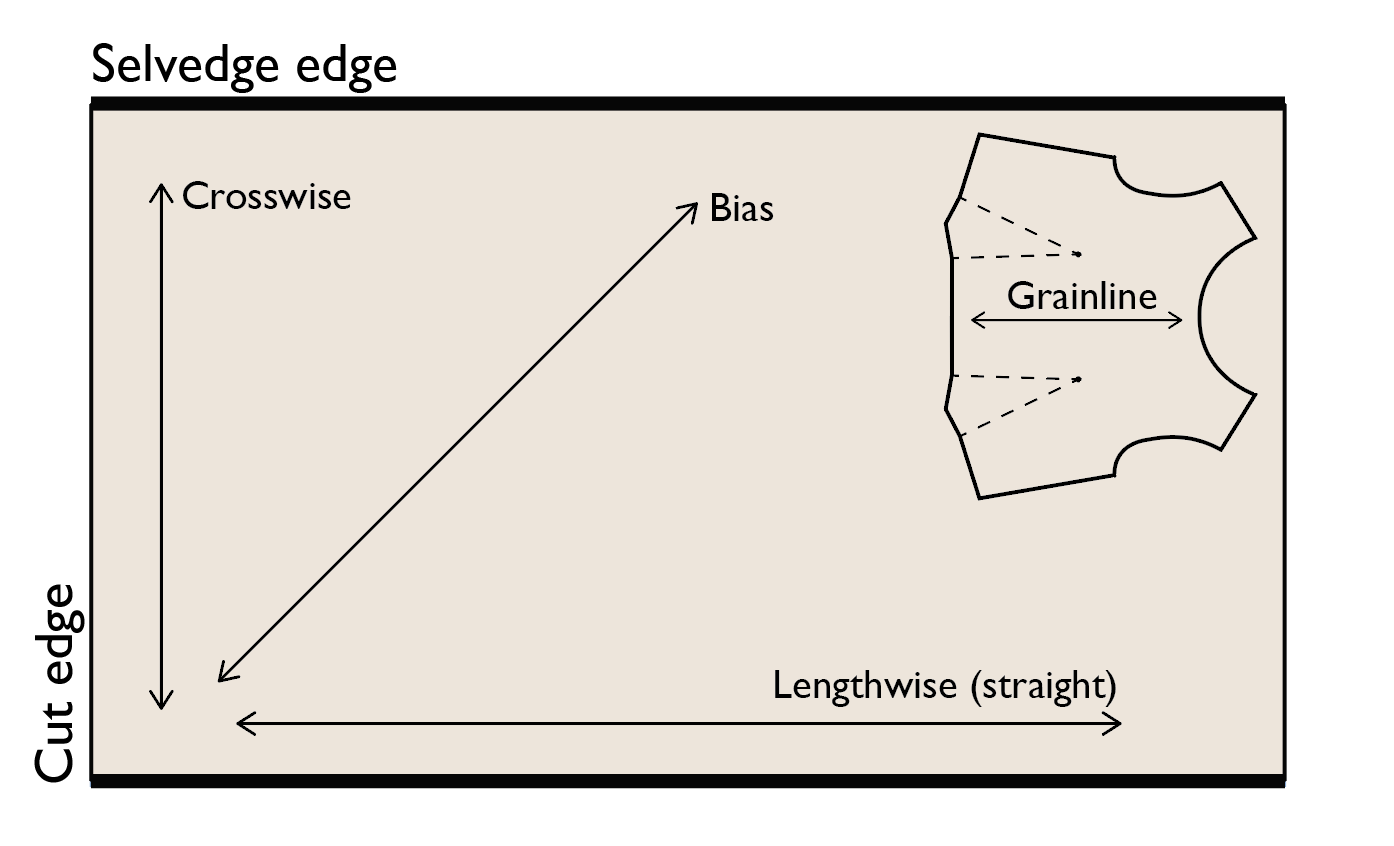
For your A-line skirt, your pattern pieces will have a grainline arrow. You must align this arrow with the fabric's lengthwise grain. This ensures the skirt hangs straight and evenly from the waist to the hem without twisting.
Interestingly, sometimes designers intentionally break this rule.
Cutting and Underlining Deborah's Fabrics - Brooks Ann Camper Bespoke Sewing
In the blog post 'Cutting and Underlining Deborah's Fabrics,' bespoke dressmaker Brooks Ann Camper explains why she chose to cut a skirt on the cross-grain. It's a great insight into the 'why' behind a design decision.
Read the section titled 'Going Against the Grain.' Notice how she tests the fabric's sheen and drape on both the straight and cross-grain before committing. This demonstrates how a deep understanding of materials allows for intentional, expert choices. For your dress, I recommend you follow the grainline indicated on your pattern, but it's valuable to know that these 'rules' can be thoughtfully bent.
3. Cutting the Underlining: Your Skirt's Foundation
Let's start with the opaque underlining. This fabric is likely more stable and easier to handle than the sheer overlays, making it the perfect layer to cut first. This process will also create a perfect template for cutting the more difficult sheer layers.
How To Make The Most Beautiful Ombre Bridal Skirt (With Pockets!!) \\ Pattern & Tutorial
To see the general process of laying out and cutting a large skirt panel, let's watch a quick segment from this bridal skirt tutorial.
Watch from 03:55 to 06:00. The creator is cutting her base satin layer. Notice how she lays the fabric out as a single, flat layer and places her pattern pieces carefully. This is the same approach you'll take with your underlining.
Your Workflow for the Underlining:
- Prepare your surface: Find the largest flat surface you can—ideally a large table or a clean floor.
- Lay out the fabric: Lay your underlining fabric out in a single, smooth layer, wrong side up.
- Position the pattern pieces: Place your paper pattern pieces for the skirt onto the fabric, ensuring the grainline arrow on each piece is perfectly parallel to the fabric's selvage. Use a ruler to measure from the selvage to both ends of the arrow to confirm it's straight.
- Weight and cut: Use pattern weights (or any clean, heavy objects like cans or books) to hold the pattern in place. Pins can distort the fabric. With a sharp pair of fabric shears or a rotary cutter, carefully cut out each piece.
- Label: As you cut each piece, label it with a pin or a chalk marker (e.g., "Skirt Front," "Skirt Back 1," etc.) so you don't lose track.
4. Taming the Sheers: Cutting Silk Organza & Chiffon
Now for the most challenging part of this lesson. Silk organza and chiffon are notoriously slippery, light, and prone to shifting. A standard cutting approach won't work well. We need a specific strategy to control the fabric.
First, let's get some expert advice on the tools and techniques required.
How to Sew With Silk | Fabric Guide
The Seamwork video 'How to Sew With Silk' has an excellent section dedicated to cutting.
Watch from 04:49 to 06:36. The video covers three key strategies: Cutting single layer (which we are already doing). Using a very sharp blade, preferably a rotary cutter. Using a spray stabilizer. This is an optional product that makes the silk behave like paper. It's effective, but note that you must wash the garment after sewing to remove it. \nAlso, pay attention to the advice on using small, sharp silk pins and microtex needles—this will be important when we start sewing.
Experienced sewers have developed many clever tricks for this task. A forum discussion on Pattern Review offers a wealth of practical tips. Here are the most effective ones:
- Create a "grippy" surface: Laying a cotton sheet, flannel, or even a thin fleece blanket over your cutting table creates friction that helps stop the silk from sliding around.
- Sandwich the fabric: Place the sheer fabric between two layers of lightweight tissue paper. You pin the pattern on top and cut through all the layers. The paper stabilizes the silk.
- Use the underlining as a pattern: This is perhaps the most effective method and the one I recommend for you. Instead of using your paper pattern, you use your accurately cut underlining piece as a guide.
A Recommended Workflow for Sheer Layers
Combining these expert tips, here is a robust process for cutting your sheer overlays:
- Prepare Your Surface: Lay a clean cotton sheet over your large, flat cutting surface to create friction.
- Lay Out the Sheer Fabric: Carefully smooth one of your sheer fabrics (organza or chiffon) over the sheet in a single layer. Don't stretch it; let it relax and ensure there are no wrinkles.
- Position Your Guide: Take the corresponding fabric piece you already cut from the underlining and lay it on top of the sheer fabric. This underlining piece is now your sturdy, perfectly-sized pattern.
- Weight It Down: The weight of the underlining piece will help anchor the sheer fabric. Add more pattern weights on top for security.
- Cut with Precision: Using a fresh, sharp blade in your rotary cutter is highly recommended here. It allows you to cut without lifting the fabric, minimizing distortion. Carefully cut around the edge of the underlining piece.
- Repeat: Repeat this process for each skirt piece, for each of your sheer layers.
This method leverages your product design thinking—using a known, stable component (the underlining) as a jig or template to manufacture the more difficult, unstable components (the sheer layers).
Conclusion
Fantastic! This was a lesson in patience and precision. By taking the time to prepare your fabric and use specific techniques for each layer, you have successfully cut all the pieces for your beautiful, multi-layered skirt.
Key Takeaways:
- Preparation is non-negotiable: Always pre-treat silk fabrics to manage shrinkage before cutting.
- Grainline dictates drape: Cutting on the correct grain is essential for an A-line skirt to hang properly.
- Cut the stable layer first: Your underlining provides a foundation and can be used as a perfect template.
- Control the sheer fabric: Use a combination of a grippy surface, weights, and a sharp rotary cutter to tame slippery silks. Using the underlining as a cutting guide is a highly effective strategy.
In our next lesson, we'll head to the sewing machine. Our learning outcome will be to assemble the underlining skirt layer. You will take the first set of pieces you cut today and begin constructing the foundational layer of your skirt.