Hello! Welcome to your next lesson on working with APIs in React.
In our last session, we built a robust foundation for data fetching by learning how to manage loading and error states. You now know how to give users clear feedback while an API request is in flight and what to do when something goes wrong. However, the data we fetched is still just sitting in our component's state, invisible to the user.
Today, we'll complete the loop by learning how to display data fetched from an API within React components. We will take the data stored in our state and render it into a meaningful UI. This is the "Read" part of the common "CRUD" (Create, Read, Update, Delete) operations and is a core skill for building any data-driven application.
By the end of this lesson, you'll be able to transform a raw array of data from an API into a dynamic list or table in your user interface.
From Data in State to Elements on Screen
Let's quickly recap. After a successful API call, we have a state variable that holds our data, which is typically an array of objects. For example:
// A 'posts' state variable might look like this:
[
  { "id": 1, "title": "My First Post", "body": "..." },
  { "id": 2, "title": "React is Fun", "body": "..." },
  { "id": 3, "title": "Learning APIs", "body": "..." }
]
Our goal is to turn this JavaScript array into a list of HTML elements. You've already encountered the perfect tool for this in a previous module: the .map() array method. In React, .map() is the standard way to iterate over an array in state and return a new array of JSX elements.
The pattern looks like this:
<ul>
  {posts.map(post => (
    <li key={post.id}>
      {post.title}
    </li>
  ))}
</ul>
Remember the key prop from our lesson on list rendering? It's crucial here. React uses this unique key to efficiently update, add, or remove items without re-rendering the entire list. The id from the database is almost always the perfect candidate for a key.
A Practical Walkthrough
Let's see this entire process in action. The following video demonstrates fetching posts from an API, saving them to state, and then mapping over that state to render a list of post titles.
Fetching Data in React - Complete Tutorial
Watch this section from the "Fetching Data in React - Complete Tutorial" by Cosden Solutions. It walks through the complete, end-to-end process of fetching data and rendering it as a list.
Watch from 00:42 to 06:35. Focus on: How the posts state is initialized with useState. Inside the fetchPosts function, how setPosts is called with the data from the API. In the JSX, how the posts.map() method is used to create an <li> for each item.
Handling the Initial Render: The map of null Error
There's a common pitfall that catches many developers. When a component first mounts, the data fetching hasn't completed yet. What is the initial value of your data state? If you initialize it like useState(null), your component will try to call .map() on null during its first render, causing your application to crash.
const [data, setData] = useState(null);

// This will crash on the first render!
return (
  <ul>
    {data.map(item => <li key={item.id}>{item.name}</li>)}
  </ul>
);
You have two primary ways to solve this:
-
Initialize with an Empty Array: This is often the simplest and best solution. Calling
.map()on an empty array[]doesn't cause an error; it just returns nothing, which is exactly what you want before the data arrives.const [data, setData] = useState([]); // Safe! -
Use Conditional Rendering: If you need to distinguish between "data is loading" and "data has loaded, but the list is empty," you might initialize with
null. In this case, you must protect your.map()call with a condition. The logical&&operator is perfect for this.const [data, setData] = useState(null); // ... JSX ... {data && data.map(item => <li key={item.id}>{item.name}</li>)} // The map function will only be called if 'data' is truthy (i.e., not null).
This next video does an excellent job of demonstrating this exact problem and how to solve it using the conditional rendering approach.
Using Fetch in React with Function Components - JavaScript Tutorial
This clip from OpenJavaScript's tutorial directly addresses the error of mapping on a null value and provides a clean solution.
Watch from 04:19 to 06:47. Pay close attention to the error that occurs on the initial render and how the data && ... syntax is used to fix it.
The Complete Picture: Data, Loading, Error, and UI
Now, let's combine what you learned today with the loading and error handling from our last lesson. A truly robust component will manage all these states to provide a seamless user experience.
Here's a full example. Notice how we're now combining all three patterns:
- Conditionally rendering a loading message.
- Conditionally rendering an error message.
- Finally, mapping over the data to render the list.
Modern API data-fetching methods in React - LogRocket Blog
The article "Modern API data-fetching methods in React" from the LogRocket Blog provides a great, self-contained code block that ties everything together. We'll focus on the part that shows how to render the data.
Read the short section titled "Rendering the post data with fetch()". Observe how the JSX uses loading, error, and data states to decide what to show the user at any given moment.
This leads to a component structure like this:
import { useState, useEffect } from 'react';

function PostList() {
  const [posts, setPosts] = useState([]); // Initialize with an empty array for safety
  const [isLoading, setIsLoading] = useState(true);
  const [error, setError] = useState(null);

  useEffect(() => {
    const fetchPosts = async () => {
      try {
        const response = await fetch('https://jsonplaceholder.typicode.com/posts?_limit=10');
        if (!response.ok) {
          throw new Error(`HTTP error! Status: ${response.status}`);
        }
        const data = await response.json();
        setPosts(data);
      } catch (e) {
        setError(e);
      } finally {
        setIsLoading(false);
      }
    };

    fetchPosts();
  }, []);

  // 1. First, check for loading state
  if (isLoading) {
    return <p>Loading posts...</p>;
  }

  // 2. Second, check for error state
  if (error) {
    return <p>An error occurred: {error.message}</p>;
  }

  // 3. If not loading and no error, render the data
  return (
    <div>
      <h1>Posts</h1>
      <ul>
        {posts.map(post => (
          <li key={post.id}>{post.title}</li>
        ))}
      </ul>
    </div>
  );
}
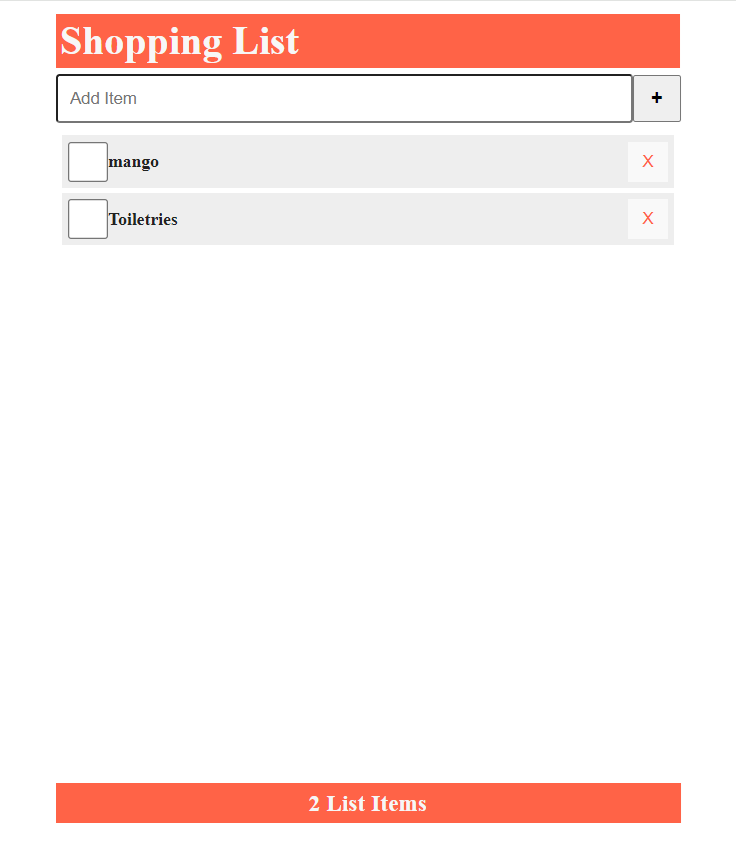
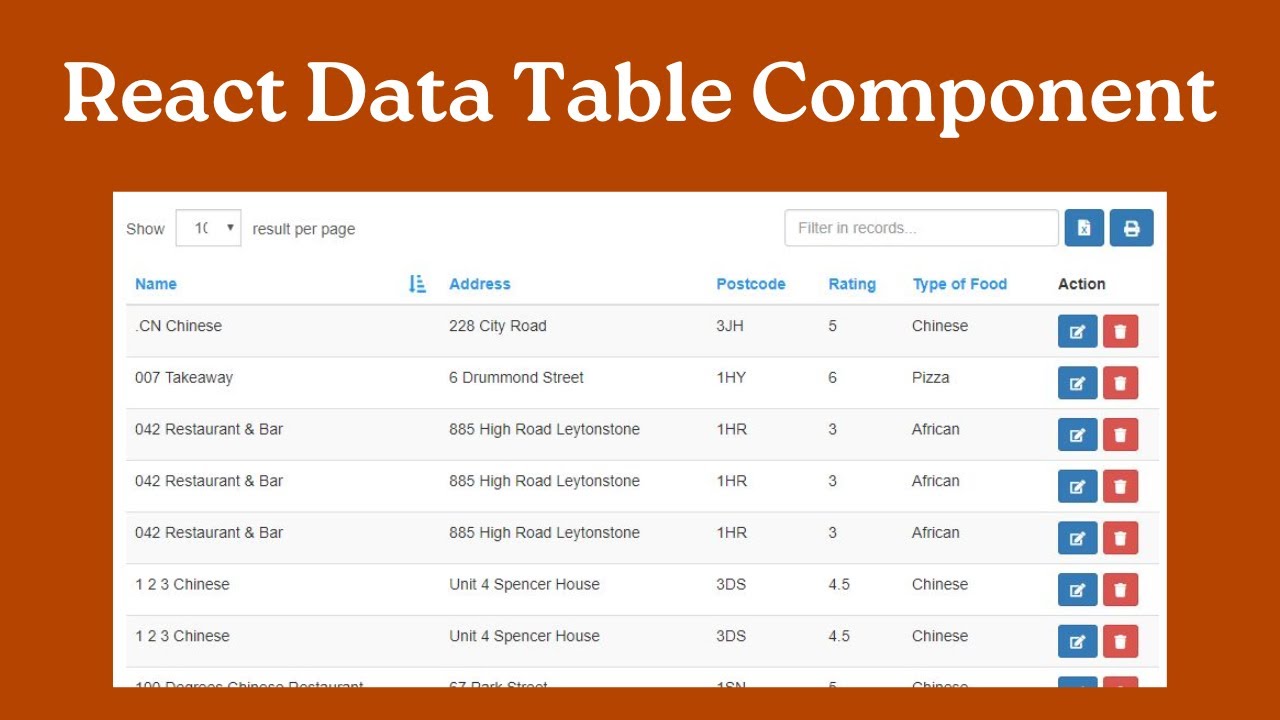
The output can be a simple list, like in a shopping list app, or something more complex like a data table.
Conclusion
Excellent work! You have now mastered the full "Read" cycle of an API interaction in React. You can confidently fetch data, handle its loading and error states, and, most importantly, present it to your users in a clear and dynamic way.
Key Takeaways:
- Use
.map()to Render Lists: The.map()method is the standard and most idiomatic way to transform an array of data into an array of JSX elements. - Always Use
keyProps: When mapping to create elements, provide a uniquekeyprop to each element to help React optimize rendering. - Prevent Initial Render Errors: Avoid "cannot read property 'map' of null" errors by either initializing your data state with an empty array (
useState([])) or by using conditional rendering (data && data.map(...)). - Combine State for a Robust UI: Your component's return statement should account for all possible states: loading, error, and success (data available).
Next Up:
You've learned how to get data from a server and display it. The next logical step is to send data to a server. In our next lesson, we will explore how to send data to an API using POST or PUT requests in response to user actions, which will allow you to build features like creating new items, submitting forms, and updating existing data.