Hello! Welcome back to our journey into React.
In our last lesson, we learned how to make our UIs dynamic with conditional rendering. Using the ternary (? :) and logical AND (&&) operators, we can now show, hide, or switch between different elements based on our component's state. This is perfect for displaying a loading spinner or showing a "Welcome back!" message.
Today, we'll tackle another fundamental task in UI development: displaying collections of data. Think of a social media feed, a list of products, or your music playlist. These are all lists of similar items rendered from a data source. This lesson will teach you how to take an array of data and transform it into a list of components on the screen.
Our goal is to render a list of elements from an array using the .map() method, the standard and most powerful way to handle lists in React.
Why Not a for Loop? The Power of Expressions
In regular JavaScript, if you wanted to generate HTML for each item in an array, you might reach for a for loop. However, you can't use a for loop directly inside JSX's curly braces {}.
This is because JSX expects an expression inside the braces — a piece of code that evaluates to a single value (like a number, a string, a boolean, or in our case, an array of JSX elements). A for loop, on the other hand, is a statement — it performs an action but doesn't resolve to a value itself.
So, how do we "loop" inside JSX? We need a JavaScript tool that takes an array, transforms it, and returns a new array as an expression. This is exactly what Array.prototype.map() does.
How to use Array.map to render a list of items in React
This article from Scrimba clearly explains why traditional loops aren't a good fit for JSX and why .map() is the go-to method.
Read the sections "Why not use for loops instead of map?" and "How does map work?". Focus on the distinction between expressions and statements, and how map transforms one array into another.
The .map() method iterates over every item in an array, applies a function you provide, and returns a new array containing the results. It's like a mapping machine: for every input item, it produces a corresponding output item.
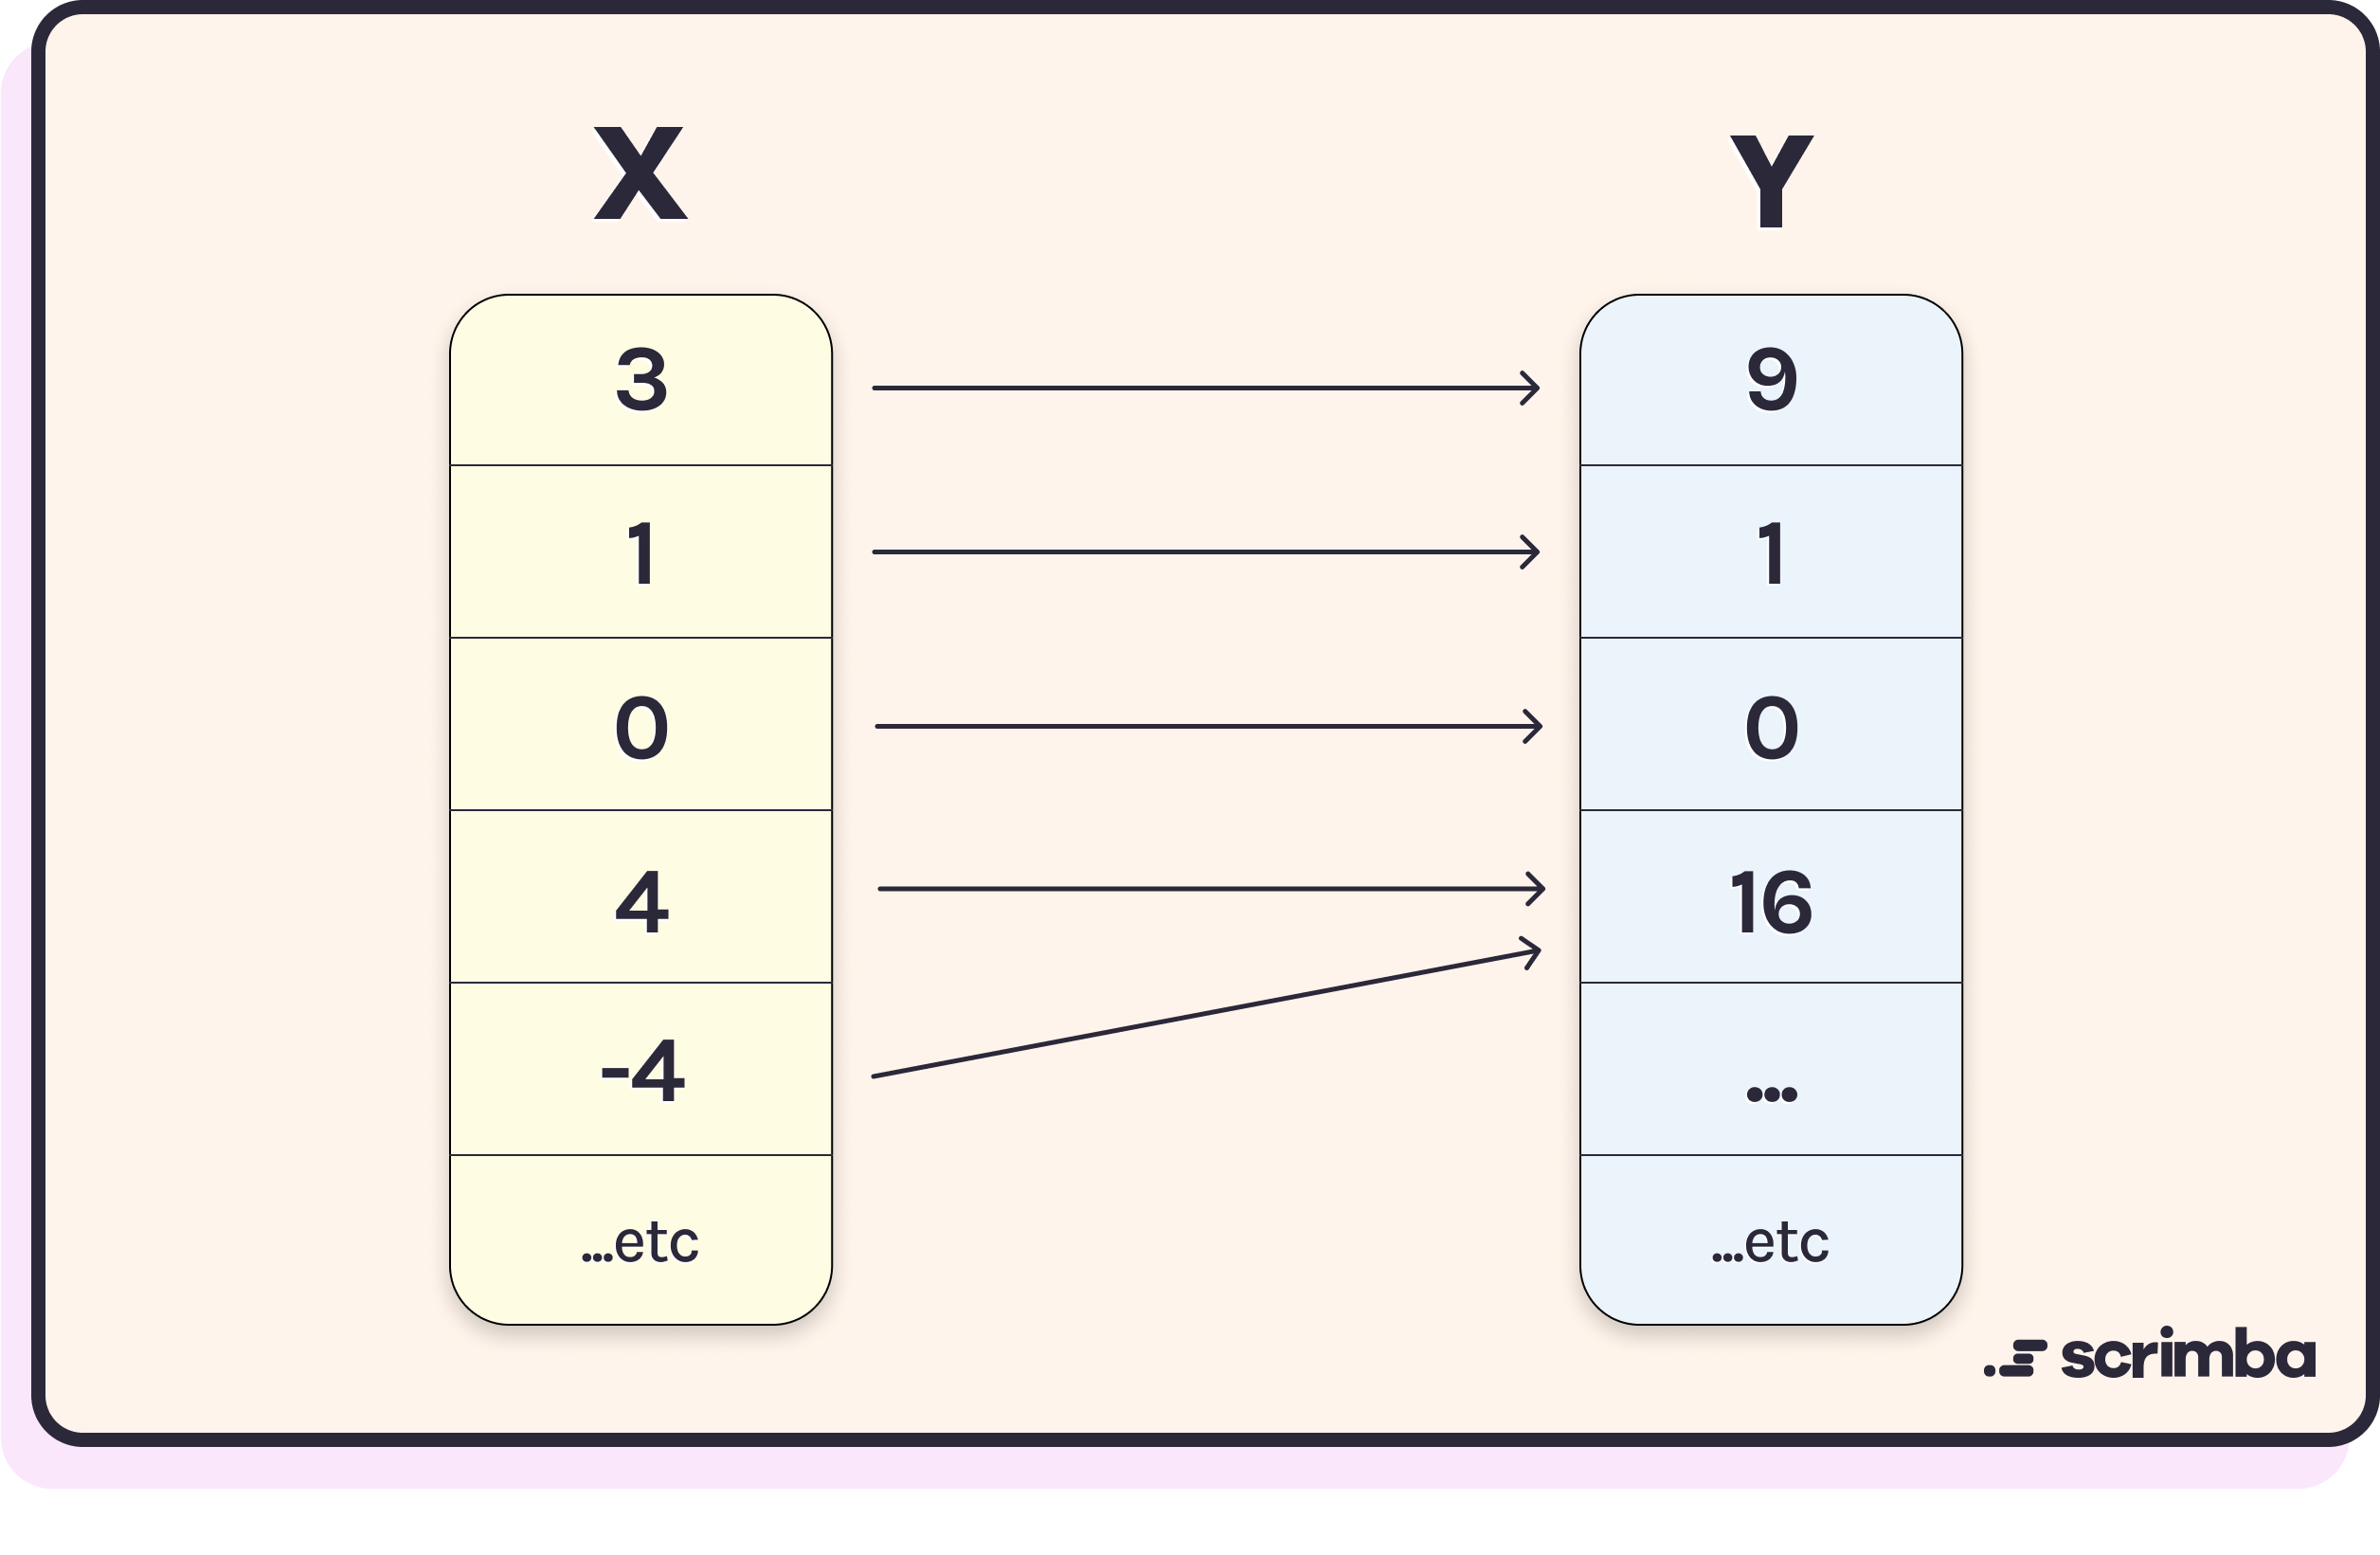
Rendering a Simple Array
Let's start with a basic array of strings. Imagine we have a list of tasks for a to-do app.
const tasks = ['Learn React', 'Build a project', 'Take a break'];
To display this in React, we can use .map() inside our component's JSX to transform each string into a list item <li> element.
function TodoList() {
  const tasks = ['Learn React', 'Build a project', 'Take a break'];

  const taskListItems = tasks.map(task => <li>{task}</li>);

  return (
    <div>
      <h2>My Tasks</h2>
      <ul>
        {taskListItems}
      </ul>
    </div>
  );
}
You can even write this more concisely by placing the .map() call directly inside the <ul>:
function TodoList() {
  const tasks = ['Learn React', 'Build a project', 'Take a break'];

  return (
    <div>
      <h2>My Tasks</h2>
      <ul>
        {tasks.map(task => <li>{task}</li>)}
      </ul>
    </div>
  );
}
When React sees {tasks.map(...)}, it runs the .map() method. This method returns an array of <li> elements, like [<li>Learn React</li>, <li>Build a project</li>, <li>Take a break</li>], which React then renders to the DOM.
Let's watch a quick demonstration of this process.
How to render LISTS in React 📃
This video from Bro Code provides a very direct and clear example of rendering a simple array of strings into a list.
Watch from 01:45 to 03:15. Notice how the .map() method is used to convert an array of strings into an array of <li> elements, which are then embedded within a <ul>.
A Quick but Important Rule: The key Prop
If you run the code above, you'll see your list, but you'll also see a warning in your browser's developer console: Warning: Each child in a list should have a unique "key" prop.
React needs a way to uniquely identify each item in a list to manage updates efficiently (like re-ordering, adding, or deleting items). The solution is to add a special prop called key to the top-level JSX element inside your map. This key must be a string or number that is unique among its siblings in the list.
For our simple tasks array, if we can assume no two tasks have the same name, we can use the task string itself as the key:
{tasks.map(task => <li key={task}>{task}</li>)}
We will dive deep into why the key prop is so crucial in our next lesson. For now, just remember this rule: when you map, you must add a unique key.
Rendering an Array of Objects
In real applications, your data will almost always be an array of objects, each with multiple properties. This is where .map() truly shines.
Let's model some data for a list of video game characters. Notice each character has a unique id.
const characters = [
  { id: 1, name: 'Sora', game: 'Kingdom Hearts' },
  { id: 2, name: 'Geralt', game: 'The Witcher 3' },
  { id: 3, name: 'Arthur Morgan', game: 'Red Dead Redemption 2' }
];
Now we can map over this array and create a richer JSX structure for each character, using their properties. The id is the perfect candidate for our key prop.
function CharacterList() {
  const characters = [
    { id: 1, name: 'Sora', game: 'Kingdom Hearts' },
    { id: 2, name: 'Geralt', game: 'The Witcher 3' },
    { id: 3, name: 'Arthur Morgan', game: 'Red Dead Redemption 2' }
  ];

  return (
    <div>
      <h1>Favorite Characters</h1>
      <ul>
        {characters.map(character => (
          <li key={character.id}>
            <strong>{character.name}</strong> from <em>{character.game}</em>
          </li>
        ))}
      </ul>
    </div>
  );
}
Best Practice: Extracting a List Item Component
As your list items get more complex, putting all their JSX inside the .map() function can make your main component cluttered. The standard React practice is to extract the JSX for a single list item into its own component.
- Create a new component (e.g.,
Character). - The parent component maps over the data and renders a
Charactercomponent for each item. - The data for each item (
id,name,game) is passed down as props. - Crucially, the
keyprop stays on the component inside the.map()loop.
Let's see how that looks:
// Child Component: Character.jsx
function Character({ name, game }) {
  return (
    <li>
      <strong>{name}</strong> from <em>{game}</em>
    </li>
  );
}

// Parent Component: CharacterList.jsx
function CharacterList() {
  const characters = [/* ...our array of characters... */];

  return (
    <div>
      <h1>Favorite Characters</h1>
      <ul>
        {characters.map(character => (
          <Character
            key={character.id}
            name={character.name}
            game={character.game}
          />
        ))}
      </ul>
    </div>
  );
}
This approach makes your code much cleaner, more reusable, and easier to manage.
This next video is an excellent guide that walks through rendering a list of objects and demonstrates this exact refactoring pattern, along with some other useful techniques like destructuring.
Learn React #5: Maps and Loops in JSX
In this video, Anthony Sistilli demonstrates the complete workflow for rendering lists of objects, including destructuring, refactoring into a separate component, and correctly placing the key prop.
Watch from 06:28 to 13:16. Pay close attention to these three key steps: Accessing properties from an object inside .map() (e.g., employee.name). Refactoring the list item's JSX into a separate, reusable component (Employee.jsx). How the key prop is assigned to the top-level element inside the map (<div key={...}> in his example).
Conclusion
You've now mastered one of the most common and essential patterns in React. By combining JavaScript's .map() method with JSX, you can dynamically render lists from any array of data.
Key Takeaways:
- Use the
.map()method to transform an array of data into an array of JSX elements. .map()is an expression, which is why it can be used directly inside{}in JSX, unlike aforloop.- For every element rendered inside a
.map(), you must provide a uniquekeyprop to the root element. Thiskeyshould be a stable, unique identifier from your data, like anid. - For complex list items, it's a best practice to extract the item's rendering logic into a separate component and pass data down via props.
Next Up:
We've followed the rule of adding a key to our list items, but why is it so important? In the next lesson, we will uncover the mystery behind the key prop, understanding its critical role in React's performance and how it helps the virtual DOM identify elements during updates. After that, we'll combine what we've learned to dynamically filter and modify lists.