Hello! Welcome back to our chess project.
In the last lesson, we established a way to represent individual squares on the board by creating a Square struct. Combined with the Piece struct we built earlier, we now have the two fundamental building blocks of our game.
Today, we're going to assemble them into the main playing field. This lesson is all about representing the entire 8x8 chessboard. We'll create a Board struct that holds the state of all 64 squares. The main challenge we'll tackle is how to represent a square that is empty, and you'll see how Rust's Option enum provides an elegant solution.
1. Representing Emptiness: The Option<T> Enum
Think about an actual chessboard. Any given square can either have a piece on it or be empty. In many programming languages, this concept of "nothingness" is handled by null or nil, which can often lead to errors if not handled carefully.
Rust takes a different, much safer approach with a built-in enum called Option<T>. It's designed specifically to handle cases where a value might be absent. It has two possible variants:
Some(T): A value of typeTis present. For our game, this would beSome(Piece).None: No value is present. This is how we'll represent an empty square.
This video gives an excellent overview of the Option enum and demonstrates its use in a game development context, which is perfect for our project.
Rust Option Enum Type Overview
Watch this video from Trevor Sullivan to understand the core idea behind the Option enum. It explains why it exists and how it's used to safely handle values that may or may not be there.
Watch the first 3 minutes and 14 seconds of the video. Focus on the explanation of the Some(T) and None variants and how Option acts as a wrapper around any other type.
By using Option<Piece>, we force the Rust compiler to ensure we handle both cases—an empty square and an occupied one—everywhere in our code. This prevents a whole class of bugs common in other languages.
2. Defining the Board Struct
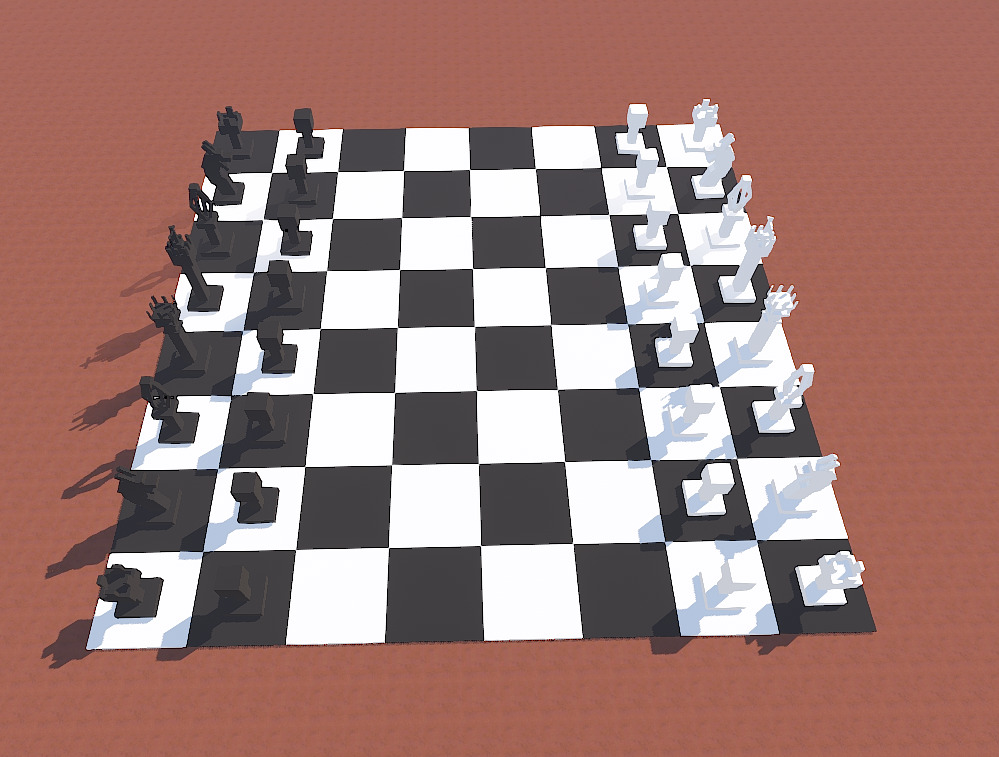
Now that we know how to represent a single square's state (Option<Piece>), we can model the entire board. The most direct way to do this is with a two-dimensional array. Since a chessboard is an 8x8 grid, an 8x8 array of Option<Piece> is a perfect fit.
We will encapsulate this array inside a new Board struct. This approach is common and effective for board games.
The following resource from Stack Overflow discusses exactly this topic. The accepted answer provides a clear and idiomatic Rust implementation for a chess board.
How best to use traits vs enums when describing a chess board
This Stack Overflow answer provides an excellent template for our Board struct. Read the code snippets and the accompanying explanation carefully.
Focus on the code block that defines the Board struct. Pay close attention to its field: pub pieces: [[Option<Piece>; 8]; 8]. Also, read the paragraph that follows it, which explains a crucial design choice: "pieces don't have position data here; the position of a piece is determined by its location in the board."
As the resource highlights, by storing pieces in a grid, we don't need to give each Piece struct its own position field. A piece's position is simply its index in the 2D array. This keeps our data model clean and simple.
3. Hands-On: Building the Board
Let's add the Board struct to our project. We'll place it in the board module we created in the previous lesson.
-
Open
src/board/mod.rs:
This is where we defined ourSquarestruct. At the top of the file, we need to import thePiecestruct, as ourBoardwill contain pieces.// src/board/mod.rs use crate::pieces::Piece;Note:
crate::refers to the root of your project's crate, allowing us to specify an absolute path to thepiecesmodule. -
Add the
Boardstruct:
Below theSquarestruct, add the definition forBoard.// In src/board/mod.rs // ... existing Square struct definition ... #[derive(Debug, Copy, Clone)] pub struct Board { pub pieces: [[Option<Piece>; 8]; 8], }We derive
Debugto allow printing the board for debugging. We also deriveCopyandClone. An array in Rust isCopyonly if its elements areCopy. Our element type isOption<Piece>.Option<T>isCopyifTisCopy. In ourpiecesmodule, we already derivedCopyon ourPiecestruct, so this all works out perfectly! This makes it easy to create copies of the board state later, which is useful for things like checking for moves that would result in check. -
Create an Empty Board:
Let's test our new struct. Go to yourmainfunction insrc/main.rs.
First, import theBoardstruct.// src/main.rs mod board; mod pieces; use board::{Board, Square}; // Add Board here use pieces::{Piece, PieceColor, PieceType}; // ...Now, inside
main(), let's create our firstBoardinstance. Rust has a convenient syntax for initializing an array where every element is the same. Since we want an 8x8 grid of empty squares, we can initialize it with[[None; 8]; 8].// In the main() function of src/main.rs fn main() { // ... previous code from last lesson ... println!("The squares are the same!"); println!("---"); // Separator for new output // 1. Create an 8x8 array where every element is `None`. let empty_grid = [[None; 8]; 8]; // 2. Create a new Board instance using our empty grid. let empty_board = Board { pieces: empty_grid }; // 3. Print it to see the result! // We'll see a lot of "None", which is exactly what we expect. println!("A brand new empty board: {:?}", empty_board); } -
Run Your Code:
Executecargo runin your terminal. You should see the debug output for yourempty_board, showing an 8x8 grid filled withNone. This confirms ourBoardstruct is working correctly!
Conclusion
Excellent work today! You have now created the data structure for the entire chessboard. By combining a 2D array with the Option enum, you've built a robust and type-safe representation of the game's playing field.
Key Takeaways:
- Rust's
Option<T>enum is the standard way to handle values that might be absent, usingSome(value)for presence andNonefor absence. - For our chess game,
Option<Piece>is the perfect type to represent a square that is either occupied or empty. - A 2D array,
[[Option<Piece>; 8]; 8], is a direct and efficient way to model the 8x8 chessboard grid. - Encapsulating this grid within a
Boardstruct keeps our code organized. - A piece's position is implicitly defined by its index in the board's array, which simplifies the
Piecestruct itself.
Now that we have an empty board, the next logical step is to set up the pieces for the start of a game. In the next lesson, you will write a function to initialize your Board struct with all 32 pieces in their standard starting positions.