Hello! Welcome to your second lesson.
In our last session, we successfully set up your local development environment with PHP and Composer. With those foundational tools ready, we can now move on to the main event: installing the Laravel framework itself and creating your very first project.
By the end of this 60-minute lesson, you will know how to use Composer to create a new Laravel project and get it running in your browser. This is the step where we go from having the tools to having an actual, working application skeleton.
How to Create a Laravel Project
There are two primary methods for creating a new Laravel project, both of which use Composer. We will cover both so you are familiar with what you might see in different tutorials and documentation.
- Using the Laravel Installer: A convenient command-line tool created by the Laravel team specifically for scaffolding new projects. This is often the fastest method.
- Using Composer's
create-projectCommand: The standard, universal Composer command for creating projects from any existing package.
We'll focus on the Laravel Installer as our main approach, as it's streamlined and interactive.
Method 1: Using the Laravel Installer (Recommended)
The Laravel Installer is a small program you install once on your system. After that, you can use the simple laravel new command to create as many projects as you want.
Step 1: Install the Laravel Installer
First, you need to download the installer using Composer. Open your terminal and run the following command:
composer global require laravel/installer
This command tells Composer to fetch the laravel/installer package and make it available globally on your system.
For more details on this step, you can refer to the official documentation.
The official Laravel documentation covers the installation of the global Laravel installer. It's the most authoritative source for this process.
Read the part of the section 'Creating a Laravel Application' that describes installing the Laravel installer via Composer. It's the line that starts with composer global require laravel/installer. You can skip the parts about php.new since we already handled PHP and Composer installation in the last lesson.
Step 2: Create Your New Laravel Application
With the installer ready, creating a new project is simple. Navigate in your terminal to the directory where you store your code, and then run:
laravel new my-api
The installer will then ask you a few questions to configure the project. Here’s how to answer them for our course:
- Which starter kit would you like to install?
- Choose
None. This gives us a minimal project, which is perfect for learning. Since you want to build a REST API but also understand frontend views, starting from scratch allows us to build both components step-by-step.
- Choose
- Which testing framework do you prefer?
- Press Enter to accept the default (
PHPUnit). We won't be focusing on automated testing in this course, but it's standard practice to include it.
- Press Enter to accept the default (
- Would you like to initialize a Git repository?
- Type
yes. It's always a good habit to use version control from the very beginning.
- Type
- Which database will your application use?
- Choose
sqlite. SQLite is a simple, file-based database that requires no extra server or configuration. It's the quickest way to get a database running, which is ideal given your 7-day timeline. We can always switch to a more robust database like MySQL later.
- Choose
The following guide from Laravel's learning platform walks through this exact process and provides excellent context for these choices.
Setting up your Laravel project
This official Laravel tutorial provides a friendly walkthrough of the laravel new command and the prompts you will encounter.
Read 'Step 2: Create a New Laravel Application'. Pay close attention to the explanations for choosing 'None' for the starter kit and 'sqlite' for the database, as these are the settings we'll use.
Method 2: Using Composer's create-project Command
The alternative method doesn't require a global installer. You can create a new Laravel project with a single Composer command. This is a good command to know, as it works for creating any type of PHP project available on Packagist (the main PHP package repository).
The command is:
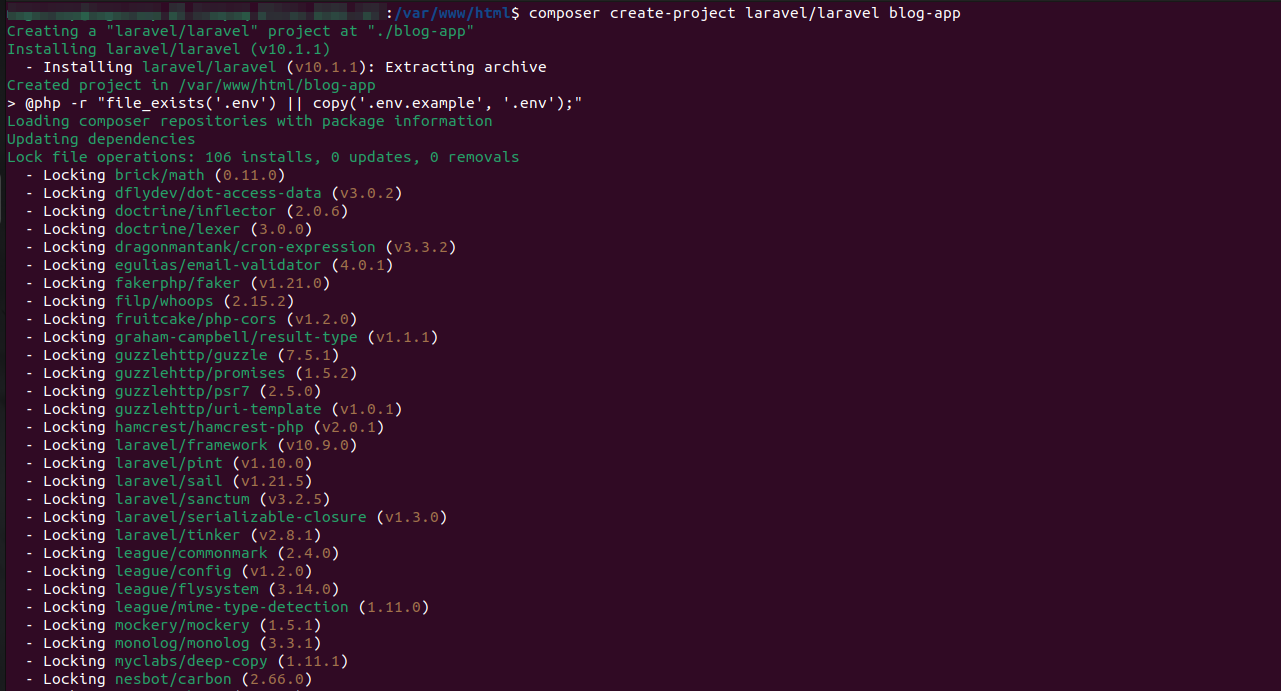
composer create-project laravel/laravel my-api
This command tells Composer to find the laravel/laravel package and create a new project from it in a directory named my-api. It downloads the framework and installs all of its dependencies in one go.
Running Your Application
Congratulations, you now have a complete Laravel project on your computer! Let's make sure it runs.
- First, navigate into the project directory you just created:
cd my-api - Next, use Laravel's built-in command-line tool, Artisan, to start a local development server:
php artisan serve
You should see output indicating the server has started, typically on http://127.0.0.1:8000.
Open that address in your web browser. You will be greeted by the default Laravel 11 welcome page. This confirms your installation was successful!
The following video quickly demonstrates both the create-project command and how to run the php artisan serve command.
Laravel 11 Tutorial for Beginners - Laravel Crash Course (2024)
This clip from the 'Laravel 11 Tutorial for Beginners' by The Codeholic shows the installation and serving process in action.
You can watch these two short clips: Creating the project (optional): Watch from 00:03:45 to 00:04:25 to see the composer create-project command being executed. Running the server: Watch from 00:05:37 to 00:06:14 to see the php artisan serve command and the resulting welcome page.
Test your understanding!
You've just created the my-api project. Now, you want to create a second project for a personal blog called my-blog. What are the two different commands you could use to do this, one using the Laravel Installer and one using the direct Composer command?
Show answer
- Using the Laravel Installer:
laravel new my-blog - Using the direct Composer command:
composer create-project laravel/laravel my-blog
Both commands will achieve the same end result: a new Laravel project in a folder named my-blog.
Troubleshooting Common Installation Issues
Sometimes, things don't go smoothly. A very common issue, especially on a fresh Windows setup, is an error message about a missing "zip extension" when you try to install Laravel.
The zip extension is required, but it is not installed. Install the zip extension or use the --no-plugins flag to continue.
This happens because Composer needs to unzip files, but the corresponding PHP extension is not enabled. The fix involves editing a single line in your php.ini configuration file. This video provides a clear, step-by-step solution to this exact problem.
How to Install Laravel 12 on Windows 11 for Beginners in 2025
This video from Devtamin provides an excellent, easy-to-follow guide for fixing the 'zip extension' error on Windows.
If you encounter the 'zip extension' error, watch the segment from 00:07:34 to 00:09:45. It shows you exactly how to locate your php.ini file, enable the extension by removing a semicolon, and restart your services to apply the change.
Conclusion
Well done! You have successfully installed the Laravel framework and created your first project. This is a major milestone.
In this lesson, you learned:
- There are two main ways to create a Laravel project: the convenient
laravel newcommand and the universalcomposer create-projectcommand. - How to make initial configuration choices for your project, such as selecting
sqlitefor a hassle-free database setup. - How to start Laravel's local development server using the
php artisan servecommand to view your application in a browser. - How to troubleshoot a common installation error related to PHP's zip extension.
Preview of the Next Lesson:
Now that we have a project, you've probably noticed it created a lot of files and folders. In our next lesson, we'll begin our exploration of this structure. We'll identify the purpose of the most important directories: app, routes, config, database, and resources. This will give you a mental map of where everything lives in a Laravel application.