Hello! Welcome to your fourth lesson in the Laravel course.
In our last session, we took a guided tour of the Laravel project structure, identifying the key directories like app, routes, and database. We ended with a question: how do we efficiently create all the files (like controllers and models) that belong in these directories?
This lesson provides the answer: Artisan, Laravel's powerful command-line interface (CLI). Artisan is your digital assistant for building and managing Laravel applications. It automates repetitive tasks, generates code, and helps you interact with your application without ever leaving the terminal.
By the end of this lesson, you will be able to use the Artisan CLI to run common and essential commands, specifically focusing on serving your application and generating boilerplate code using make.
What is Artisan and Why Does It Matter?
At its core, Artisan is a PHP script located in the root of your project. When you run php artisan <command>, you are executing that script and telling it what task to perform. This tool is fundamental to the rapid development workflow that Laravel is known for.
To understand why Artisan is so crucial for speed and reliability, let's begin by reading a brief introduction.
Laravel tutorial most imprtant Arisan commands
The article "Laravel tutorial most imprtant Arisan commands" provides an excellent overview of what Artisan is and why it's a cornerstone of professional Laravel development.
Please read the first two sections of the article, starting from the top down to the heading "Top 10 Laravel Artisan Commands". Focus on the explanation of how Artisan helps with automation and consistency.
As the article mentions, Artisan saves time and reduces errors by standardizing common tasks. To see the full scope of what Artisan can do, you can ask it to list all available commands.
Open your terminal, navigate to your Laravel project directory, and run:php artisan list
You'll see a long list of commands, neatly organized into categories like make, db, cache, and route.

Now, let's explore some of the most frequently used commands that you will rely on daily.
1. Running Your Application: php artisan serve
The first command most developers learn is php artisan serve. As you've already seen, this command starts a local development server, making it incredibly simple to view and test your application in a browser.
For a detailed explanation of its utility, please refer back to the article we just opened.
Laravel tutorial most imprtant Arisan commands
Let's continue with the same article to learn about the serve command.
Read section #1, php artisan serve. Pay attention to the use case and why this command is so convenient for development.
This simple command removes the need to configure a full web server like Apache or Nginx for development, letting you get straight to coding.
2. Generating Code: The make Commands
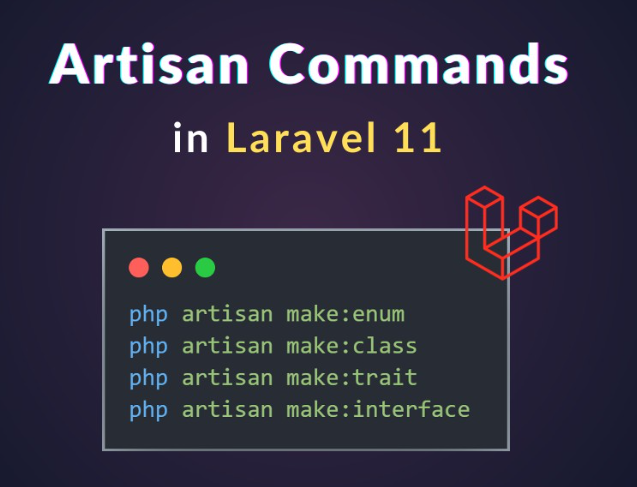
This is where Artisan truly begins to accelerate your workflow. The make commands generate boilerplate code for almost any component you might need, placing the new file in the correct directory according to Laravel's conventions.
Let's see a powerful example of this in action. The following video demonstrates how to generate controllers and models.
Laravel 11 Tutorial for Beginners - Laravel Crash Course (2024)
This clip from the 'Laravel 11 Tutorial for Beginners' by The Codeholic shows the make commands in a practical context. Watch how a controller and a model (with its migration) are created instantly.
Watch the segment from 00:17:08 to 00:19:55. Observe how php artisan make:controller and php artisan make:model -m are used to create the necessary files.
Notice how the make:model command was used with a -m flag? This is a common pattern in Artisan. Many commands accept options and flags to customize their behavior. The -m flag tells Artisan to create a database migration file for the model at the same time.
You can combine flags for even greater efficiency. For example:php artisan make:model Post -mcr
This single command will:
- Create the
Postmodel (app/Models/Post.php). - Create a resourceful controller (
app/Http/Controllers/PostController.php). - Create a database migration (
database/migrations/..._create_posts_table.php). - The
rin-mcrspecifies that the controller should be resourceful, meaning it comes pre-populated with stub methods for CRUD operations (index, create, store, etc.).
Test your understanding!
In the previous lesson, you were asked where you would place the code for a new "products" feature. Now, what single Artisan command could you run to generate the model, migration file, and a resourceful controller for "products" all at once?
Show answer
php artisan make:model Product -mcr
This command creates the Product model, a migration file for the products table, and a ProductController with resourceful methods.
3. Database and Maintenance Commands
Beyond code generation, Artisan provides a suite of tools for managing your application's state, especially the database and cache.
Database Migrations
After generating a migration with a make command, you need to run it to apply the changes to your database schema.
php artisan migrate: Executes all pending migrations.
The following video shows a demonstration of running migrations and seeding the database.
Laravel 11 Tutorial for Beginners - Laravel Crash Course (2024)
Let's return to the Codeholic video to see how migrations are applied.
Watch from 00:21:24 to 00:22:10. This short clip shows the php artisan migrate command being run and explains its function.
Application Maintenance
As you develop, you'll often need to perform maintenance tasks like clearing cached data or viewing your application's routes. The following video introduces several of these indispensable utility commands.
Basic Artisan Commands | Laravel For Beginners | Learn Laravel
The video 'Basic Artisan Commands' from Code With Dary provides a great tour of common utility commands you'll use for debugging and maintenance.
Watch from 00:01:18 to 00:06:20. Focus on understanding the purpose of commands like: down / up (for maintenance mode) cache:clear, view:clear (for clearing caches) key:generate (for setting the application key)
Here is a summary of some of the most useful commands for day-to-day development:
php artisan route:list: Shows a table of all registered routes. Invaluable for debugging API endpoints.php artisan migrate:rollback: Reverts the last batch of migrations. Useful if you make a mistake.php artisan tinker: Opens an interactive shell (a REPL) that lets you run any PHP code within the context of your Laravel application. Great for testing queries or interacting with your models.php artisan cache:clear/config:clear: Clears the application or configuration cache. A go-to command when changes to your.envfile or config files don't seem to be taking effect.
Conclusion
You've now been introduced to Artisan, the command-line multitool that is central to the Laravel ecosystem. By mastering a handful of common commands, you can significantly speed up your development process and reduce manual, error-prone tasks.
Key Takeaways:
- Artisan automates development: It generates code, manages the database, and performs maintenance tasks with simple commands.
php artisan serve: Your command to quickly run a local development server.make:*commands: The primary way to generate boilerplate code for models, controllers, migrations, and more. Use flags like-mcrto get more done with a single command.migrate: The command to apply your database schema changes.- Utility Commands: Tools like
route:list,cache:clear, andtinkerare essential for debugging and managing your application.
Preview of the Next Lesson:
We touched upon the config:clear command and the importance of configuration files. In our next and final lesson of this module, we will focus on the .env file. You will learn how to configure environment variables to securely manage application settings like database credentials, API keys, and other secrets.