Hello and welcome back to your C++ ray tracing journey!
In the last module, you did some fantastic work building a sophisticated camera model, culminating in the ability to render scenes with realistic depth of field. You now have full artistic control over focus and blur, a technique fundamental to both photography and high-end VFX rendering.
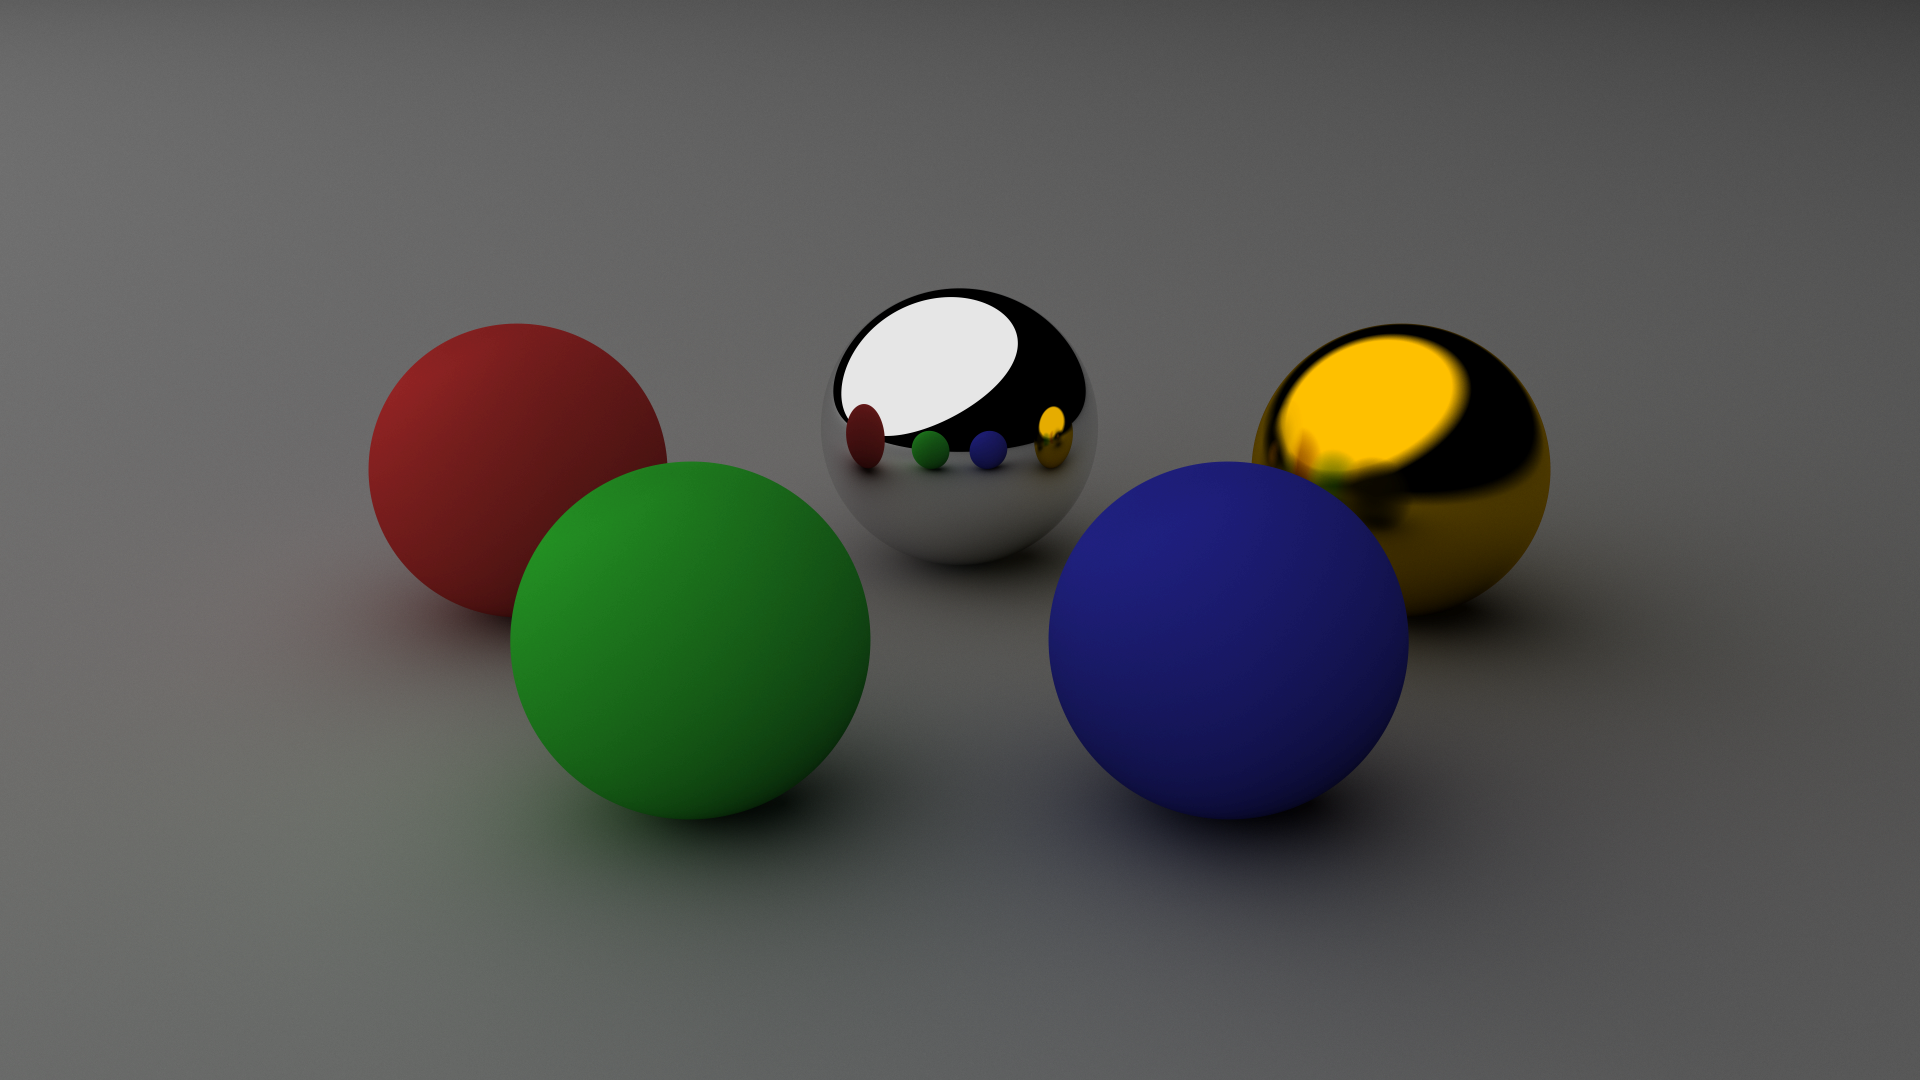
So far, when a ray has hit an object, we've simply colored the pixel based on the surface normal. This is useful for debugging, but it's not how light works. The appearance of an object—whether it looks like plastic, metal, or glass—is determined by how its surface material scatters light.
Today, we will build the foundation for this crucial aspect of rendering. Our learning outcome is to design an abstract 'material' interface with a 'scatter' method that defines ray-surface interaction. This is a core software design pattern that forms the backbone of modern renderers, including the production systems like Arnold and Karma that you're familiar with.
1. The "Why": The Need for a Material System
In a VFX pipeline, you don't rewrite the renderer every time you need a new material. Instead, you apply different shaders or materials to your 3D models. Our ray tracer needs a similar system: a clean, extensible way to define surface properties that are separate from the geometry itself.
This leads to a key design decision. We could create one giant "uber-material" class with dozens of parameters (color, shininess, roughness, transparency, etc.), and each object would just use the parameters it needs. A more flexible and powerful approach, however, is to use object-oriented design. We'll define an abstract base class that acts as a contract, or an "interface," for what a material must be able to do. Then, we can create separate, concrete classes for different material types (like Lambertian, Metal, Glass) that each fulfill this contract in their own way.
This approach is powerful because it allows us to add new material types in the future without changing the core ray tracing logic.
To get a better sense of why materials are so central to rendering, let's watch a short introduction from The Cherno's excellent series on ray tracing.
Materials and Physically Based Rendering // Ray Tracing series
This clip discusses why materials, even more than lights, are where the complexity and realism in rendering truly lie. It also introduces the concepts behind Physically Based Rendering (PBR), which will be familiar from your work in VFX.
Watch from the beginning to 03:03, and then from 07:05 to 09:39. Focus on the core idea that a material's job is to define what happens to light when it hits a surface. Note the mention of key PBR parameters like Albedo, Roughness, and Metallic, which we will eventually model.
As you saw, the core task of a material is to answer the question: "A ray of light just hit me. What happens next?" For our ray tracer, this breaks down into two specific actions:
- Scatter or Absorb: Does the ray bounce off the surface, or is it absorbed?
- Attenuate: If the ray scatters, how should its color be modified? This modification is called attenuation, and it's often determined by the material's base color, or albedo.
2. Designing the Abstract material Interface
To implement this, we'll be following the excellent structure laid out in the Ray Tracing in One Weekend book series. We will create an abstract material class with a single, crucial virtual function: scatter.
An Abstract Class for Materials
Let's read the section from 'Ray Tracing in One Weekend' that introduces the abstract material class. This will provide the exact C++ code for our interface.
In the book, find Chapter 9, 'Metal'. Read the subsection titled 'An Abstract Class for Materials' and study the initial material.h code listing. This defines our interface.
Let's break down the proposed material class. You will create a new header file, material.h, for this.
#ifndef MATERIAL_H
#define MATERIAL_H

#include "rtweekend.h" // Your project's main header with common includes

class hit_record; // Forward declaration

class material {
  public:
    virtual ~material() = default;

    virtual bool scatter(
        const ray& r_in, const hit_record& rec, color& attenuation, ray& scattered
    ) const = 0;
};

#endif
Here's what each part does:
class hit_record;: This is a forward declaration. Sincematerialneeds to know abouthit_record(for thescatterfunction) andhit_recordwill soon need to know aboutmaterial, this breaks a potential circular dependency between header files.virtual ~material() = default;: A virtual destructor is essential for any class intended to be a polymorphic base class. It ensures that when you delete a derived class object through a base class pointer, the correct destructor is called.virtual bool scatter(...) const = 0;: This is the heart of our design.virtual: Declares it as a function that can be overridden by derived classes.= 0: Makes this a pure virtual function. This has two effects: it prevents you from creating an instance of thematerialclass itself (it's now an abstract class), and it forces any concrete derived class (likeMetalorGlass) to provide its own implementation ofscatter.- Parameters:
const ray& r_in: The incoming ray that struck the surface.const hit_record& rec: The struct containing all information about the hit (point, normal, etc.).color& attenuation: An output parameter. The function will fill this with the material's color (albedo), which tells us how much the scattered ray's light is reduced.ray& scattered: Another output parameter. The function will fill this with the new ray that bounced off the surface.
- Return
bool: The function returnstrueif the ray was scattered andfalseif it was absorbed by the material.
3. Integrating Materials into the Scene
Now that we have a material interface, we need a way to attach materials to our objects.
- Update
hit_record: First, thehit_recordneeds to be able to hold a reference to the material of the object that was hit. - Update
hittableObjects: Second, eachhittableobject (like oursphereclass) needs to own a material.
Since multiple objects might share the same material (e.g., five spheres all made of chrome), using a std::shared_ptr is a very efficient approach. This avoids duplicating material data and simplifies memory management, which is a great way to put your C++ skills into practice.
The next section of the book explains exactly how to add the material pointer to hit_record and sphere.
Continue reading in Chapter 9. Read the subsections 'A Data Structure to Describe Ray-Object Intersections' and the text immediately following, focusing on the code listings that show modifications to hittable.h and sphere.h. Implement these changes in your own code.
To summarize the changes you need to make:
- In
hittable.h, include<memory>and addstd::shared_ptr<material> mat;to yourhit_recordstruct. Remember to also add the forward declarationclass material;at the top of this file. - In
sphere.h, includematerial.hand<memory>. Add astd::shared_ptr<material> mat;member variable to thesphereclass. - Update the
sphereconstructor to accept a material pointer and store it:sphere(point3 center, double radius, shared_ptr<material> m) : center(center), radius(radius), mat(m) {}. - Crucially, in your
sphere::hitmethod, when you find a valid intersection, set the material on the hit record:rec.mat = mat;.
Test your understanding!
Imagine you want to create a procedural checkerboard texture for a sphere. The color of the sphere at any given point would depend on the 3D coordinates of the hit point.
Based on our new design, where would you implement this logic?
- Inside the
sphere::hit()method. - Inside the main
ray_color()function. - Inside the
scatter()method of a newCheckerMaterialclass.
Show answer
- Inside the
scatter()method of a newCheckerMaterialclass.
The key principle here is separation of concerns. The sphere class should only care about its geometry (center and radius). The material's appearance, even if it depends on the hit point's world-space position, is the responsibility of the material class. The hit_record provides all the necessary information (rec.p) for the scatter method to compute the checkerboard pattern and set the attenuation color accordingly.
Conclusion
Congratulations! You have successfully designed and integrated a flexible, abstract material system into your ray tracer. While we haven't rendered any new images today, this refactoring is a massive step forward. You've created a clean, extensible architecture that precisely mirrors the design of professional rendering engines.
Key Takeaways:
- An abstract base class (
material) with pure virtual functions (scatter) creates a powerful, polymorphic interface for defining surface interactions. - The
scattermethod is the core of this interface, responsible for determining if a ray is absorbed or scattered, and what the resulting ray and color attenuation should be. - Using
std::shared_ptrto manage materials is an efficient way to allow multiple objects to share material properties while simplifying memory management. - This design separates the concerns of geometry (
hittableobjects) from surface appearance (materialobjects), leading to a cleaner and more scalable codebase.
Next Steps
We now have the interface for materials, but no concrete implementations. In our next lesson, we will finally bring this system to life. We will:
- Implement our first material: a diffuse or Lambertian material.
- Explain how these surfaces scatter light uniformly.
- Modify our main rendering loop to use the
scattermethod and implement recursive ray tracing, allowing us to simulate light bouncing multiple times around the scene. This is our first major step towards true global illumination