Hello! Welcome to the first lesson in our short course on updating your website using AI. Your goal is to get several specific tasks done on your site, and this course is designed to help you do just that. We'll start with the very first challenge you mentioned: fixing the data fetching process.
Today's lesson focuses on a common hurdle for web developers: loading data from a local JSON file into your JavaScript code. You'll learn how to use an AI assistant to write and refactor the necessary JavaScript to accomplish this. By the end of this session, you'll have a reliable workflow for getting your local "database" ready to be used by your website's frontend, setting a solid foundation for the feature updates you have planned.
The Challenge of Fetching Local Files
If you've tried to load a local JSON file into your JavaScript using the fetch API, you might have run into a frustrating error. You might see something in your browser's developer console about a "CORS policy" violation, or if you're running a script in a different environment, you might get a TypeError like the one shown below.

This happens because of security policies built into web browsers. When you open an HTML file directly from your computer (using a file:///... path), the browser blocks JavaScript from fetching other local files for security reasons. To get around this, we need to make the browser believe it's interacting with a real web server.
Two Approaches: import vs. fetch
There are a couple of modern ways to load a JSON file into a JavaScript file. Let's briefly look at them in an article that compares the two. We will be focusing on the fetch method, as it is more versatile and aligns better with how you'll retrieve data from a real backend later.
How to fetch data from local JSON file using Vanilla JavaScript and ...
Please read the following sections from the article "How to fetch data from local JSON file using Vanilla JavaScript and ...".
Start by skimming the section Using Import Statement to understand the concept and its complications. You'll notice it requires special handling in your HTML and can still run into server-related errors. Then, focus your attention on the section Using Fetch API. This is the method we'll be using. Pay close attention to the explanation of why a local server is needed to avoid a CORS error. The code snippet here is the key pattern we'll be working with.
As the article explains, both methods require a local development server to work around the browser's security restrictions. The fetch API is a fundamental part of modern web development for requesting resources, and mastering it now will be invaluable as we move towards a real backend in Day 2.
Solving the Problem with a Live Server and fetch
Let's watch a short video that walks through the exact process of using fetch to get a local JSON file and, crucially, how to use a simple tool to solve the error we just discussed.
Read JSON File into HTML with JavaScript Fetch API
This video, "Read JSON File into HTML with JavaScript Fetch API," provides a clear, practical demonstration.
Please watch the following segments: The initial fetch call: Notice how the path to the JSON file is specified. Handling the response: This is a key concept. fetch returns a "promise." The first .then() gets the raw response, and response.json() is needed to parse the data into a usable JavaScript object. The error and the solution: Here, the video shows the CORS error and introduces the "Live Server" extension for VS Code as the solution. This is the most important part of the workflow for local development.
Your New Workflow: AI as Your Coding Partner
You now understand the problem (browser security), the JavaScript solution (fetch), and the environmental fix (a local server). Manually writing this fetch code, remembering the promise syntax, and handling errors is exactly the kind of task where an AI assistant shines. You don't need to memorize the boilerplate; you just need to know what to ask for.
Your goal is to adopt a workflow where you describe the task to an AI and let it generate the code. You can then review, test, and integrate it.
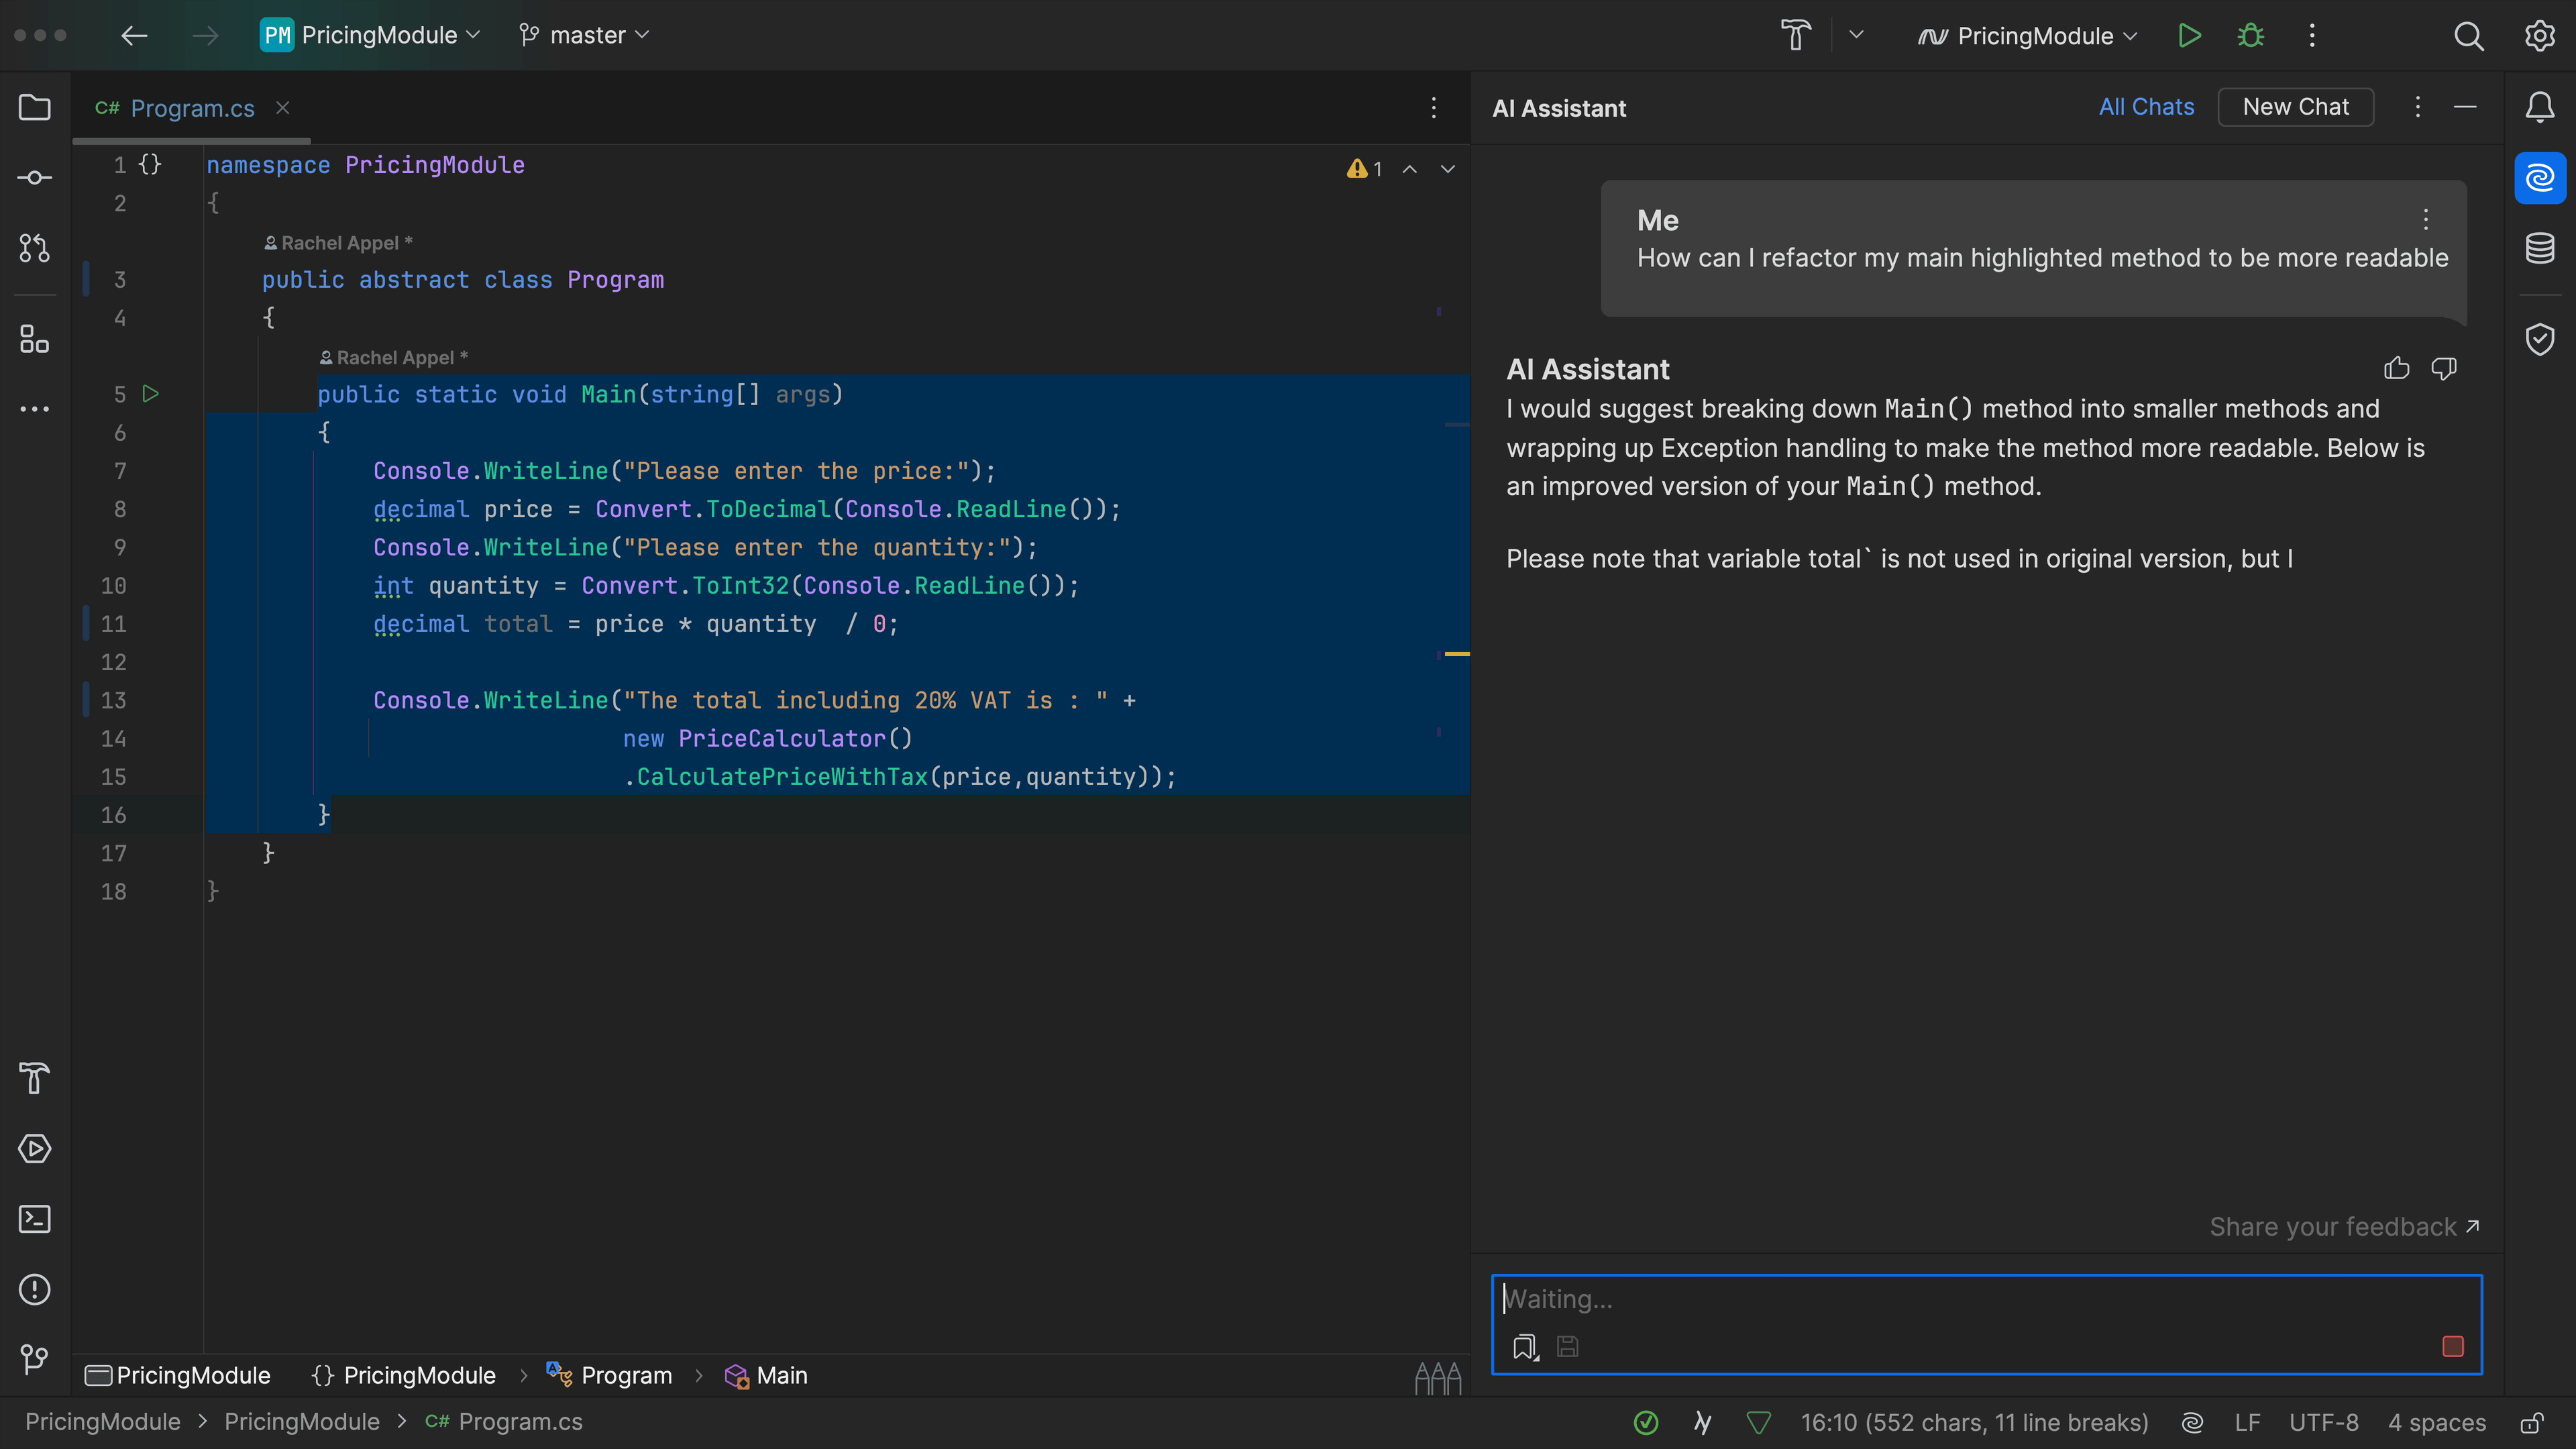
Let's try it. Open your preferred AI tool (like Gemini or ChatGPT) and use a prompt like this.
Activity 1: Prompting for fetch Code
Prompt: "I am working on a simple website project. I have an
index.htmlfile, ascript.jsfile, and adata.jsonfile. All three files are in the same root directory. Theindex.htmlfile correctly loads thescript.jsfile.Write the JavaScript code for
script.jsthat uses thefetchAPI to:
- Fetch the
data.jsonfile.- Parse the response as JSON.
- Log the resulting JavaScript object to the browser console.
- Include error handling to log any errors that occur during the fetch or parsing process to the console."
The AI should give you a clean, complete code snippet that looks very similar to what you saw in the video, including the .then() blocks and a .catch() block for errors. This is your new starting point.
A Quick but Vital Skill: Prompting for Data
Your AI assistant can not only write the code to fetch the data but also help you create the data in the first place. Getting your AI to produce perfectly structured JSON is a skill in itself, and it's called prompt engineering.
Let's review a few key principles for getting valid JSON from an AI.
How to Write AI Prompts That Output Valid JSON Data – Build5Nines
This article from Build5Nines gives excellent, concise advice on this topic.
Please read the first three numbered sections, which contain the most critical advice: Be Explicit: This is the most important rule. Tell the model you only want JSON. State Your Goal: Describe the content you're looking for. Provide a Format: This is the key to reliability. Show the AI the exact structure you need.
Practical Application: Your Turn
Now, let's put all the pieces together in a practical exercise.
- Set up your project: In VS Code (or your preferred editor), create a new folder. Inside it, create three empty files:
index.html,script.js, anddata.json. - Generate your data: Using the principles from the "How to Write AI Prompts..." article, create a prompt to generate some sample data for your website. For example:
Prompt: "Generate a JSON array of 5 fictional products. Respond with valid JSON only. Each product object must have a
name(string), acategory(string, either 'Electronics' or 'Books'), and aprice(number)."
Copy the AI's response into yourdata.jsonfile. - Generate your code: Use the prompt from "Activity 1" to have your AI generate the
fetchcode. Copy this code into yourscript.jsfile. - Set up the HTML: Put the following basic HTML into your
index.htmlfile. This simply links your JavaScript.<!DOCTYPE html> <html lang="en"> <head> <meta charset="UTF-8"> <title>Data Fetching Test</title> </head> <body> <h1>Check the console!</h1> <script src="script.js"></script> </body> </html> - Run the Live Server: If you haven't already, install the Live Server extension in VS Code. Right-click your
index.htmlfile and choose "Open with Live Server." This will open the page in your browser. - Verify the result: Open your browser's developer tools (usually by pressing F12 or right-clicking the page and selecting "Inspect") and go to the "Console" tab. You should see the JavaScript object/array that was fetched from your
data.jsonfile!
You have now successfully used an AI assistant to create structured data and write the JavaScript code to fetch it into your application.
Conclusion
In this lesson, you tackled the first major step in your project. You've learned not just how to fetch local data, but also why it can be tricky and how to establish a reliable development workflow using a local server.
Here are the key takeaways:
- The
fetchAPI is the standard for requesting data in modern JavaScript. - Browser security (CORS) prevents direct fetching from the
file://system, necessitating a local development server like VS Code's Live Server. - AI assistants are excellent at generating the boilerplate
fetchcode, but you get the best results by providing clear, specific prompts that include context and error-handling requirements. - You can also use AI to generate your sample
data.json, and providing an example schema is the best way to ensure it produces valid, structured output.
You now have your data loaded and ready in your JavaScript. In our next lesson, we'll take this data and use it to dynamically generate HTML, bringing your website's features to life.