Hello! Welcome back to our study of arm anatomy.
In the last lesson, we focused on the forearm's rotational movement, exploring how the muscle forms twist during pronation and supination. You learned that the radius bone crossing over the ulna is the key mechanism, and the S-curve of the ridge muscles is its primary visual indicator.
Today, we'll address the other fundamental movement of the arm: bending. Our goal is to draw the arm in a bent position, showing how muscles flex, extend, and change shape. We will explore what happens to the biceps, triceps, and forearm muscles when the elbow joint flexes and extends.
If the arm's structure were a software component, last time we coded the rotate() method. Today, we're implementing the bend() method, which involves a classic antagonistic system—one process fires while another is suppressed. Understanding this relationship between opposing muscle groups is the key to drawing convincing, dynamic arms.
1. The Principle: Antagonistic Muscle Pairs
The primary action of bending the arm is controlled by two opposing muscle groups: the biceps on the front of the upper arm and the triceps on the back. They work as an antagonistic pair.
- To flex (bend) the arm, the biceps contract (shorten and bulge).
- To extend (straighten) the arm, the triceps contract.
When one muscle contracts, its opposite relaxes and lengthens. This is the fundamental principle that creates the changing shapes we need to draw.
Let's start with a clear textual explanation of this concept.
Learn to Draw Arms, Once and for All!
This article from GVAAT'S WORKSHOP provides a concise explanation of how the biceps and triceps act as antagonistic forces.
Please read the section titled 'Triceps and Biceps – Antagonistic Forces of the Arm'. Focus on the core idea: 'When you bend your elbow you use your biceps. When you extend your elbow you use your triceps.'
Now, let's see this principle illustrated. The following video demonstrates exactly how the muscle shapes change based on whether they are contracted or relaxed.
DECIPHERING BRIDGMAN 3: DRAWING THE ARM
In this clip from his 'DECIPHERING BRIDGMAN' series, moderndayjames shows the visual contrast between a flexed and stretched muscle.
Watch from 06:40 to 07:38. Pay close attention to the key takeaway: when the arm is extended, the tricep is rounder and the bicep is flatter. When the arm is flexed, the opposite is true—the bicep becomes rounder and the tricep flattens out.
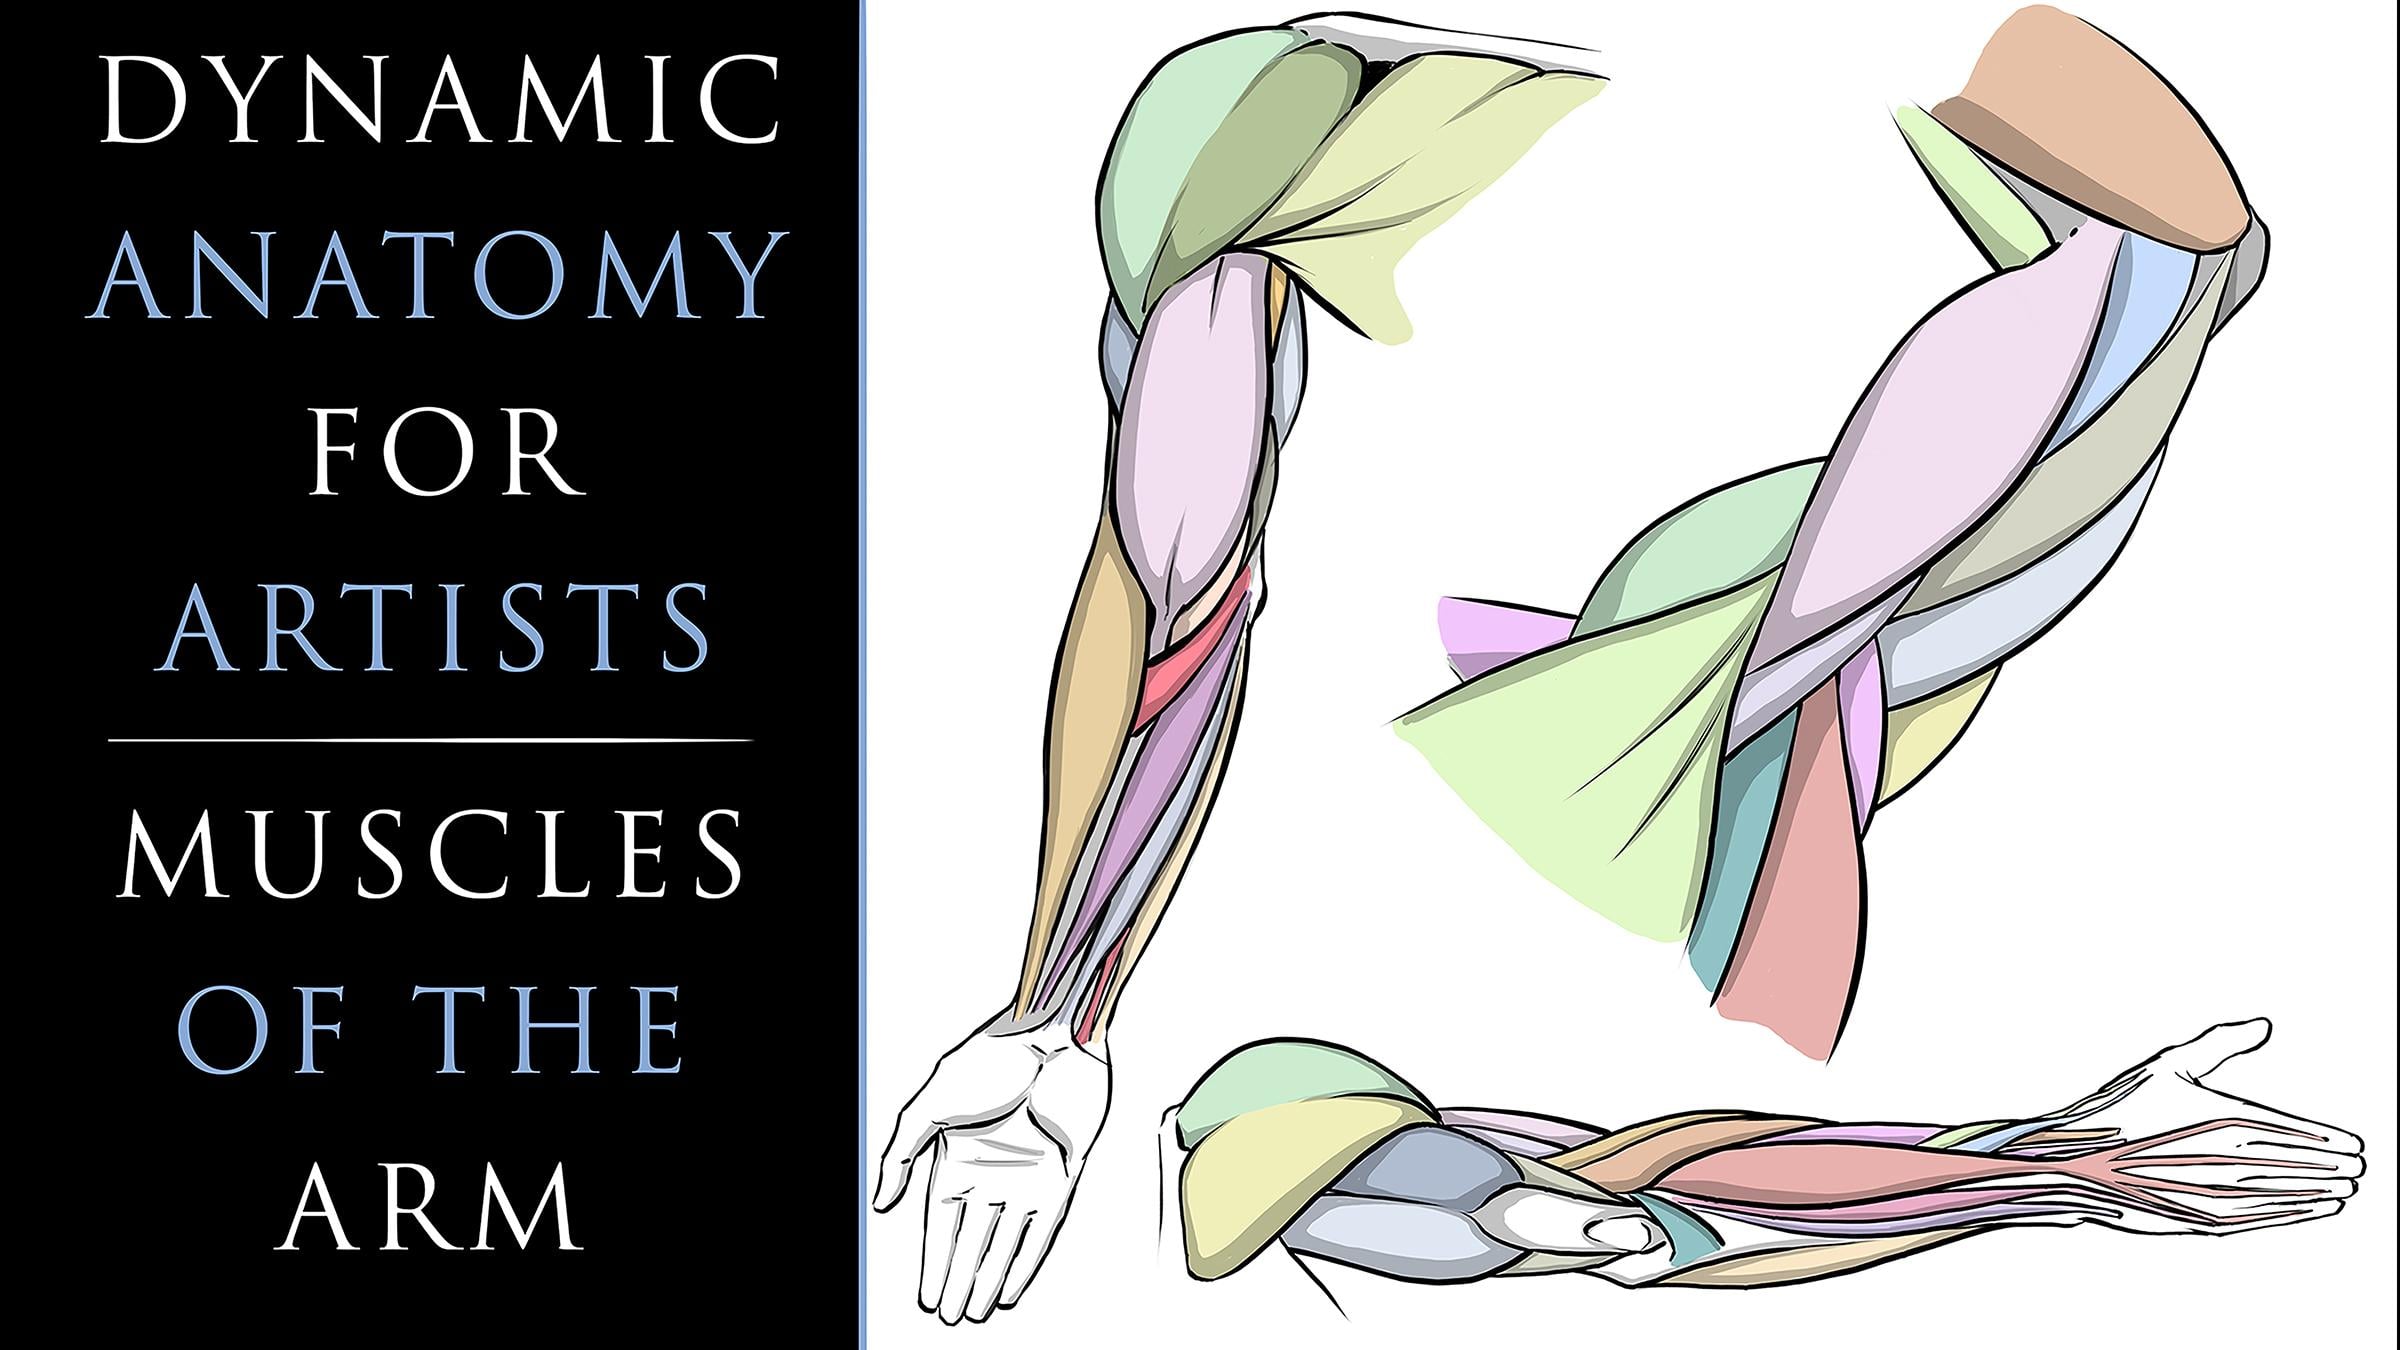
This image provides a perfect side-by-side comparison of the two states.
2. The Form of the Bent Elbow
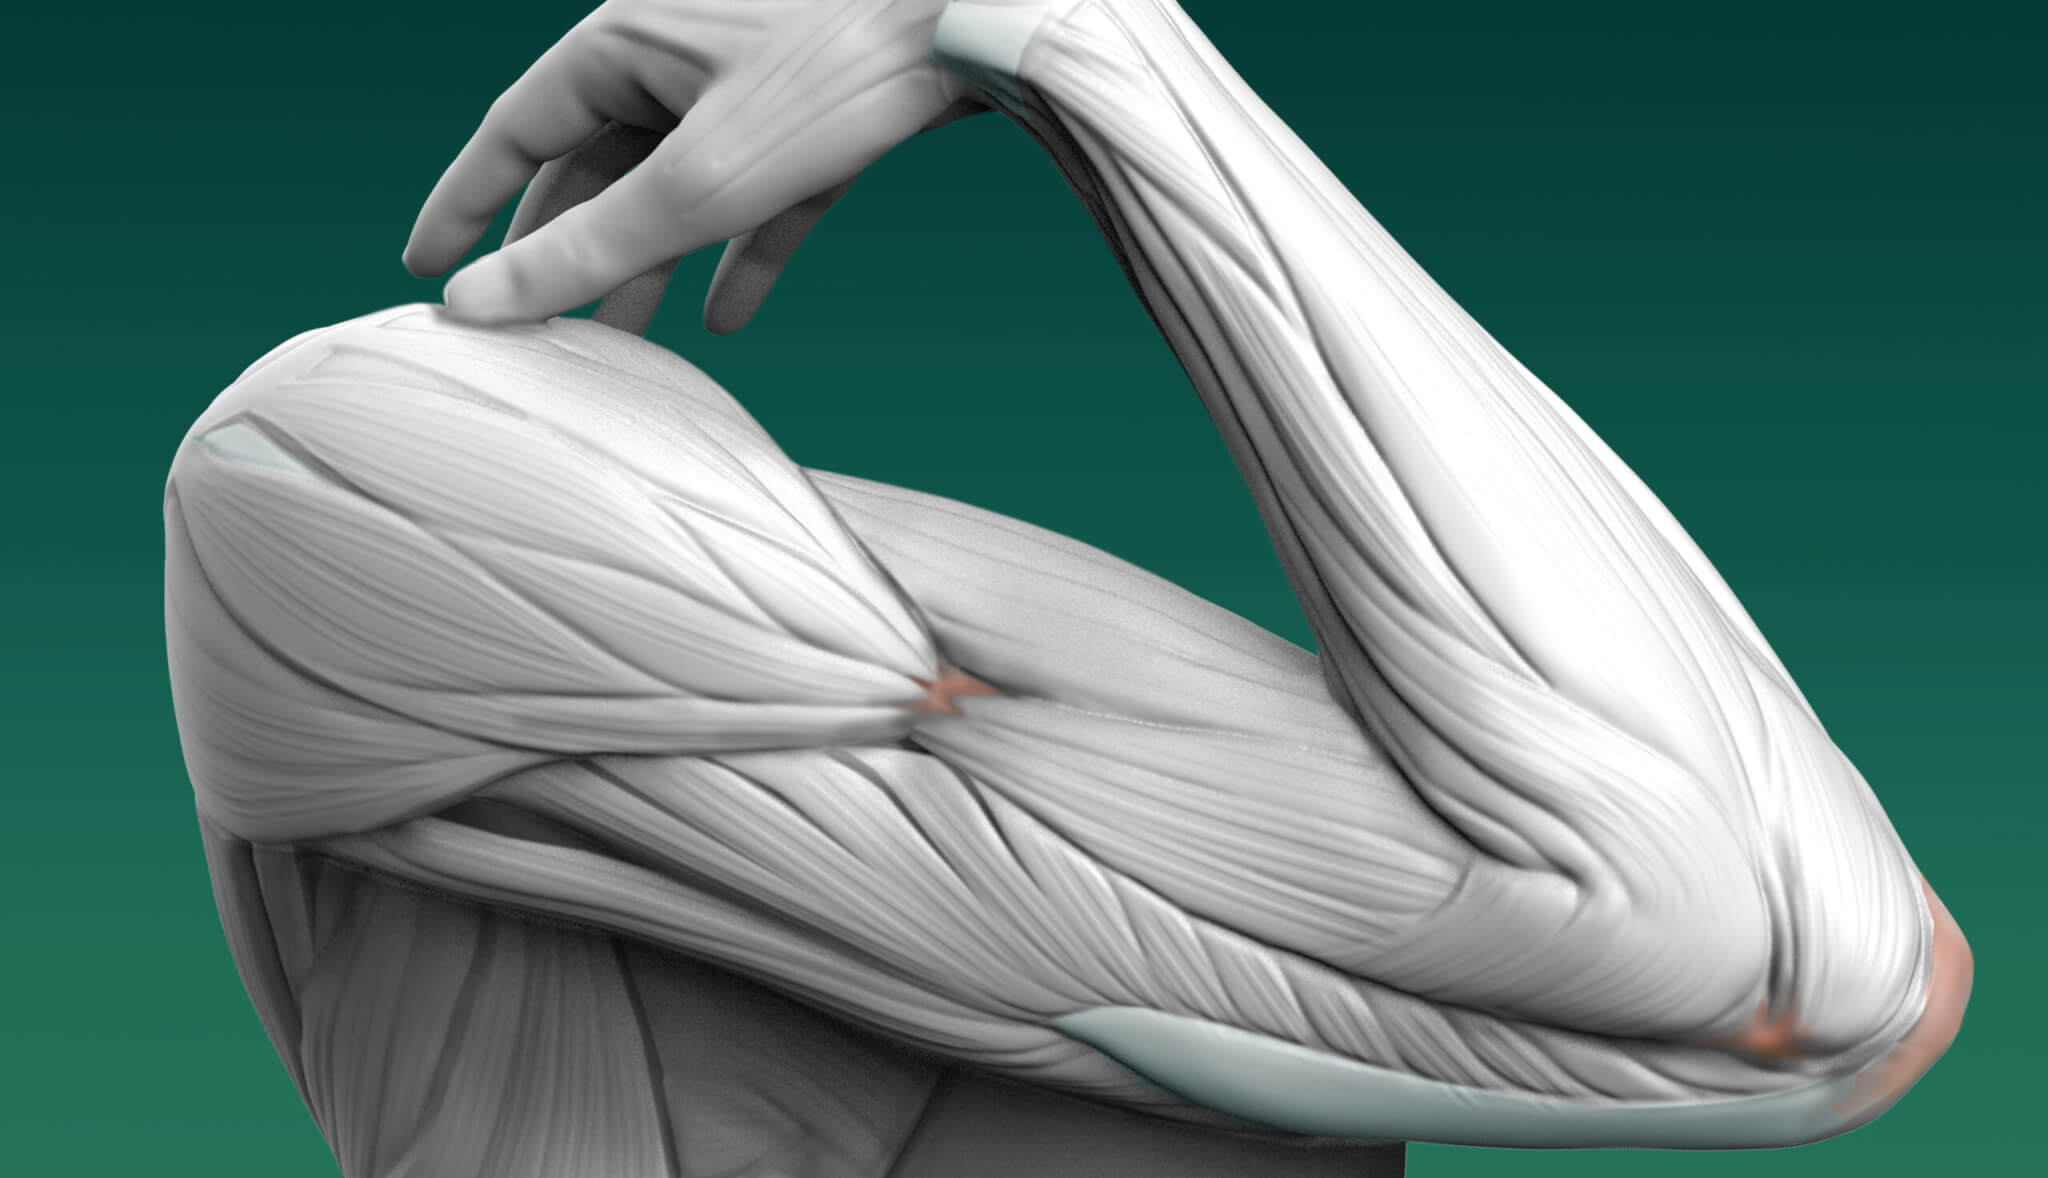
When the arm bends, the most complex changes happen around the elbow joint itself. The appearance of the bent elbow is quite different depending on whether you're viewing it from the inside (medial view) or the outside (lateral view).
Let's watch a video that breaks this down brilliantly.
Sinix Design offers some fantastic quick tips on how to conceptualize and simplify the forms of the bent elbow.
Watch from 13:15 to 15:19. Focus on the two distinct forms he describes: Interior view: The elbow forms a 'boxy and angular silhouette' with a long crease. Exterior view: The elbow is more rounded, and the forearm muscles create a 'chubbier and compressed' crease.
This high-quality 3D model shows these forms with anatomical precision.
3. Practice: Drawing Flexion and Extension (30 minutes)
Now it's time to apply these concepts. The goal of this exercise is to draw the same arm in two different states—extended and flexed—to solidify your understanding of the changing forms.
What You'll Need:
- Your drawing app (Procreate).
- A reference. The best reference is your own arm! Use a mirror or take a photo of your arm held straight at your side, and then bent at a 90-degree angle. A side view is ideal.
Exercise Steps:
-
Draw the Extended Arm (Layer 1):
- Start by sketching the basic cylindrical forms for the upper and lower arm, keeping it straight.
- Following the principle from the
moderndayjamesvideo, block in the muscle shapes. The tricep should be rounder and more prominent, while the bicep should be relatively flat and elongated. - Keep the contours smooth and flowing.
-
Draw the Flexed Arm (Layer 2):
- On a new layer, draw the arm bent at 90 degrees. You can draw it next to your first drawing. Be mindful of the lengths of the upper and lower arm; the forearm will appear slightly shorter due to foreshortening.
- Now, reverse the muscle forms. The bicep should be bunched up and rounded, creating a prominent peak. The tricep should be stretched out and flatter.
- Focus on the elbow. Using the advice from the
Sinix Designvideo, define the shape of the crease. Is it the angular inner elbow or the compressed outer elbow? Show how the forearm muscles bunch up against the bicep.
-
Review and Refine:
- Compare your two drawings. Do you clearly see the trade-off between the bicep and tricep? Does the bent arm look convincingly compressed at the joint?
- Check your contours. The bent arm will have sharper, more complex curves than the straighter, smoother lines of the extended arm.
Conclusion
Excellent work. Today you've mastered the push-and-pull mechanics of the arm's major muscle groups. By understanding that the biceps and triceps work in opposition, you can now logically construct the shape of the arm in any position, whether it's relaxed, straight, or fully flexed.
Key Takeaways:
- Antagonistic Pair: The biceps flex the arm, and the triceps extend it. When one contracts and bulges, the other relaxes and flattens.
- Form Follows Function: A flexed bicep is round and compressed; a relaxed bicep is long and flat. The reverse is true for the tricep.
- Elbow Forms: The inner elbow creates a boxy, angular shape when bent, while the outer elbow creates a softer, more compressed form.
This lesson completes our detailed study of the arm. You've learned to build its structure, account for its rotation, and now, depict its flexion.
In our next module, we will move down the body and begin our study of the legs. We'll start by identifying and drawing the major muscle groups of the upper and lower leg.