Hello! Welcome back to the course.
Introduction
In our last lesson, we successfully set up a new React project using Vite. You now have a running application on your local machine and a good understanding of the project's file structure. We ended with a promise to start writing actual React code, and that's exactly what we'll do today.
This lesson's goal is to learn how to write JSX to define component UIs and explain how it differs from HTML. As a Laravel developer, you're used to writing HTML, perhaps within Blade templates. JSX will look very familiar, but it comes with a few crucial rules because it's not plain HTML—it's a special syntax extension for JavaScript. Mastering these rules is the first step to building React interfaces.
What is JSX?
First, what is JSX? The name stands for JavaScript XML. It allows us to write markup that looks almost identical to HTML directly inside our JavaScript files.
It's best described as "syntactic sugar." This means it's a simpler, more readable syntax that gets transformed into more complex JavaScript code behind the scenes. Specifically, your JSX code is converted into React.createElement() function calls, which are what React actually uses to create the UI. This transformation is handled automatically by a tool like Vite.
To see this in action, let's watch a short explanation.
What is JSX in React? Fully Explained
This video from Code Ryan provides a concise explanation of what JSX is and how it gets compiled into JavaScript that the browser can understand.
Watch the section from 00:17 to 02:12. Focus on these key points: What JSX stands for. The idea that JSX is JavaScript that looks like HTML. How it is transformed into React.createElement() calls.
The key takeaway is that while we write something that looks like HTML for convenience and readability, we are fundamentally working in JavaScript. This simple fact is the reason for all the rules that follow.
The Rules of JSX
Because JSX is stricter than HTML, you can't just copy and paste HTML into a React component and expect it to work. There are a few important rules you must follow.
The official React documentation is an excellent resource, and I encourage you to get familiar with it. This page covers the rules we're about to discuss.
The official React docs, in the article "Writing Markup with JSX", provide a clear guide on converting HTML to JSX and explain the core rules.
Please read the section titled "The Rules of JSX". It covers the three main rules we will focus on: returning a single root element, closing all tags, and using camelCase for attributes. This will give you a solid foundation before we see them in a practical video demonstration.
Now, let's see these rules demonstrated with code examples. The following video walks through the most common JSX rules you'll encounter.
React 19 Tutorial - 7 - Rules of JSX
This video tutorial from Codevolution is a clear, step-by-step guide through the essential rules of JSX. It provides practical examples for each rule.
Watch the segment from 00:18 to 12:03. The video covers four key topics: Single Root Element: Why you must wrap your JSX in one parent element. Closing Tags: The requirement to close all tags, including self-closing ones. camelCase Attributes: How HTML attributes like class and for change in JSX. JavaScript Expressions: How to embed JavaScript directly into your markup using curly braces.
Let's Summarize The Rules
That video covered a lot of ground. Let's consolidate the key rules.
1. Return a Single Root Element
A React component can only return one root element. This is because a component is a JavaScript function, and a function can only have one return value.
If you have multiple elements, you must wrap them in a single parent tag. You can use a <div>, but that adds an extra, often unnecessary, element to the HTML. The better solution is to use a Fragment: <>...</>.
// Incorrect: Adjacent elements
return (
  <h1>Title</h1>
  <p>Paragraph</p>
);

// Correct: Wrapped in a Fragment
return (
  <>
    <h1>Title</h1>
    <p>Paragraph</p>
  </>
);
2. Close All Tags
JSX is based on XML, where every tag must be closed. This applies to tags that are sometimes left open in HTML.
For example, <img>, <br>, and <input> must be self-closed with a /.
// Incorrect
<br>
<img src="profile.jpg">

// Correct
<br />
<img src="profile.jpg" />
3. Use camelCase for Attributes
Since JSX is JavaScript, attributes that are HTML keywords or contain hyphens are converted to camelCase. This is because class is a reserved word for creating classes in JavaScript, and hyphens (-) are interpreted as subtraction operators.
The most common examples are:
classbecomesclassNamefor(on labels) becomeshtmlForonclickbecomesonClicktabindexbecomestabIndex
// Incorrect HTML-style attributes
<div class="container">
  <label for="email">Email</label>
</div>

// Correct JSX-style attributes
<div className="container">
  <label htmlFor="email">Email</label>
</div>
4. Embed JavaScript with Curly Braces {}
This is the most powerful feature of JSX. You can embed any valid JavaScript expression inside curly braces {} directly in your markup. This allows you to display dynamic data, run calculations, or call functions.
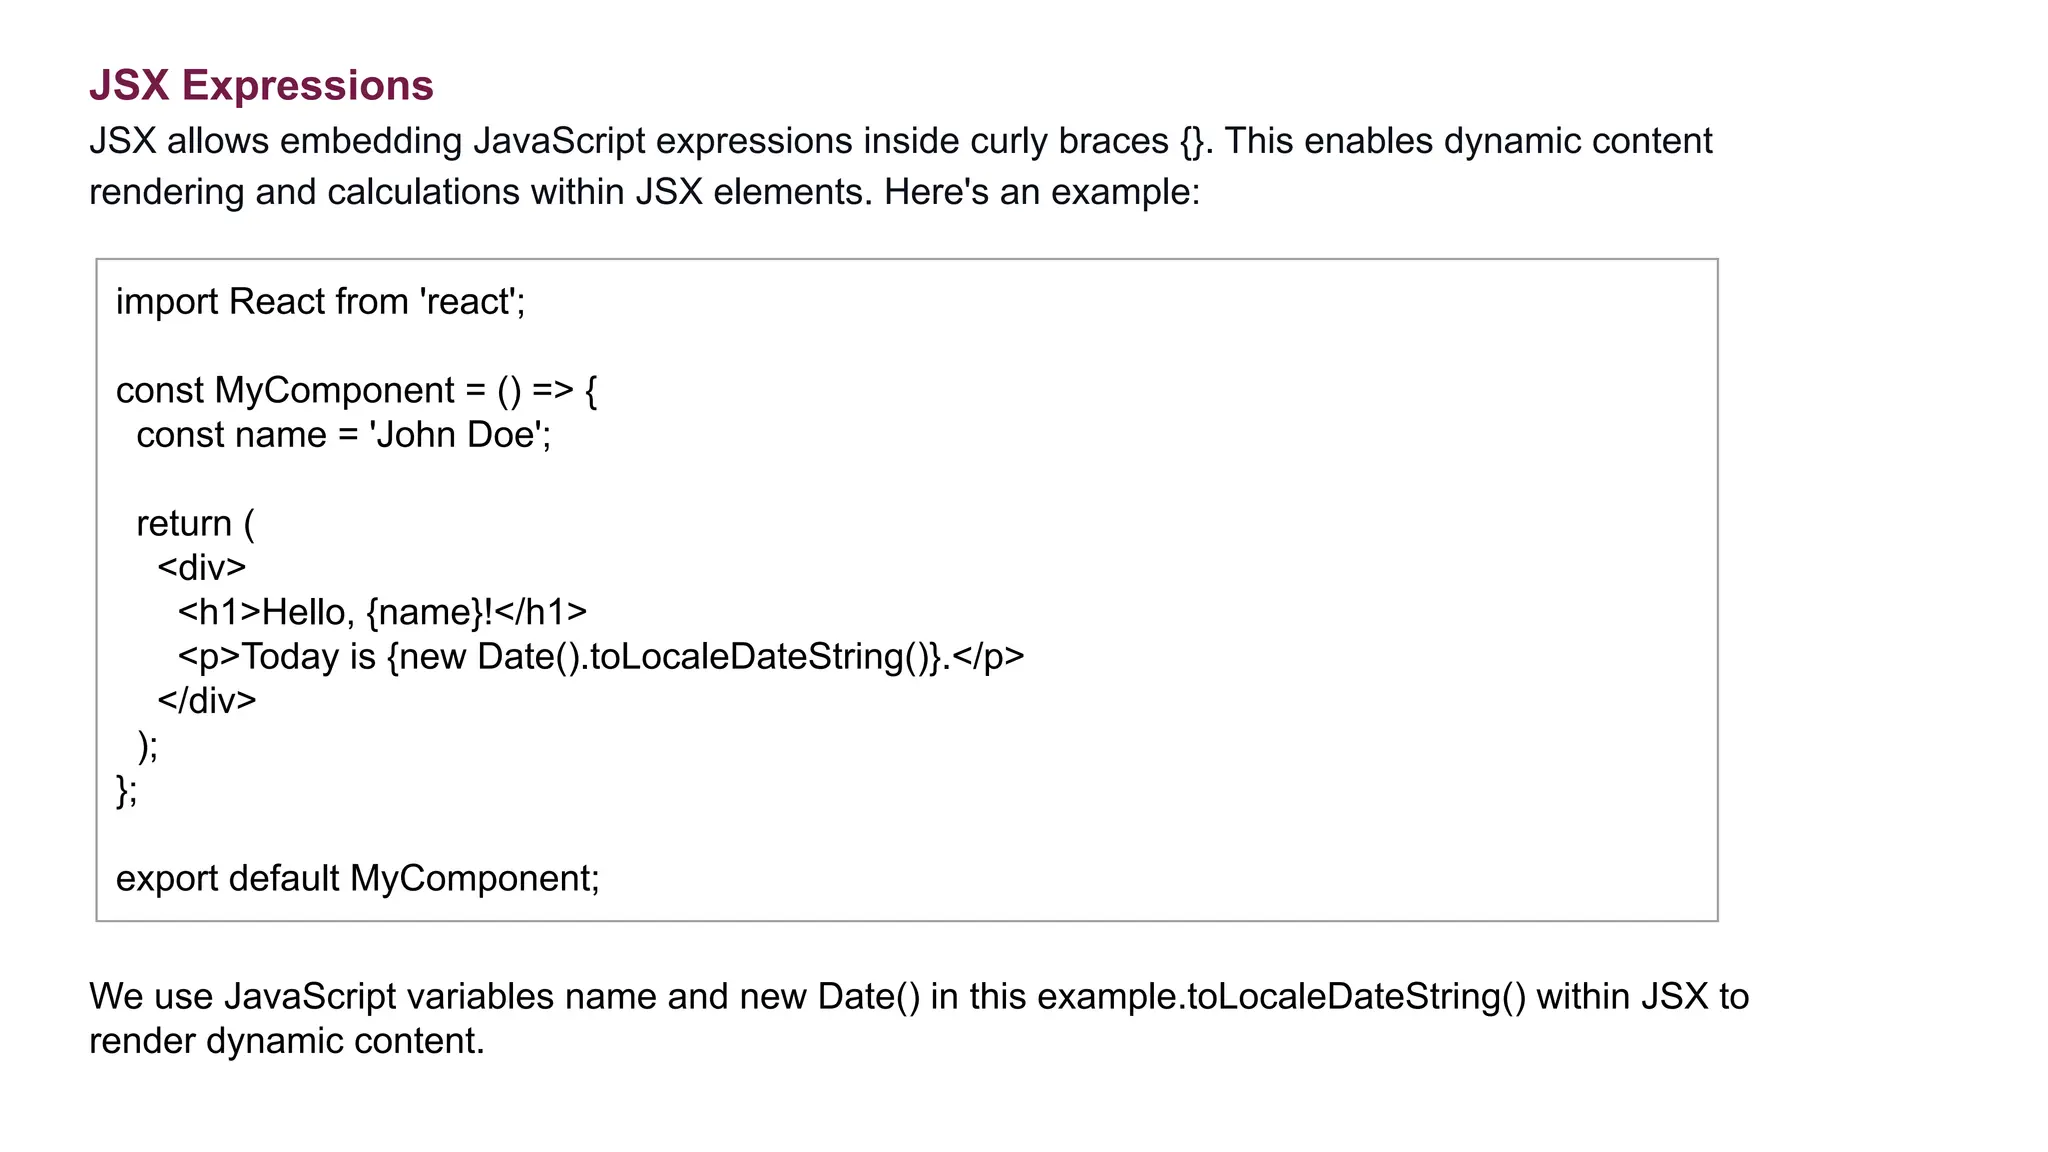
You can use variables, function calls, and operators like the ternary operator for conditional rendering. However, you cannot use statements like if...else or for loops directly inside the curly braces.
Practice: Your First JSX
Now it's time to apply what you've learned.
-
Open your project in your code editor and navigate to
src/App.jsx. -
Delete all the code inside that file.
-
Copy and paste the following code, which defines a basic component structure.
function App() { // Data for our component const user = { name: 'Hedy Lamarr', imageUrl: 'https://i.imgur.com/yXOvdOSs.jpg', imageSize: 90, }; return ( // Your JSX code will go here ); } export default App; -
Your task is to add the JSX inside the
return ()statement to produce a user profile card. Start with the following HTML and convert it to valid JSX, applying all the rules you just learned. Also, use theuserobject to make the content dynamic.<div class="profile-card"> <h1>Hedy Lamarr's Profile</h1> <img src="https://i.imgur.com/yXOvdOSs.jpg" alt="Photo of Hedy Lamarr" style="width: 90px; height: 90px; border-radius: 50%;"> <p>Inventor and Actress</p> </div>
Take a moment to try this on your own before looking at the solution below.
Click here to see the solution
function App() {
  const user = {
    name: 'Hedy Lamarr',
    imageUrl: 'https://i.imgur.com/yXOvdOSs.jpg',
    imageSize: 90,
  };

  return (
    <>
      <div className="profile-card">
        <h1>{user.name}'s Profile</h1>
        <img
          src={user.imageUrl}
          alt={'Photo of ' + user.name}
          style={{
            width: user.imageSize,
            height: user.imageSize,
            borderRadius: '50%'
          }}
        />
        <p>Inventor and Actress</p>
      </div>
    </>
  );
}

export default App;
Notice a few things in the solution: class became className, dynamic data from the user object is used with {}, and the inline style attribute takes a JavaScript object, not a string.
If your code is correct, your running application in the browser should update to show the new profile card.
Conclusion
Excellent work! You've taken a significant step from setting up a project to actually writing the UI code for a React component.
Key Takeaways:
- JSX is a syntax extension that lets us write HTML-like markup in JavaScript.
- It is stricter than HTML and has key rules: you must return a single root element (often with
<>...</>), close all tags, and usecamelCasefor attributes likeclassNameandhtmlFor. - The real power of JSX is its ability to embed dynamic JavaScript expressions directly into your markup using curly braces
{}.
Preview of Next Lesson:
In this lesson, we worked inside a single component, App.jsx. In a real application, you'll want to break your UI into smaller, reusable pieces. In the next lesson, "Create functional components and compose them into a component tree," we'll learn how to create our own custom components and build a UI by nesting them together.