Hello! Welcome to the final lesson of our module on System Design and Scaling Patterns.
In our last lesson, we focused on the critical first step of system design: analyzing functional and non-functional requirements. You learned how to translate vague business goals into a concrete, quantified set of targets (like latency, availability, and throughput) that will drive our architectural choices.
Today, we take the next logical step. We will learn how to create a high-level architectural diagram for a proposed system, justifying the choice of components. This is where we translate our list of requirements into a visual blueprint. A well-crafted diagram is more than just boxes and arrows; it's a powerful communication tool that tells the story of how a system works, the problems it solves, and the trade-offs that were made.
By the end of this lesson, you'll understand how to systematically build an architecture from the ground up, represent it clearly in a diagram, and articulate the rationale behind every component you add.
1. The Architecture Mindset: Evolving from a Baseline
A common mistake is trying to design the final, perfect architecture from the start. A more effective and realistic approach is to start with the simplest possible design and evolve it by adding complexity only when a requirement forces you to.
System Architecture Design: The Complete Guide 2026
The article 'System Architecture Design: The Complete Guide' provides an excellent framework for this iterative approach. Let's read the first part to understand this core mindset.
Read the sections 'System Architecture Design: How to Build and Explain an End-to-End Architecture' and 'The architecture mindset: start simple, then evolve with constraints'. Focus on the table that maps a 'Constraint' to a 'Change' and a 'Why'. This table is the essence of justified design.
This iterative process looks like this:
- Propose a Baseline: Start with the simplest architecture that works for the core functional requirements. Often, this is just a client, a single application server, and a database.
- Identify Bottlenecks: Analyze the non-functional requirements (NFRs) to predict where this simple design will fail. Will it be too slow? Will it handle the expected number of users?
- Evolve with Components: Introduce new architectural components specifically to solve these bottlenecks. Each new component should directly address an NFR.
This approach ensures that every piece of your architecture has a clear purpose.
2. Communicating Architecture: The C4 Model
Before we start adding components, we need a consistent way to draw them. A messy diagram is worse than no diagram at all because it creates confusion. The C4 Model provides a simple and powerful framework for visualizing software architecture at different levels of detail, like a map with different zoom levels.
For high-level design, we are primarily concerned with the first two levels:
- Level 1: System Context: A "bird's-eye view" showing your system as a single box, interacting with users (actors) and other external systems. This diagram sets the scope.
- Level 2: Containers: This "zooms in" to your system box to show the major building blocks inside. A "Container" in the C4 model is any separately deployable unit, such as a web application, an API service, a database, or a message queue. It's not necessarily a Docker container.
C4 Model: Practical Guide to Software Architecture Design ...
The article 'C4 Model: Practical Guide to Software Architecture Design' gives a great overview of this model. We'll focus on the first two levels, which are most relevant for high-level design.
Read the sections 'What is C4 Model', 'Level 1: System Context', and 'Level 2: Container Diagram'. Pay attention to the distinction between the levels and what each diagram is meant to communicate.
Using the C4 model helps ensure your diagrams are clear, consistent, and targeted at the right audience. For the rest of this lesson, when we talk about a "high-level architectural diagram," we are essentially talking about a C4 Level 2 Container Diagram.
3. A Practical Walkthrough: Designing a YouTube-like Service
Theory is best understood through practice. Let's walk through the design of a large-scale, read-heavy system: a video-sharing platform like YouTube. We will use our "evolve with constraints" mindset and see how each component is chosen to meet a specific requirement.
This video provides an excellent end-to-end design walkthrough.
Design Youtube - System Design Interview
The video 'Design Youtube - System Design Interview' from NeetCode is a masterclass in applying the principles we've discussed. We'll break it down piece by piece.
First, watch the introductory section (00:00 - 05:33). Notice how the discussion starts by defining functional requirements (uploading, watching) and non-functional requirements (reliability, availability, low latency), just as we learned in the previous lesson.
Now, let's build the architecture.
Step 1: The Upload Flow (The "Write" Path)
The first core function is uploading a video. A user provides a large video file and metadata (title, description).
Initial thoughts & constraints:
- Video files are large and must be stored durably. Storing large binary blobs in a traditional database is inefficient.
- The upload request should return quickly to the user, even if processing the video takes a long time.
- Videos need to be converted (encoded) into various formats and resolutions for different devices and bandwidths. This is a CPU-intensive, time-consuming process.
These constraints lead to a specific set of components. Let's see how they are introduced.
Design Youtube - System Design Interview
Now, let's watch the section that details the architecture for video uploading.
Watch the segment from 05:33 to 12:49. Pay close attention to the justification for each component: the Load Balancer, Object Storage, NoSQL Database, Message Queue, and Encoding Workers.
Let's break down the choices made in the video:
- Load Balancer: The system needs to handle millions of uploads. A single server is not enough (violates scalability NFR). A load balancer distributes requests across multiple application servers.
- Object Storage (e.g., AWS S3): Chosen for storing the raw video files.
- Justification: It's designed for large, immutable files and provides high durability and availability out of the box, satisfying a key NFR.
- NoSQL Database (e.g., MongoDB): Chosen for storing video metadata (title, description, URL to the file in object storage, user info).
- Justification: The system is read-heavy and needs to scale horizontally. NoSQL databases excel at this. The video also mentions denormalization (storing user info like profile picture URL directly on the video document) to improve read performance by avoiding joins, a direct trade-off for faster reads at the cost of more complex writes. This decision is driven by the low latency NFR for watching videos.
- Message Queue (e.g., RabbitMQ, Kafka) & Worker Services: The application server puts a message on the queue after the upload is complete. Worker services pick up these messages to perform encoding.
- Justification: This decouples the slow, asynchronous encoding process from the fast, synchronous upload request. It improves user experience (performance) and makes the system more resilient. If an encoding worker fails, the message remains in the queue and can be re-processed.
Step 2: The Watch Flow (The "Read" Path)
Now for the second core function: watching a video. This is the "hot path" – it will happen far more often than uploads.
Constraints:
- Users are located all over the world. We need to deliver video with low latency regardless of location.
- The same popular videos are watched by millions. Re-fetching and serving this data repeatedly from the primary database and storage is inefficient and slow.
- The system is extremely read-heavy.
These constraints demand aggressive optimization for reads.
Design Youtube - System Design Interview
Let's look at how the architecture is optimized for watching videos.
Watch the segment from 12:49 to 21:55. Focus on the roles of the CDN and the in-memory Cache, and how they address the NFRs for low latency and high read throughput.
Here's the breakdown of the read-path components:
- Content Delivery Network (CDN): A geographically distributed network of servers that cache static content like encoded video files.
- Justification: When a user requests a video, it's served from a CDN edge server physically close to them, drastically reducing latency. This is the single most important component for a global video service.
- In-Memory Cache (e.g., Redis, Memcached): A cache sitting in front of the NoSQL database to store metadata for frequently accessed videos.
- Justification: Reading from memory is orders of magnitude faster than reading from a disk-based database. For a read-heavy system, this significantly reduces latency for fetching video details and reduces the load on the database, improving scalability.
The Final Diagram
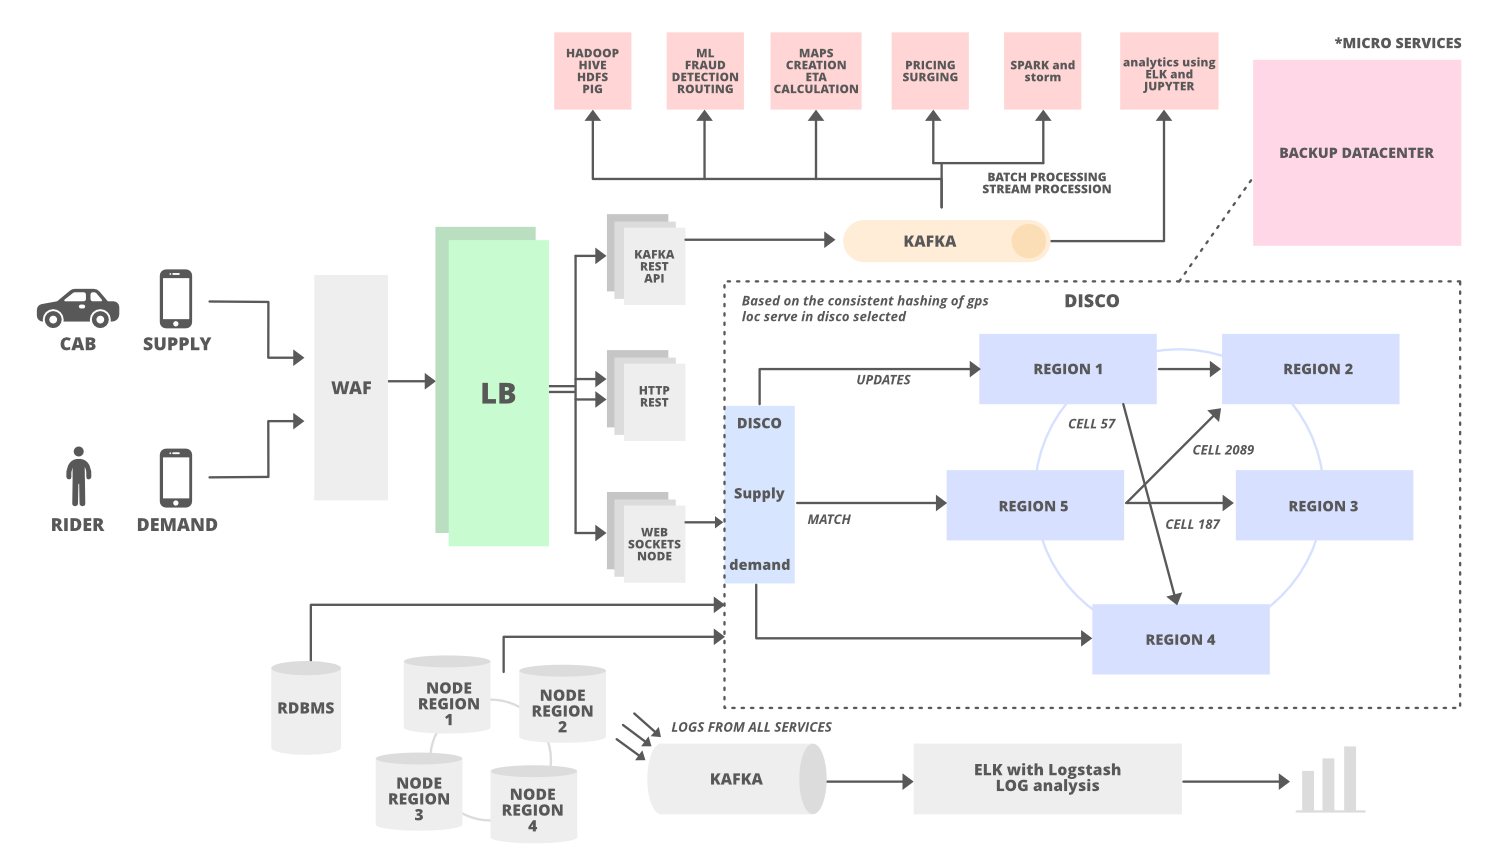
If we put all these pieces together, we get a high-level architectural diagram. Notice how each component has a clear, justified role in meeting the system's requirements.

4. Justifying Your Choices: The ADR Mindset
Creating the diagram is only half the battle. The most critical skill is to justify your choices. Why a NoSQL database and not a SQL one? Why a message queue? What are the trade-offs?
A great way to practice this is to adopt the mindset of writing an Architecture Decision Record (ADR). An ADR is a short document that captures a single architectural decision, its context, and its consequences.
System Architecture Design: The Complete Guide 2026
Let's return to the 'System Architecture Design' guide to see how to formalize our decision-making process.
Read the section 'ADR-style decisions: show your work like a real team'. The table in this section is the key takeaway. It shows how to structure your justification for any decision by considering options, making a choice, stating the rationale, and acknowledging the risk/trade-off.
Let's apply this to one of our choices in the YouTube design:
| Decision | Options | Choice | Rationale | Risk / Trade-off |
|---|---|---|---|---|
| Video Encoding | Inline (synchronous) processing vs. Queue + Workers (asynchronous) | Queue + Workers | Protects the user-facing API from slow, CPU-intensive tasks. Improves resilience and scalability of the encoding process. | Increased system complexity. Introduces latency between upload and video availability. Requires handling potential message duplication and ordering issues. |
When you present an architectural diagram, you should be able to provide this level of justification for every major component.
Conclusion
Today, we've connected the dots from abstract requirements to a concrete architectural blueprint. You've learned how to build a design iteratively, use the C4 model for clarity, and, most importantly, justify every decision based on the system's goals and constraints.
Key Takeaways:
- Evolve, Don't Over-engineer: Start with a simple baseline and add components only when forced by a specific requirement (like scalability, latency, or availability).
- Diagram with a Purpose: Use a framework like the C4 model (Level 1 & 2) to create clear, high-level diagrams that communicate the system's main building blocks and interactions.
- Justify Everything: For every component you add (a load balancer, a cache, a queue), you must be able to explain why it's there by linking it back to a non-functional requirement.
- Articulate Trade-offs: Adopt an ADR mindset. Every choice has a benefit and a cost. Acknowledging the risks and downsides of your decisions demonstrates a mature understanding of system design.
Preview of the Next Module
We have now completed our journey through the core patterns of system design, culminating in creating a high-level architectural blueprint. Our diagram shows components like "Application Server," "Database," and "Cache."
But how do we package these components for deployment? How do we run them, connect them, and monitor them in a real production environment?
The next module, "Deployment, Containerization, and Observability," will answer these questions. We will begin by diving into one of the most transformative technologies in modern backend development: containers. You will learn what they are, how they differ from virtual machines, and how to write a Dockerfile to package a Python application.