Hello! Welcome to the final module of our course, where we'll be putting the finishing touches on your application to prepare it for the world.
In our last lesson, we focused on the user experience during testing, ensuring that your loading indicators and error messages provide clear and helpful feedback. This process of verifying how your app behaves under stress is what separates a functional prototype from a polished, user-friendly product.
Today, we take another crucial step towards making your project shareable and deployable. We will address the learning outcome: Create a requirements.txt file to list all project dependencies for deployment. This simple text file is a cornerstone of professional Python development, and you'll find it in almost every Python project you encounter.
1. What is a requirements.txt File?
Imagine you've baked a fantastic cake and want to share the recipe. You wouldn't just write down the instructions; you'd also list the specific ingredients and their quantities. A requirements.txt file does exactly this for your code. It's a plain text file that lists all the external Python packages (the "ingredients") your project needs to run, along with their specific version numbers.
These packages include ones you've installed, like Flask and google-generativeai.

Why is this so important? This article explains the key benefits.
Python requirements.txt - Syntax, Examples & Best Practices
Read this brief introduction to understand why the requirements.txt file is essential for consistency, collaboration, and deployment.
Read the sections 'What Is a requirements.txt File?' and 'Why You Need a requirements.txt File'. Focus on the four key benefits: Consistency, Ease of Collaboration, Version Control, and Automation.
As the article highlights, this file ensures that your application works the same way on your computer, a teammate's computer, and—most importantly—the server where you will eventually deploy it. It eliminates the classic "but it works on my machine!" problem.
2. How to Generate a requirements.txt File
You don't need to create this file by hand. Python's package manager, pip, provides a command to generate it automatically. There are two main approaches.
Method 1: The Standard pip freeze Command
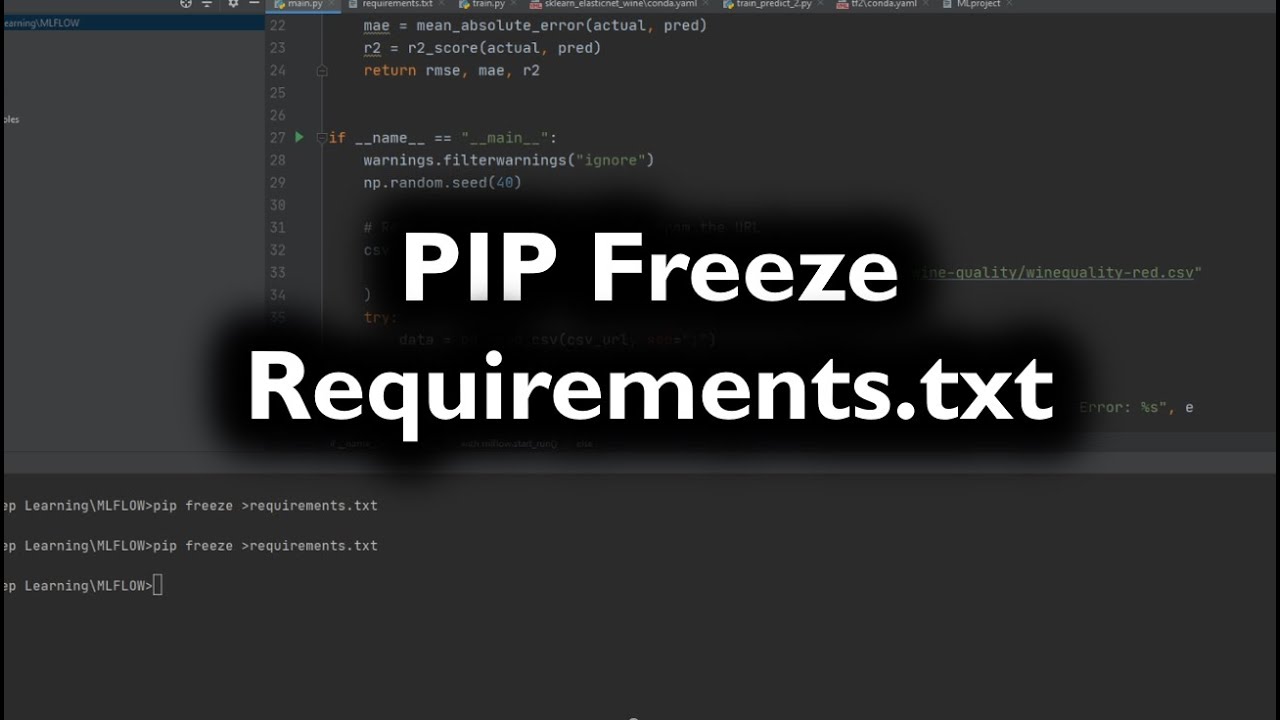
The most common method is using the pip freeze command. This command lists all the Python packages installed in your current environment. By "redirecting" this output into a file, you can create your requirements.txt in one step.
Watch this short video to see how it works.
Python requirements.txt Explained - Backend Python 5
This video by Caleb Curry demonstrates the standard workflow for creating a requirements.txt file using pip freeze.
Watch from the beginning until 2:28. Pay attention to the command pip freeze > requirements.txt and how it captures the installed packages into the file.
The command is simple:pip freeze > requirements.txt
The > symbol is a terminal operator that takes the output of the command on its left (pip freeze) and writes it into the file on its right (requirements.txt).
A Note on Virtual Environments
You might have heard the term "virtual environment". This is a self-contained directory that holds a specific Python installation and its packages, isolated from other projects.
Using a virtual environment is a highly recommended best practice because pip freeze lists all packages in the environment. If you're not using a virtual environment, your requirements.txt file will include every package you've ever installed globally, which can be messy. If you're using one, it will only include packages installed for this specific project.
For a deeper dive into virtual environments, the article from inventivehq.com you looked at earlier has a great section titled "Using Virtual Environments." For now, just know that they are the professional way to manage project dependencies.
Method 2: A Cleaner Approach with pipreqs
Because pip freeze can be messy without a virtual environment, there is an alternative tool called pipreqs that many developers prefer. Instead of listing every installed package, pipreqs intelligently scans your project's code files (like app.py) to see which packages you actually import and use. This results in a much cleaner, more accurate requirements.txt file.
This video demonstrates how to use it.
How to Create Requirements.txt File with One Command
This video by Nicolai Nielsen shows you how to use pipreqs to generate a cleaner dependency file based on your project's code.
Watch from 0:26 to 1:50. The video shows two simple commands: one to install pipreqs and one to run it in your project directory.
The two steps are:
- Install the tool:
pip install pipreqs - Run it in your project folder:
pipreqs .(The.means "this current directory").
Test your understanding!
You've added a new feature to your app that requires a new Python package, matplotlib, for creating charts. You install it using pip install matplotlib. Will your requirements.txt file update automatically? What do you need to do?
Show answer
No, the requirements.txt file will not update automatically. After installing the new package, you need to re-run the generation command (pip freeze > requirements.txt or pipreqs .) to create an updated version of the file that includes matplotlib.
3. Practical Exercise: Generate Your requirements.txt
Now it's your turn to create this file for your AI writing assistant project. I recommend using the pipreqs method because it guarantees a clean result.
Your Task (15 minutes):
-
Open your terminal or command prompt. If you are using an IDE like VS Code, you can open the integrated terminal (
View > Terminal). -
Make sure you are in your project's main directory (the folder containing your
app.pyfile). You can use thecd(change directory) command to navigate there. -
Install
pipreqsby typing the following command and pressing Enter:pip install pipreqs -
Generate the file by typing this command and pressing Enter:
pipreqs . -
Verify the result. Look in your project folder. You should now see a new file named
requirements.txt. Open it. The contents should look something like this (version numbers may vary):Flask==3.0.3 google_generativeai==0.5.4
You have now successfully created a complete and accurate list of your project's dependencies!
4. How This File Will Be Used
You've created the file, but how is it used? When you (or a server) get a copy of a project, you can install all of its dependencies with a single command:
pip install -r requirements.txt
The -r flag tells pip to "read from" the specified file and install everything listed inside. You don't need to run this now, as you already have the packages installed. But this is the command that a deployment service like Render will use automatically when you deploy your application in a later lesson.
Conclusion
In this lesson, you've mastered a fundamental practice in Python development. By creating a requirements.txt file, you've made your project portable, reproducible, and ready for collaboration and deployment.
Key Takeaways:
- A
requirements.txtfile lists all the Python packages your project depends on. - It's crucial for ensuring your app runs consistently across different computers and on deployment servers.
- You can generate it automatically with
pip freeze > requirements.txt, but usingpipreqs .often produces a cleaner, more accurate list by scanning your code. - This file is not a live document; it must be regenerated whenever you add or remove a dependency.
We are now one step away from having a fully documented project. In our next lesson, we will learn how to write a README.md file to document the project's purpose and how to run it locally. This is the front page of your project, and it's essential for helping others understand and use your work.