Hello and welcome back!
In the last lesson, you created a valuable lead magnet—a free checklist or guide designed to solve a specific problem for your audience. This is a fantastic first step in building a relationship based on trust and value.
But a lead magnet is only useful if you have a way to deliver it in exchange for an email address. That's where an opt-in form comes in. This is the digital "front door" for your email list.
In this lesson, you will learn how to build a simple opt-in form and add it to your website to capture email addresses. We will use your MailerLite account to create the form and then integrate it seamlessly into your WordPress site.
1. Understanding and Creating Your Opt-in Form
An opt-in form is a web form that visitors use to sign up for your email list. There are two main types you'll encounter:
- Popup Forms: These appear over the page content based on triggers (e.g., after 10 seconds, or when a user is about to leave the page). They are great at grabbing attention.
- Embedded Forms: These are placed directly within your website's content, such as at the end of a blog post, on your 'About' page, or in the sidebar. They are less intrusive and feel like a natural part of your site.
For this lesson, we will focus on creating an embedded form. It's a versatile and essential tool for any affiliate site.
Creating the Form in MailerLite
We'll use MailerLite's form builder to create a simple, clean form that offers your lead magnet. The process involves naming your form, writing the copy, and customizing its appearance.

The following guide from MailerLite's official help center will walk you through the entire creation and customization process.
How to create an embedded form
This article, 'How to create an embedded form' from MailerLite, provides a detailed step-by-step guide. We'll use it to build our form from start to finish.
Please read the following sections to guide you through the creation process: 'How to create an embedded form': Follow these steps to create and name your form, assign it to a subscriber group, and edit the basic text. 'Design tab': Skim this section to see how you can change colors and fonts. For now, the default design is fine, but it's good to know your options. 'How to edit the success message': This is a crucial step. This is the message people will see immediately after signing up. You'll customize it to tell them to check their email for the lead magnet.
When creating your form, keep it simple and focused:
- Headline: Clearly state what they are getting (e.g., "Get Your Free Kitchen Cleanup Checklist!").
- Text: Briefly explain the benefit (e.g., "Enter your name and email below, and we'll send the free checklist straight to your inbox.").
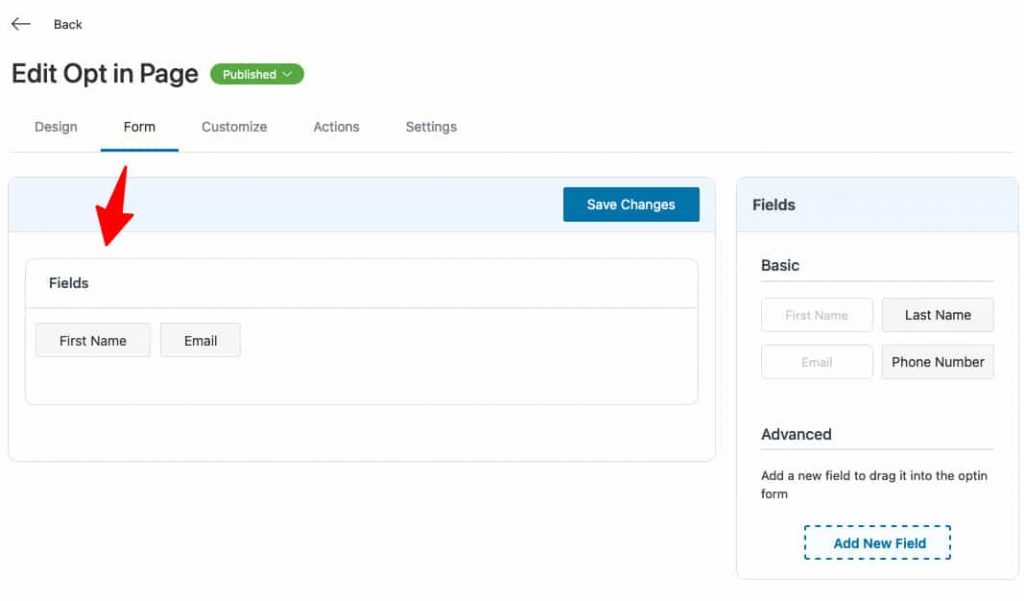
- Fields: Only ask for what you need. A first name and email address is perfect.
- Button: Use a clear call to action, like "Send Me the Checklist!" or "Download Now."
2. Connecting MailerLite to WordPress
Once your form is created in MailerLite, you need a way to get it onto your WordPress website. While you can do this by manually copying and pasting JavaScript code, there is a much easier way: the official MailerLite WordPress plugin.
The plugin handles all the technical connections for you. This video from MailerLite will show you exactly how to install the plugin and link it to your account using a special code called an API key.
How to add sign-up or pop-up forms to WordPress - MailerLite tutorial
This official tutorial from MailerLite, 'How to add sign-up or pop-up forms to WordPress', is the most direct guide for connecting your accounts. We will start with installing the plugin.
Watch the first part of the video from the beginning until 01:41. Follow the steps to: Find, install, and activate the MailerLite plugin from your WordPress dashboard. Generate an API key in your MailerLite account. Paste the API key into the plugin settings in WordPress to complete the connection.
This connection is a one-time setup. Once completed, you can easily add any form from your MailerLite account to your website.
3. Adding Your Form to Your Website
With the plugin installed and connected, adding your form to your website is simple. There are two primary places you'll want to put your form:
- Inside a Page or Post: This is perfect for placing your opt-in offer at the end of a relevant article or on your 'About' page.
- In the Sidebar: This makes your opt-in offer visible on almost every page of your site, increasing its visibility.
The same video you just watched will now guide you through both of these placements.
How to add sign-up or pop-up forms to WordPress - MailerLite tutorial
Let's return to the MailerLite tutorial to see how to place the embedded form you created.
Now watch two more segments from the video: Add to a Post/Page (01:41 - 02:37): This section shows you how to use the WordPress block editor to select and insert your MailerLite form directly into a page. Add to Sidebar (03:37 - 04:11): This part explains how to use the 'Widgets' area in WordPress to add your form to your site's sidebar.
Your Action Plan: Go Live with Your Opt-in Form
It's time to put this into practice. Follow these steps to get your form up and running.
- Create Your Embedded Form (15 mins): Log in to MailerLite. Follow the instructions from the 'How to create an embedded form' article to build your form. Make sure to customize the success message.
- Install and Configure the Plugin (10 mins): Go to your WordPress dashboard. Follow the first part of the video tutorial to install the MailerLite plugin and connect it with your API key.
- Add the Form to Your 'About' Page (5 mins): Edit the 'About' page you created in Module 5. Use the MailerLite block in the editor to add your new opt-in form near the bottom of the page. Update the page and view it to make sure it looks right.
- Add the Form to Your Sidebar (5 mins): Go to Appearance > Widgets in your WordPress dashboard. Follow the video instructions to add the MailerLite Sign-up Form widget to your sidebar.
Congratulations! Your website is now set up to capture email subscribers. This is a massive step forward in building your affiliate marketing business.
Conclusion
In this lesson, you bridged the gap between your content and your email list. You now have a functional system for turning website visitors into subscribers.
Key Takeaways:
- Opt-in forms are essential for capturing email addresses on your website.
- Embedded forms can be placed strategically within your content, on pages, and in your site's sidebar.
- The MailerLite WordPress plugin is the simplest and most effective way to integrate your forms with your website, requiring no code.
- You can add forms to posts/pages using the block editor and to the sidebar using widgets.
Preview of the next lesson:
Your form is live, and people can now subscribe. But what happens after they sign up? You need to deliver the lead magnet and start building a relationship. In the next lesson, we will outline a 3-email welcome sequence to automatically deliver your freebie, build trust, and gently introduce your first affiliate offer.