Hello! Let's dive into the most exciting part of building APIs for AI: making real-time predictions.
In our previous lessons, you mastered handling file uploads. You built an endpoint using UploadFile to accept files and then secured it by validating the file's content type and size. We now have a robust way to get an image from a user to our server.
Today, we'll connect all the pieces. We will focus on the learning outcome: to modify an ML endpoint to accept an image, preprocess it, and run inference. This is the core workflow for serving almost any computer vision model, directly aligning with your goal of deploying AI/ML models. We'll take the uploaded image, transform it into the format our model expects, and return a live prediction.
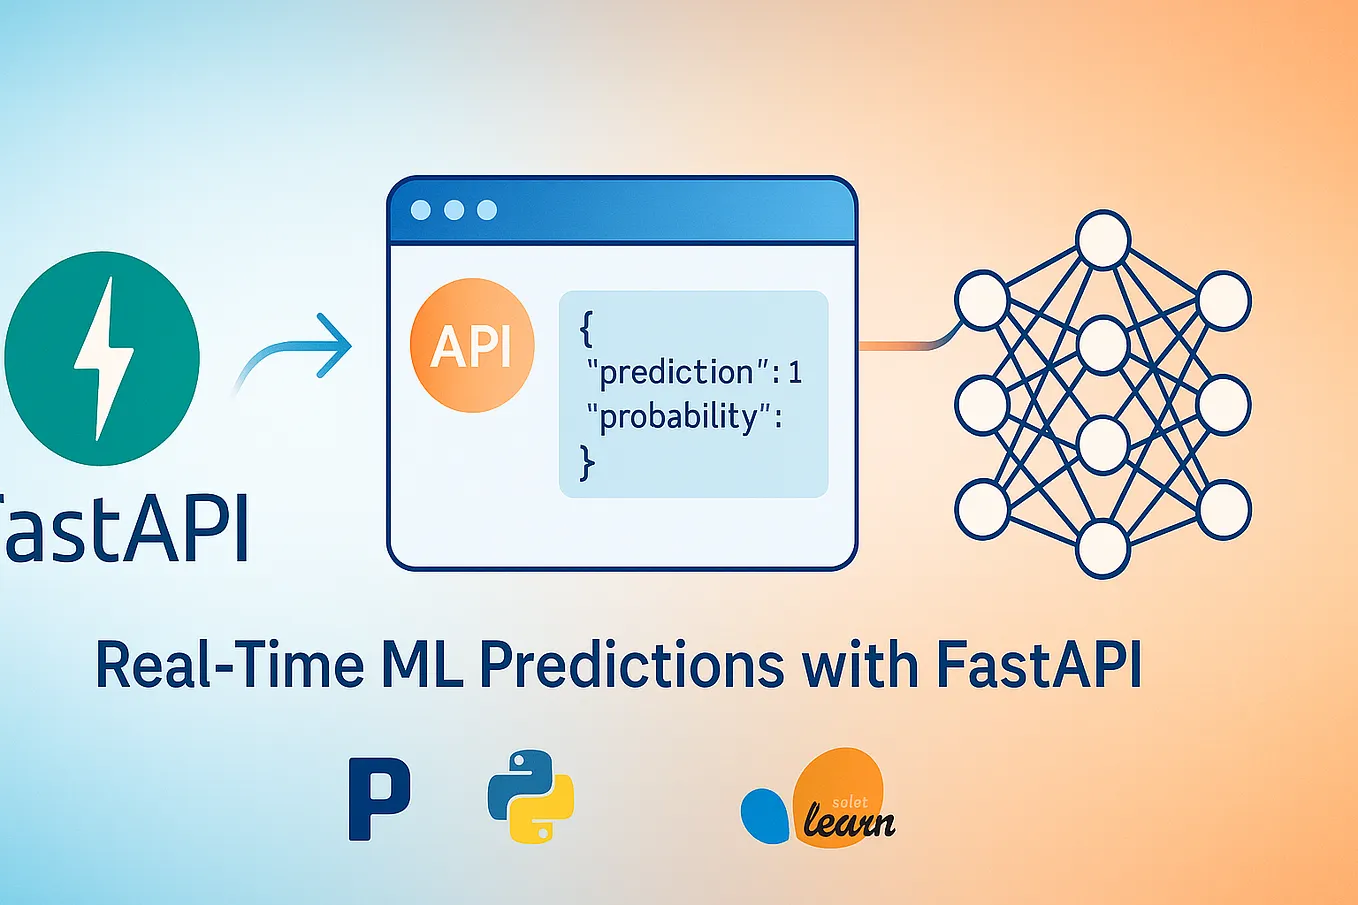
1. The Image-to-Prediction Workflow
Serving an image-based model involves a clear sequence of steps. Regardless of whether you're using scikit-learn, TensorFlow, or PyTorch, the fundamental pattern is the same:
- Receive the Image: The endpoint accepts an
UploadFilefrom a POST request. - Read Image Bytes: The raw binary content of the file is read into memory using
await file.read(). - Load with an Image Library: The in-memory bytes are not yet an "image" that can be manipulated. We use a library like Pillow (
PIL) to parse these bytes and load them into a structured image object. Theio.BytesIOmodule is essential here, as it allows Pillow to treat the byte string like a file. - Preprocess the Image: Machine learning models are very specific about their input. This step transforms the image to match the model's training conditions. Common preprocessing steps include:
- Resizing: Changing the image dimensions (e.g., to 28x28 or 224x224 pixels).
- Color Conversion: Converting the image to grayscale (
'L') or ensuring it's in RGB format ('RGB'). - Normalization: Scaling pixel values to a specific range (e.g., 0-1).
- Array Conversion: Converting the final processed image data into a NumPy array or a framework-specific tensor.
- Run Inference: The preprocessed data is fed into the loaded model to get a prediction.
- Return Response: The model's raw output (e.g., a class index or probabilities) is formatted into a clear JSON response.
2. Implementation with Scikit-learn and Pillow
Let's see this workflow in action. We'll build an endpoint for a simple image classifier, like one trained on the MNIST dataset of handwritten digits. You've worked with scikit-learn in a previous module, so the model interaction part will feel familiar.
The following video provides an excellent walkthrough of this entire process.
Creating APIs For Machine Learning Models with FastAPI
The video 'Creating APIs For Machine Learning Models with FastAPI' from the NeuralNine channel clearly demonstrates how to build an image prediction endpoint from scratch.
Please watch from 07:43 to 11:23. Focus on how the predict_image function is constructed. Pay close attention to these key moments: Reading the file content with await file.read(). Using io.BytesIO and Image.open() to load the data. The series of preprocessing steps: converting to grayscale, inverting colors, and resizing. Converting the Pillow image to a NumPy array for the model. Calling model.predict() and formatting the output.
Now, let's put that all together into a single, working example. First, make sure you have the necessary libraries installed:
pip install "fastapi[all]" scikit-learn numpy Pillow
For this exercise, we'll assume you have a trained scikit-learn image classifier saved as model.pkl. You can create a placeholder file for now, but the code structure is what matters.
Here is the complete main.py for an image prediction endpoint:
import io
import pickle
import numpy as np
from PIL import Image

from fastapi import FastAPI, File, UploadFile, HTTPException


# --- 1. Load the Model ---
# We assume a scikit-learn model has been saved with pickle.
# This is loaded once when the application starts.
try:
    with open("model.pkl", "rb") as f:
        model = pickle.load(f)
except FileNotFoundError:


    # In a real app, you'd handle this more gracefully.
    # For now, we'll let the app crash if the model is missing.
    print("Error: model.pkl not found. Please provide a placeholder model file.")
    model = None

app = FastAPI(title="ML Image Classifier")


# --- 2. The Prediction Endpoint ---
@app.post("/predict/image")
async def predict_image(file: UploadFile = File(...)):
    """
    Accepts an image, preprocesses it, and returns a prediction.
    """
    if not model:
        raise HTTPException(status_code=500, detail="Model is not loaded")


    # --- Step A: Validate and Read the File ---
    # In the previous lesson, we added robust validation. Here, we'll focus on the core logic.
    if not file.content_type.startswith("image/"):
        raise HTTPException(status_code=400, detail="File provided is not an image.")

    contents = await file.read()


    # --- Step B: Load Image and Preprocess ---
    try:


        # Open image from in-memory bytes
        pil_image = Image.open(io.BytesIO(contents))


        # Preprocessing steps (these must match your model's training)
        # 1. Convert to grayscale
        pil_image = pil_image.convert("L")


        # 2. Resize to the model's expected input size (e.g., 28x28 for MNIST)
        pil_image = pil_image.resize((28, 28), Image.Resampling.LANCZOS)


        # 3. Convert to NumPy array
        image_array = np.array(pil_image)


        # 4. Reshape for the model (scikit-learn expects a 2D array of samples)
        # Our single image is 28x28, so we flatten it to a 1x784 vector.
        image_array = image_array.flatten().reshape(1, -1)

    except Exception as e:
        raise HTTPException(status_code=500, detail=f"Error processing image: {e}")


    # --- Step C: Run Inference ---
    prediction = model.predict(image_array)


    # --- Step D: Return Prediction ---
    # The output from model.predict is a NumPy array, so we extract the first element.
    predicted_class = int(prediction[0])

    return {"predicted_class": predicted_class}
This code directly implements the workflow we discussed. Test it out using the /docs page. You'll see an upload button just like in our previous lessons.

3. The Pattern in Deep Learning Frameworks
The great news is that this exact pattern applies to modern deep learning frameworks like PyTorch and TensorFlow. The core logic of "read bytes -> open with Pillow -> preprocess -> predict" remains identical. The only thing that changes is the specific preprocessing functions and the model inference call.
Let's look at an example using PyTorch.
Deploying Your AI/ML Models: A Practical Guide from Training to ...
The article 'Deploying Your AI/ML Models' provides a full code example for serving a PyTorch computer vision model. It reinforces the pattern we just learned.
Please read the code under the heading 'Example Code: Generalizable API Wrapper'. You don't need to understand every line of the PyTorch-specific code. Instead, focus on the predict function and identify the same workflow steps: Reading the file: image_data = await file.read() Opening with Pillow: image = Image.open(io.BytesIO(image_data)) Preprocessing: input_tensor = preprocess_image(image) Inference: outputs = model(input_tensor)
As you can see in the article, the structure is remarkably similar. A preprocess_image helper function is used to bundle the transformations (like resizing and normalizing), but the endpoint's responsibility is the same. The same holds true for TensorFlow, as shown in the article "Building a fast API for deep learning classification projects" (LINK), which uses tf.keras.models.load_model and MODEL.predict(). The core FastAPI integration pattern is universal.
Conclusion
Congratulations! You have successfully built an endpoint that accepts an image, processes it, and serves a live prediction from a machine learning model. This is a milestone achievement and a fundamental skill for any MLOps or backend engineer working with AI.
Key Takeaways:
- The workflow for serving an image model is: receive
UploadFile, read its bytes, open withPillowviaio.BytesIO, preprocess the image, run inference, and return a JSON response. - Pillow is the key library for handling image data loaded from bytes.
- Image preprocessing steps (resizing, color conversion, normalization) are critical and must match the steps used when the model was trained.
- This core pattern is framework-agnostic and applies whether you are using scikit-learn, PyTorch, or TensorFlow.
In our next lesson, we'll refine this endpoint further. What if you wanted to log every prediction to a file or database without making the user wait? We will explore how to use BackgroundTasks to run a non-critical task after a response has already been sent, a powerful feature for improving API performance.