Hello! Welcome back to our course on building APIs with FastAPI.
In our last lesson, we took a crucial first step in serving a machine learning model: we learned how to use FastAPI's lifespan event to load a model into memory at application startup. This ensures our API is efficient and ready to make predictions without the costly delay of loading the model on every request.
Now that our model is loaded, the next logical question is: how do we define the data our API expects for a prediction, and the data it will send back? This is where Pydantic comes in.
Today's lesson will focus on this "data contract." Our learning outcome is to: Define Pydantic schemas for the ML model's input features and prediction output.
By the end of this lesson, you'll understand how to create clear, validated, and self-documenting data structures for your ML endpoints, which is one of the most powerful features of the FastAPI framework.
Why We Need Schemas: The Role of Pydantic
When you build an API, you're creating an interface for other programs (or even a web frontend) to interact with your application. To make this interaction reliable, you need to be very clear about the structure and type of data being exchanged.
FastAPI integrates tightly with a library called Pydantic to solve this problem. Since you're proficient with Python's type hints (str, int, float, etc.), you'll find Pydantic very intuitive. It takes those type hints and puts them to work at runtime.
For a great overview of what Pydantic is and why it's so fundamental to FastAPI, please watch the first couple of minutes of the following video.
Python FastAPI Tutorial (Part 4): Pydantic Schemas - Request and Response Validation
This video by Corey Schafer provides an excellent explanation of Pydantic's role in FastAPI. It covers how Pydantic uses type hints for data validation, serialization, and automatic documentation.
Watch from the beginning until the 02:19 mark. Focus on understanding the three key benefits: data validation, automatic API documentation, and how it provides a more 'Pythonic' workflow.
As the video explains, using Pydantic schemas gives us:
- Automatic Validation: FastAPI will automatically check if incoming request data matches your schema. If not, it sends back a helpful error message without you writing any validation code.
- Data Conversion: It converts the incoming JSON data into a Python object you can work with directly (e.g., using dot notation like
data.feature1). - Automatic Documentation: Your schemas are used to generate the interactive API documentation (Swagger UI), which clearly shows users what data to send and what to expect in return.
Defining a Schema for Model Inputs
Let's start by defining the data structure for the features our machine learning model needs to make a prediction. We do this by creating a class that inherits from Pydantic's BaseModel.
Imagine we have a simple house price prediction model that requires two features:
size_square_feet(a floating-point number)bedrooms(an integer)
Here’s how you would define the Pydantic schema for this input:
from pydantic import BaseModel

class HouseFeatures(BaseModel):
    size_square_feet: float
    bedrooms: int
That's it! This simple class now serves as our validation and documentation model.
The following video clip demonstrates this exact process.
Build a Machine Learning API Using FastAPI & Scikit-Learn (Step-by-Step Python Tutorial)
This video from the 'Data Science with Onur' channel shows how to create a Pydantic BaseModel for a house price prediction model's input features.
Watch the segment from 05:37 to 07:07. Notice how a class named HouseData is created by inheriting from BaseModel and defining the features with their Python types.
Defining a Schema for Model Outputs
Just as we define the structure of the input, it is a best practice to define the structure of the output. This guarantees that your API returns data in a consistent and predictable format. It also prevents you from accidentally leaking internal data that shouldn't be exposed.
For our house price predictor, the output is a single value: the predicted price. The schema for this would be:
class PredictionResponse(BaseModel):
    predicted_price: float
In a more complex scenario, like a classification model, your output schema might include the predicted class label, its numeric index, and a list of probabilities for all classes. The following article provides a great example of this.
Building and Deploying a Machine Learning Model Using FastAPI
Let's look at a complete example in the article 'Building and Deploying a Machine Learning Model Using FastAPI' from Analytics Vidhya. It shows how to define both input and output schemas for an Iris flower classification model.
In the code block under the heading 'Step 3: Create a FastAPI program...', locate the class definitions for IrisFeatures (the input schema) and PredictionResult (the output schema). Observe how PredictionResult is structured to return multiple pieces of information from the model.
This pattern of creating separate schemas for input and output (and sometimes for creation vs. reading, as we saw in the database modules) is a powerful technique for building robust and maintainable APIs.
Using Schemas in Your API
Now, let's see how to use these schemas in our FastAPI application.
- Input Schema: You use it as a type hint for a parameter in your endpoint function. FastAPI sees this and knows it should parse the JSON body of a
POSTrequest into an instance of yourHouseFeaturesclass. - Output Schema: You use it in the path operation decorator with the
response_modelargument. This tells FastAPI to validate and filter the returned data to ensure it matches thePredictionResponseschema.
Here is how you would modify main.py from our last lesson to include these schemas and a placeholder /predict endpoint.
# main.py

from fastapi import FastAPI
from pydantic import BaseModel
from contextlib import asynccontextmanager


# --- Mock Model from previous lesson ---
class MyMLModel:
    def predict(self, input_data: list) -> list:


        # A mock model that "predicts" based on size and bedrooms
        # A real model would have complex logic here.
        price = input_data[0][0] * 100 + input_data[0][1] * 5000
        return [price]

ml_models = {}

@asynccontextmanager
async def lifespan(app: FastAPI):
    ml_models["my_model"] = MyMLModel()
    print("AI Model loaded!")
    yield
    ml_models.clear()
    print("AI Model cleared.")

app = FastAPI(lifespan=lifespan)


# --- NEW: Pydantic Schemas ---


# 1. Input Schema
class HouseFeatures(BaseModel):
    size_square_feet: float
    bedrooms: int


# 2. Output Schema
class PredictionResponse(BaseModel):
    predicted_price: float


# --- NEW: Prediction Endpoint ---
@app.post("/predict", response_model=PredictionResponse)
def predict(features: HouseFeatures):


    # Prepare data for the model (scikit-learn models often expect a 2D array)
    input_data = [[features.size_square_feet, features.bedrooms]]


    # Use the loaded model to predict
    prediction_value = ml_models["my_model"].predict(input_data)[0]


    # Return the result
    return {"predicted_price": prediction_value}

@app.get("/")
def read_root():
    return {"Hello": "World"}
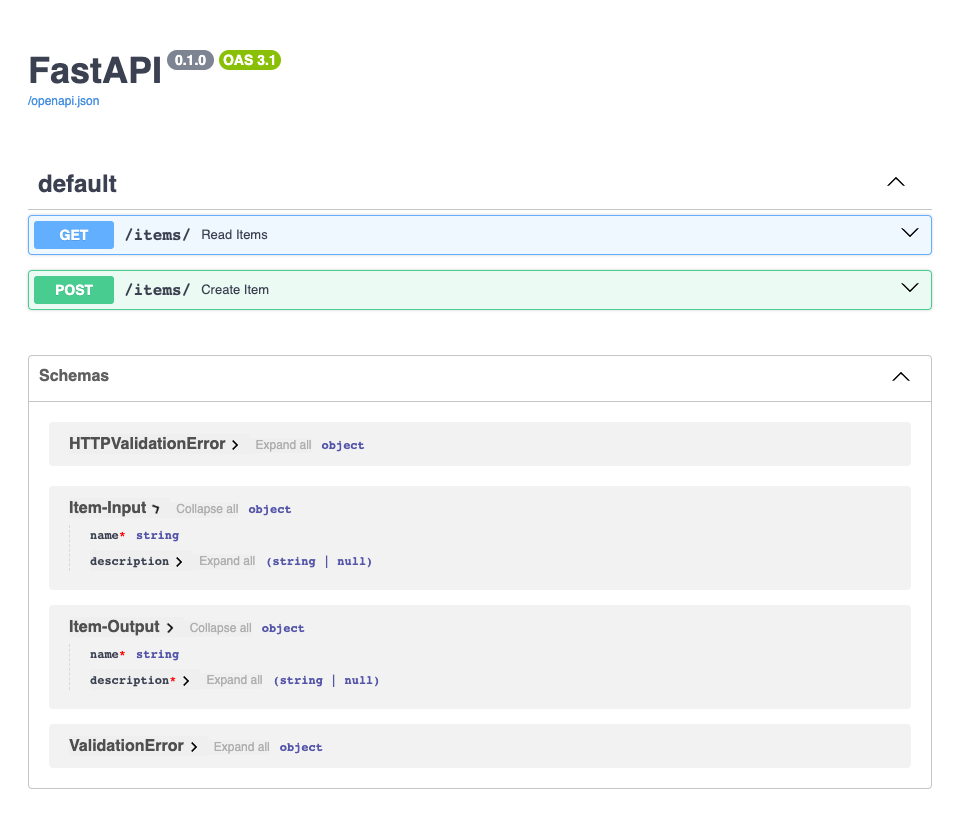
When you run this and navigate to the /docs URL, you will see your new /predict endpoint. FastAPI has used your Pydantic models to automatically generate documentation showing the exact JSON format for the request body and the response.
Hands-On Practice
Now it's your turn.
- Take the
main.pyfile you created in the previous lesson (the one with thelifespanfunction). - Add the
HouseFeaturesandPredictionResponsePydantic models to the file, just as shown in the example above. - Add the new
/predictendpoint function. - Run your application with
uvicorn main:app --reload. - Open your browser to
http://127.0.0.1:8000/docs. - Expand the
/predictendpoint, click "Try it out", and send a test request like:{ "size_square_feet": 1500, "bedrooms": 3 } - Verify that you get a successful response that matches the
PredictionResponseschema. Try sending invalid data (e.g., a string forbedrooms) and observe the automatic 422 validation error from FastAPI.
Conclusion
Excellent work today! You've learned one of the most important concepts for building high-quality APIs with FastAPI. By defining data schemas with Pydantic, you create a robust, self-documenting, and easy-to-use interface for your machine learning models.
Key Takeaways:
- Pydantic schemas are Python classes that inherit from
BaseModeland use type hints to define a data structure. - An input schema is used as a type hint in an endpoint function to automatically parse and validate incoming request data.
- An output schema is specified with the
response_modelparameter in the endpoint decorator to ensure a consistent and validated response format. - FastAPI leverages these schemas to generate interactive API documentation automatically, making your API much easier for others to use.
In our next lesson, we will complete our prediction endpoint by focusing on the inference logic itself. We will discuss how to properly preprocess the input data for the model and handle the model's output to fit our response schema, solidifying the connection between the API layer and the machine learning model.