Hello! Welcome back to our hands-on course for building ML APIs with FastAPI.
In our last session, you successfully created a POST /predict endpoint, complete with Pydantic schemas for request validation (IrisFeatures) and response structuring (PredictionResult). You have a complete, runnable API that accepts data, but the core prediction logic is what we will build out today.
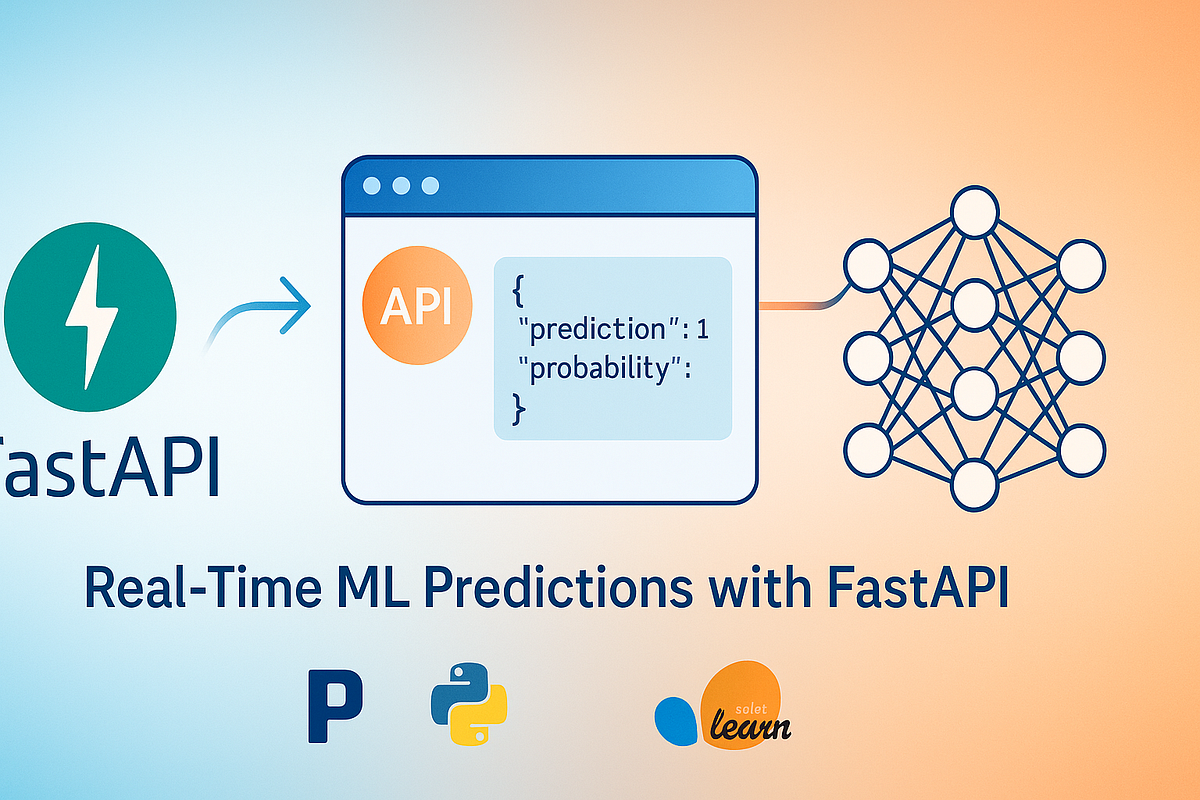
This lesson focuses on the "brains" of your API endpoint. Our learning outcome is to: Perform model inference within the endpoint and return the prediction. We'll implement the crucial steps that happen inside the predict function:
- Preparing the incoming data from the Pydantic model into a format the scikit-learn model understands.
- Performing the actual prediction by calling the model.
- Formatting the model's raw output into the structured, user-friendly JSON response we defined.
By the end of this lesson, your endpoint will be fully functional, capable of taking in feature data and returning a real prediction from your trained model.
1. From Pydantic Model to Model Input
Let's start with the predict function you created in the last lesson. FastAPI has already done the hard work of validating the incoming JSON and giving you a clean IrisFeatures object.
# In main.py
@app.post("/predict", response_model=PredictionResult)
def predict(features: IrisFeatures):


    # Our goal is to fill in this function
    ...
However, there's a disconnect. While features is a convenient Python object, scikit-learn models don't work with Pydantic objects directly. They expect a 2D array-like structure, such as a list of lists or a NumPy array, where each inner list represents a single data sample.
For a single prediction, the model expects an input like this: [[feature1, feature2, feature3, feature4]]. The outer list represents a "batch" of samples (in this case, a batch of one).
Our first task is to transform the data from features into this required format.
# In main.py, inside the predict function


# 1. Prepare data for the model
# The order of features must match the order used during model training.
X = [[
    features.sepal_length,
    features.sepal_width,
    features.petal_length,
    features.petal_width,
]]
This simple list construction is the bridge between the API layer and the ML model layer. It's a common step where errors can occur if the feature order is incorrect.
To see this pattern applied in a different context, the following article provides a very clear example.
The Machine Learning Practitioner's Guide to Model ...
The article 'The Machine Learning Practitioner's Guide to Model Deployment...' demonstrates this exact data preparation step for a house price prediction model.
In the article, find the section 'Step 4: Creating the Prediction Endpoint'. Review the prediction endpoint and notice how the features variable is constructed as a 2D list from the data Pydantic object before being passed to model.predict().
2. Performing Inference and Formatting the Output
With the data correctly formatted in the X variable, we can now call our loaded model to perform inference. For classification tasks, you often have two choices:
model.predict(X): Returns the predicted class label (e.g.,[2]).model.predict_proba(X): Returns the probability for each class (e.g.,[[0.05, 0.15, 0.8]]). This is generally more useful as it provides a measure of the model's confidence.
Let's use predict_proba.
# In main.py, inside the predict function, after preparing X


# 2. Perform inference
proba = model.predict_proba(X)[0] # Get probabilities for the first (and only) sample
The output, proba, will be a NumPy array. This is raw data, not a user-friendly JSON response. Our final step is to process this array and format it into the PredictionResult Pydantic model we defined.
# In main.py, inside the predict function, after performing inference


# 3. Format the output
class_index = int(proba.argmax())
class_name = str(target_names[class_index]) # Assumes 'target_names' is loaded from the model training phase


# Construct the Pydantic response model
return PredictionResult(
    predicted_class=class_name,
    predicted_class_index=class_index,
    probabilities=proba.tolist(), # Convert NumPy array to a standard list
)
Notice two important details:
- We use
proba.argmax()to find the index of the class with the highest probability. - We call
.tolist()on theprobaNumPy array to convert it into a standard Python list, which is essential for it to be serialized into JSON.
Because we used response_model=PredictionResult in the decorator, FastAPI will automatically validate our return object and convert it to the final JSON response.
3. Putting It All Together: A Video Walkthrough
We've just broken down the process into three distinct steps. Now, let's watch a short video that demonstrates this entire sequence—prepare, predict, and return—in a live example.
Build a Machine Learning API Using FastAPI & Scikit-Learn (Step-by-Step Python Tutorial)
The video 'Build a Machine Learning API Using FastAPI & Scikit-Learn' provides a concise walkthrough of these core steps. The example uses a house price model, but the pattern is identical.
At the 10-minute mark, watch the prediction endpoint. Pay close attention to how the input data is converted into a NumPy array, how model.predict is called, and how the final dictionary is constructed and returned.
Now, update your main.py file with the complete logic inside the predict function. Run your server with uvicorn main:app --reload and test it using the Swagger UI at http://127.0.0.1:8000/docs. You should now receive a valid prediction.
4. Code Organization: Abstracting Inference Logic
As you've seen, there are a few lines of logic inside the endpoint. For a simple model, this is fine. But for models requiring more complex preprocessing steps, putting all that code in main.py can become messy. A better practice is to abstract the inference logic into a separate helper function or file.
This keeps your API endpoint clean and focused on one task: handling the HTTP request and response.
Deploy ML models with FastAPI, Docker, and Heroku | Tutorial
This video from AssemblyAI showcases a great pattern for organizing your code. It separates the FastAPI routing in main.py from the model's prediction logic, which is placed in a helper file.
About five minutes into the video, watch the FastAPI implementation. Note how main.py simply imports and calls a predict_pipeline function. All the details of loading the model and preprocessing the text are hidden away in model.py. This separation of concerns makes the code much easier to maintain.
Applying this to our Iris project, you could create a ml_logic.py file and move the data preparation and prediction steps into a function there, which main.py would then call.
5. Extension: Handling Batch Predictions
Your API is much more powerful if it can handle multiple prediction requests at once. This is known as "batch inference." The pattern is very similar, but scaled up.
- Define a new Pydantic schema that accepts a list of items.
- Create a new endpoint (e.g.,
/predict_batch) that accepts this list. - Inside the function, loop through the inputs to build a batch (a 2D array with multiple rows).
- Call
model.predict_proba()once on the entire batch. - Loop through the results to format the response list.
This is more efficient than making hundreds of individual API calls.
Build a Machine Learning API Using FastAPI & Scikit-Learn (Step-by-Step Python Tutorial)
Let's return to the 'Data Science with Onur' video, which has an excellent segment on implementing a batch prediction endpoint.
About 14 and a half minutes into the video, watch batch predictions. The video demonstrates creating a new Pydantic model containing a List, building the feature array in a loop, and calling the model to get a list of predictions.
Conclusion
Excellent work! You have now implemented the core logic of a machine learning API. You've successfully bridged the gap between a validated API request and a scikit-learn model, and you can now generate and return real predictions.
Key Takeaways:
- The primary task within a prediction endpoint is a three-step process: prepare data, run inference, and format the output.
- Input data must be transformed from its Pydantic model representation into a numerical format (like a 2D list or NumPy array) that your ML model expects.
- The model's raw output (e.g., a NumPy array) must be converted into a JSON-serializable format, often by using
.tolist()and structuring it with a Pydanticresponse_model. - Abstracting inference logic into helper functions is a key best practice for maintaining clean and scalable code.
In our next lesson, we'll address a critical aspect of robustness: what happens when the input data, while structurally correct, contains nonsensical values? We will explore how to add custom input validation to the ML prediction endpoint using Pydantic validators.