Hello! Welcome to the third lesson in our "Building APIs with Django REST Framework" module.
In the last lesson, you successfully set up Django REST Framework (DRF) within a new Django project. You went through the professional workflow of creating an isolated environment, defining a basic Task model, and even created a TaskViewSet that exposed a working API endpoint. You saw this line of code: serializer_class = TaskSerializer, but we didn't dive into what it really does.
Today, we'll pull back the curtain on that very concept. This lesson is dedicated to mastering serializers, which are the cornerstone of any DRF application. Our goal is to create serializers to convert Django models to JSON and validate input data. You'll learn how they act as the bridge between your database models and the JSON data your API consumes and produces.
Given your background in data science, you're already familiar with the concept of transforming data from one format to another for processing. Serializers perform a similar function in the world of web APIs: they translate data structures into a universally understood format for communication over the web.
1. What is a Serializer?
At its core, a serializer's job is to handle translation.
- Serialization: When a client requests data (e.g., via a
GETrequest), the serializer takes your complex data, like a Django model instance, and converts it into a simple, transmittable format like JSON. - Deserialization: When a client sends data (e.g., via a
POSTrequest to create something), the serializer takes the incoming JSON, validates it, and converts it into a complex type, like a Django model instance that can be saved to the database.
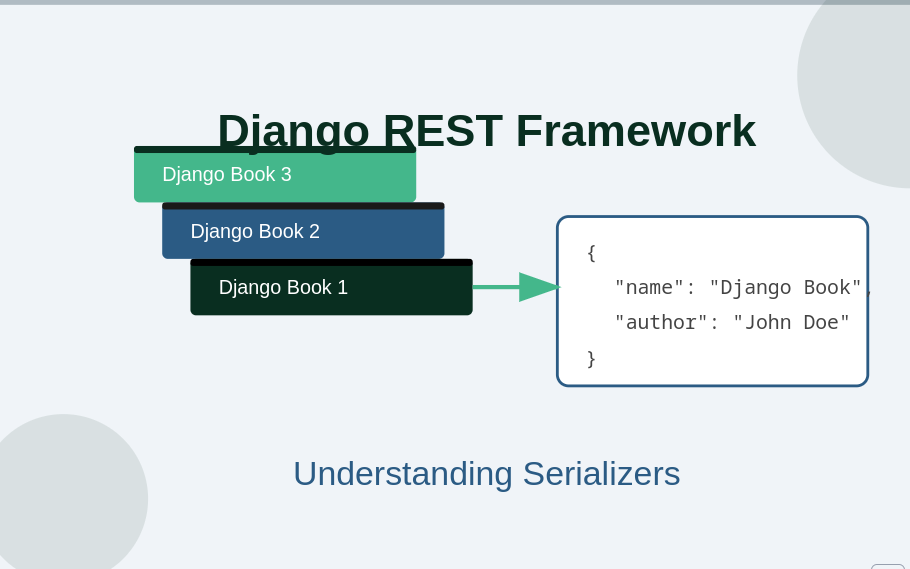
For a concise explanation of this dual role, let's turn to a helpful article.
Mastering Django REST Framework Serializers
The article 'Mastering Django REST Framework Serializers' provides an excellent, high-level definition of what a serializer is and draws a useful parallel to Django's Form system.
Read the first section, 'What is a Serializer in Django REST Framework?'. Focus on the core responsibility of serializers for both serialization and deserialization.
2. The ModelSerializer: Your Productivity Tool
In the previous lesson, you created a TaskSerializer that inherited from serializers.ModelSerializer. This is DRF's powerful shortcut for building serializers that are tied to Django models. Instead of manually defining every field, ModelSerializer automatically introspects your model and generates the corresponding serializer fields and validators.
Let's dissect the TaskSerializer you already have in api/serializers.py:
# api/serializers.py
from rest_framework import serializers
from .models import Task

class TaskSerializer(serializers.ModelSerializer):
    class Meta:
        model = Task
        fields = '__all__'
class Meta: This inner class is where you configure the serializer.model = Task: This explicitly tells the serializer to base itself on theTaskmodel.fields = '__all__': This instructs the serializer to include all fields from theTaskmodel in the serialized output. You can also provide a list of specific field names (e.g.,fields = ['id', 'title', 'completed']) for more control.
To see how to create and use a ModelSerializer in practice, let's watch a segment from a video tutorial.
Django REST Framework - Serializers & Response objects | Browsable API
The video 'Django REST Framework - Serializers & Response objects' by BugBytes demonstrates how to define a ModelSerializer and then use it in a view to serve data.
Watch the following two segments: From 03:54 to 05:42: This part shows how to create a ModelSerializer and configure its Meta class. From 09:42 to 11:53: This part demonstrates how to use the created serializer in a function-based view to fetch all objects from the database and return them as JSON.
As you saw in the video, using the serializer for reading data involves these steps:
- Query the database for the object(s) you want to serialize (e.g.,
Task.objects.all()). - Instantiate the serializer, passing the queried object(s) as the first argument.
- If you're serializing a list of objects (a queryset), you must include
many=True. - Access the
serializer.dataproperty to get the simple Python dictionary representation. - Return this data in a response.
3. Deserialization and Validation
Now let's look at the other side of the coin: taking incoming JSON data, validating it, and creating or updating a model instance. This is the deserialization process.
The general workflow for handling incoming data is:
- Instantiate the serializer, passing the incoming request data to the
datakeyword argument:serializer = TaskSerializer(data=request.data). - Call
serializer.is_valid(). This method runs all validation rules. If the data is invalid, it returnsFalse, and you can access the errors viaserializer.errors. If the data is valid, it returnsTrue. - If valid, you can access the validated data dictionary via
serializer.validated_data. - Call
serializer.save(). This is the magic step. DRF'sModelSerializerwill automatically create a newTaskinstance in the database with the validated data.
This video provides a clear, practical demonstration of this create-and-validate flow.
Django Rest Framework | Serializers & CRUD
This clip from 'Django Rest Framework | Serializers & CRUD' by Dennis Ivy walks through using a serializer to handle a POST request, including validation and saving.
Watch from 15:34 to 18:26. Pay close attention to how request.data is used, the check for serializer.is_valid(), and the final serializer.save() call.
Updating an Existing Object
The process for updating is very similar, with one key difference: you must first retrieve the existing object from the database and pass it as the instance argument to the serializer, along with the new data.
task = Task.objects.get(id=pk)
serializer = TaskSerializer(instance=task, data=request.data) # Both instance and data
if serializer.is_valid():
    serializer.save()
    ...
When you call save() on a serializer that was instantiated with both an instance and data, the ModelSerializer is smart enough to perform an update instead of a create.
Test your understanding!
Consider these two serializer instantiations:
serializer = TaskSerializer(Task.objects.all(), many=True)serializer = TaskSerializer(data=request.data)
What is the primary purpose of each? When would you use one over the other?
Show answer
-
serializer = TaskSerializer(Task.objects.all(), many=True)is used for serialization (reading data). Its purpose is to take a queryset ofTaskobjects from the database and convert them into a list of JSON objects. You would use this when handling aGETrequest to list all tasks. -
serializer = TaskSerializer(data=request.data)is used for deserialization (writing data). Its purpose is to take incoming JSON data from a request body, validate it, and prepare it for creating a newTaskobject. You would use this when handling aPOSTrequest to create a new task.
4. Custom Validation
DRF's ModelSerializer automatically handles basic validation based on your model's field types (e.g., ensuring a CharField with max_length=100 isn't too long). However, you often need to enforce your own business rules.
DRF provides simple hooks for adding custom validation directly to your serializer class.
Field-Level Validation
To validate a specific field, you can add a method named validate_<field_name> to your serializer.
Let's say we want to prevent users from creating tasks with the title "placeholder".
# api/serializers.py

class TaskSerializer(serializers.ModelSerializer):
    class Meta:
        model = Task
        fields = '__all__'

    def validate_title(self, value):
        """
        Check that the title is not 'placeholder'.
        """
        if 'placeholder' in value.lower():
            raise serializers.ValidationError("Task title cannot be 'placeholder'.")
        return value
DRF will automatically call this method during the is_valid() check. If the validation fails, it raises a ValidationError, and the error message will be added to serializer.errors. If validation succeeds, the method must return the validated value.
Object-Level Validation
Sometimes you need to validate based on the relationship between multiple fields. To do this, you use the validate method.
Imagine a rule where a task's title cannot be "urgent" if it's already marked as completed.
# api/serializers.py
# (Inside the TaskSerializer class)

    def validate(self, data):
        """
        Check that an 'urgent' task is not created as already completed.
        'data' is a dictionary of field values.
        """
        if data.get('completed') and 'urgent' in data.get('title', '').lower():
            raise serializers.ValidationError("An 'urgent' task cannot be created as completed.")
        return data
This method receives a dictionary of the incoming field values (data). You can perform your checks and raise a ValidationError if needed. If validation passes, you must return the data dictionary.
Let's read a bit more about these validation techniques.
Mastering Django REST Framework Serializers
The 'Mastering Django REST Framework Serializers' article has a great section summarizing custom validation.
Read section 5, 'Adding Custom Validation Logic'. It clearly lays out both field-level and object-level validation with concise examples.
5. Practical Application
Now, let's apply what you've learned. In the previous lesson, you created a TaskViewSet. ViewSets are powerful, but they hide some of the details. To really understand serializers, let's build simpler, function-based views like those in the videos.
Your task: Modify your api/views.py and core/urls.py to create two separate endpoints:
GET /api/tasks/: A read-only endpoint that lists all existing tasks.POST /api/tasks/create/: A write-only endpoint that creates a new task.
Step 1: Add Custom Validation to TaskSerializer
Open api/serializers.py and add the validate_title method from the example above to prevent titles containing "placeholder".
Step 2: Create the Views in api/views.py
Replace the content of api/views.py with the following. This code uses the @api_view decorator to create simple views that handle specific HTTP methods.
# api/views.py
from rest_framework.decorators import api_view
from rest_framework.response import Response
from .serializers import TaskSerializer
from .models import Task

@api_view(['GET'])
def task_list(request):
    """
    List all tasks.
    """
    tasks = Task.objects.all()
    serializer = TaskSerializer(tasks, many=True)
    return Response(serializer.data)

@api_view(['POST'])
def task_create(request):
    """
    Create a new task.
    """
    serializer = TaskSerializer(data=request.data)
    if serializer.is_valid():
        serializer.save()
        return Response(serializer.data, status=201) # 201 Created
    return Response(serializer.errors, status=400) # 400 Bad Request
Step 3: Update URL Configuration in core/urls.py
Replace the content of core/urls.py to route to your new function-based views.
# core/urls.py
from django.contrib import admin
from django.urls import path
from api import views

urlpatterns = [
    path('admin/', admin.site.urls),
    path('api/tasks/', views.task_list, name='task-list'),
    path('api/tasks/create/', views.task_create, name='task-create'),
]
Step 4: Test Your Endpoints
- Run your server:
python manage.py runserver. - Navigate to
http://127.0.0.1:8000/api/tasks/. You should see a list of any tasks you created in the last lesson. - Navigate to
http://127.0.0.1:8000/api/tasks/create/.- Try creating a valid task. Enter
{"title": "My new task"}in the content box and hit POST. It should succeed. - Now, try creating an invalid task. Enter
{"title": "This is a placeholder"}. You should receive a400 Bad Requestresponse with the validation error you defined.
- Try creating a valid task. Enter
Conclusion
You have now mastered the fundamentals of Django REST Framework serializers. You've gone from a high-level idea to implementing the complete data lifecycle: reading from the database, serializing to JSON, deserializing incoming JSON, validating it against business rules, and saving it back to the database.
Key Takeaways:
- Serializers are translators between complex Django types and simple formats like JSON.
ModelSerializeris your primary tool for quickly building serializers from your database models.- The
Serializer(instance=...)pattern is for serialization (reading data). - The
Serializer(data=...)pattern is for deserialization (writing data). - The
is_valid()->save()workflow is the standard for creating and updating objects from incoming data. - You can enforce custom business logic using
validate_<field_name>andvalidatemethods in your serializer class.
Preview of the Next Lesson:
In this lesson, we used simple function-based views with the @api_view decorator to focus on the serializers themselves. While functional, this approach can become repetitive as your API grows. In the next lesson, we will implement API endpoints using DRF's function-based and class-based views in more detail, including the powerful generic APIView, to build more structured, reusable, and maintainable code.