Welcome to your first project module! In the previous modules, you've built a solid foundation by learning about pages, blocks, databases, properties, and how to create powerful views using filters, sorts, and groups. Now, it's time to put those skills into practice.
Over the next few lessons, we will build a complete, professional-grade Task and Project Manager from scratch. This is one of the most common and valuable systems in Notion, making it a perfect first project for your goal of creating sellable templates.
This lesson focuses on the first and most crucial component: designing the 'Projects' database. This database will serve as the high-level container for all your major initiatives, allowing you to track their progress and key details from a bird's-eye view.
1. From Pages to Databases: Structuring Your Projects
Given your background in project management, you know that a project is more than just a to-do list; it's a distinct initiative with a specific goal, a timeline, and a status. To capture this structured information in Notion, a simple page won't suffice. We need a database.
A database allows us to create specific properties for each project, such as its status, deadline, and objective. This structured data is what will enable us to build dynamic dashboards and automated reports later on.
The article below provides an excellent rationale for why projects should live in a database and how they relate to a master task list, which we will build in the next lesson.
How to Setup Notion: What Should You Do First?
This article from Kalyn Brooke explains why you should build a dedicated database for your projects and goals. It frames the relationship between high-level projects and the individual tasks required to complete them.
Read the section titled 'Step #2: Create a Goals/Projects Database'. Focus on the core idea: a database allows you to connect projects to tasks and track their progress systematically.
2. Creating Your 'Projects' Database
Let's start building. We will create our 'Projects' database on a new, dedicated page that will eventually become our main Project Management dashboard.
While you can start with a simple Table view, a Gallery view is often a more visually engaging way to display high-level projects. It presents each project as a card, which is perfect for a clean, modern-looking template.
The following video demonstrates how to create a new database using a Gallery view.
How to build a Project Management System in Notion
This clip from Nimble Got shows how to quickly set up a new database with a Gallery view, which is an excellent choice for a 'Projects' dashboard.
Watch from 01:37 to 02:47. Pay attention to the steps: Using the slash command to create a Gallery view. Selecting 'New database'. Adjusting the layout settings (like card size and how pages open) for a cleaner look.
3. Designing the Database: Adding Essential Properties
Now we come to the "design" phase. Choosing the right properties is what makes a database truly functional. We need to decide what information is essential to track for every project.
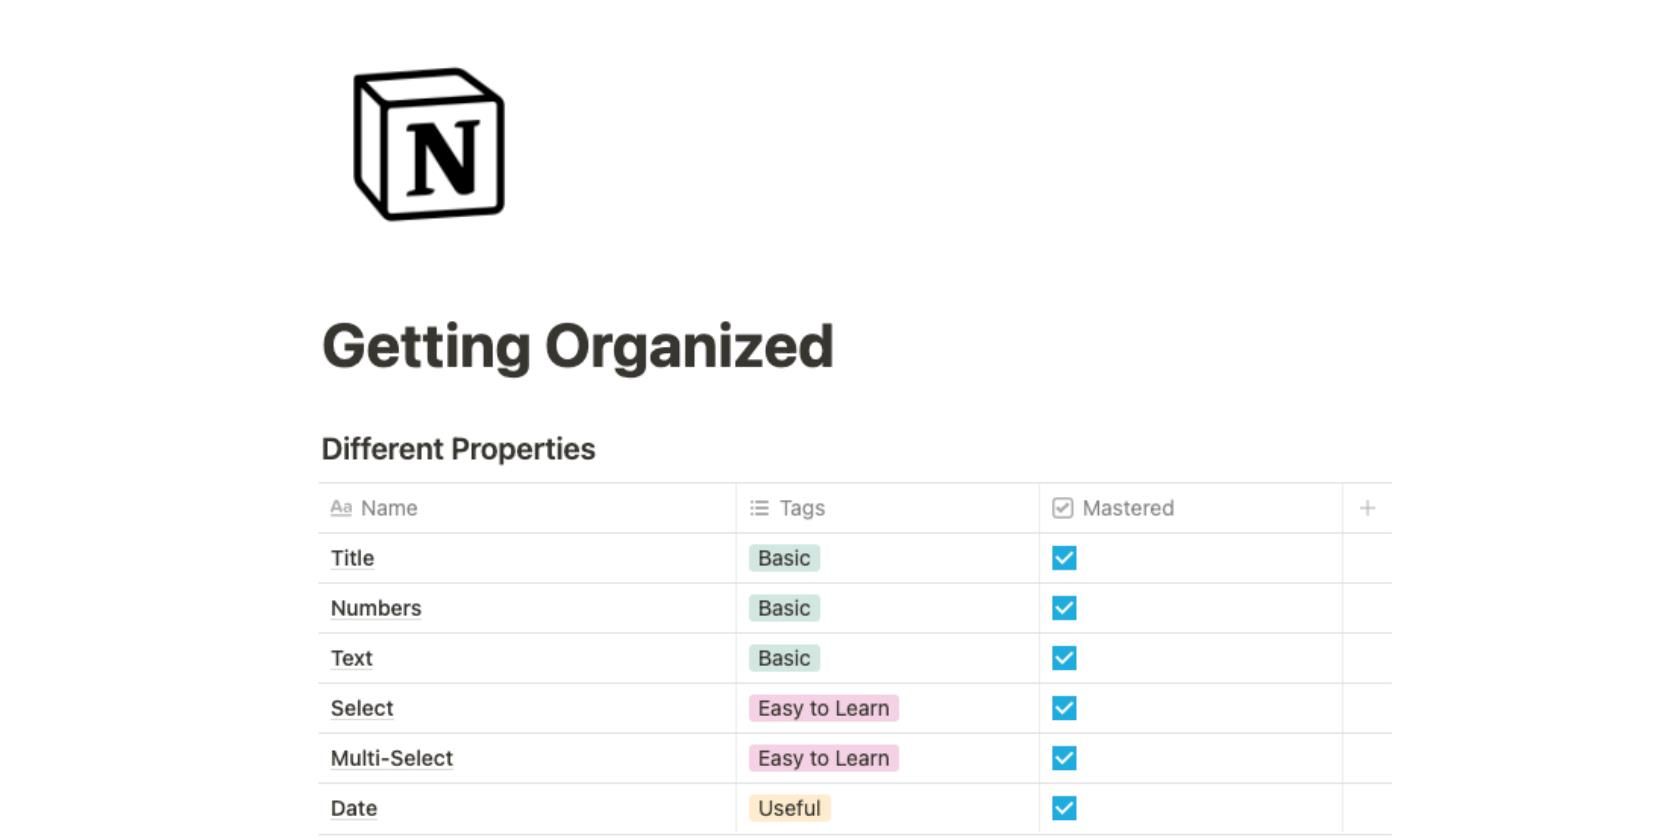
Here are the essential properties for a robust 'Projects' database:
- Status (Status Property): This is the most critical property for tracking progress. The
Statusproperty type is specifically designed for this, giving you default, color-coded groups for "To-do," "In progress," and "Complete." - Timeline (Date Property): Every project needs a timeframe. By using the
Dateproperty and enabling the "End date" option, you can define a start and end for each project. This will be crucial later when we create timeline views. - Objective (Text Property): A short, clear summary of what the project aims to achieve. A simple
Textproperty is perfect for this.
This next clip shows the process of adding these exact properties.
How to build a Project Management System in Notion
Continuing with the 'Project Management System' video, this section demonstrates how to add the specific properties we need.
Watch from 02:47 to 04:04. Follow along as the creator adds a 'Status' property and a 'Date' property with a start and end date. For now, you can ignore the 'task relation' part; we will cover that in a future lesson.
Test your understanding!
You want to add a property to your 'Projects' database to assign a "Project Lead" from your team. Based on what you've learned, which property type would be most appropriate for this?
Show answer
The Person property type would be the most appropriate. It is specifically designed to tag and assign workspace members or guests to database entries.
✍️ Exercise: Build Your 'Projects' Database
Time to get hands-on. Follow these steps to build the foundation of your project manager.
Your Tasks:
-
1. Create the Main Page:
- Create a new, empty page in your Notion workspace.
- Name it
Project & Task Manager. - Give it a relevant icon (e.g., 🎯 or 📁).
-
2. Create the 'Projects' Database:
- On your new page, type
/galleryand selectGallery view. - In the menu that appears, click the
+ New databasebutton. - Name your new database
Projects.
- On your new page, type
-
3. Add and Configure Properties:
- Notion will give you some default pages and a
Tagsproperty. Delete the sample pages and theTagsproperty. - Add a
Statusproperty. Click the+button on the database, name the property "Status," and select theStatusproperty type. - Add a
Timelineproperty. Add another property, name it "Timeline," and select theDateproperty type. Click on a date cell for this property, and in the calendar that pops up, enable theEnd datetoggle. - Add an
Objectiveproperty. Add a final property, name it "Objective," and select theTextproperty type.
- Notion will give you some default pages and a
-
4. Add Sample Projects:
- Create 2-3 sample projects to populate your database. Click the
+ Newbutton to add them. Here are some ideas relevant to your goals:Launch 'Minimalist' Notion TemplateRedesign Personal Portfolio WebsiteQ3 Content Strategy
- Fill in the
Status,Timeline, andObjectivefor each of your sample projects.
- Create 2-3 sample projects to populate your database. Click the
You should now have a clean, functional 'Projects' database ready for the next step!
Conclusion
Excellent work! You have successfully designed and built the first core component of our project management system. By creating a dedicated 'Projects' database, you've established a scalable foundation for tracking high-level initiatives. You didn't just create a list; you designed a structured system with properties for Status, Timeline, and Objective, which will unlock powerful tracking capabilities down the line.
Key Takeaways:
- A database is essential for managing projects because it allows for structured data tracking through properties.
- The Gallery view provides a clean, visually appealing layout for a high-level projects dashboard.
- Key properties for a 'Projects' database include
Status(for progress),Timeline(for duration), andObjective(for clarity).
Preview of the Next Lesson:
With our high-level 'Projects' database in place, we now need a place to manage the individual steps required to complete them. In the next lesson, you will design a 'Tasks' database with properties for status, priority, and due dates. This will be the engine of our system, tracking all the day-to-day action items.