Hello! Welcome back to the project management system build.
In our last lesson, you successfully created the crucial link between your 'Projects' and 'Tasks' databases using a Relation. Now, when you open a project page, you can see a list of associated tasks. While functional, it's not very organized. It's just a simple list property.
Today, we're going to transform that simple project page into a powerful, project-specific dashboard. You'll learn how to use one of Notion's most essential features, Linked Databases, to display and organize tasks in a clean, intuitive way. By the end of this lesson, opening any project page will present you with a dynamic dashboard showing exactly what needs to be done and what has already been completed for that project alone.
This is a cornerstone skill for your goal of creating sellable templates. A great template doesn't just store information; it presents the right information at the right time, and that's exactly what we're going to build.
1. Understanding Linked Databases
Before we start building, we need to grasp the concept of a "Linked Database."
A linked database is not a copy of your database. It's a view—a live, interactive portal to your original master database. Imagine you have a single, massive 'Tasks' database. You can create linked views of it on your project pages, your main dashboard, or anywhere else.
- Any change you make in a linked view (like checking off a task) instantly updates the original database.
- Any change in the original database (like adding a new task) instantly appears in the relevant linked views.
This allows you to maintain a single source of truth for your data while creating countless customized views of it throughout your workspace. This principle is fundamental to creating efficient, professional-grade Notion systems.
Notion Linked Databases & Self-Referential Filtering
To start, let's get a clear definition of linked databases and their benefits. This article from Templates4Notion provides a concise overview.
Read the first two sections, 'What are Notion Linked Databases?' and 'Benefits of Using Linked Databases.' Focus on understanding why this feature is better than simply copying and pasting information.
To create a linked database, you use the slash command /linked view of database.
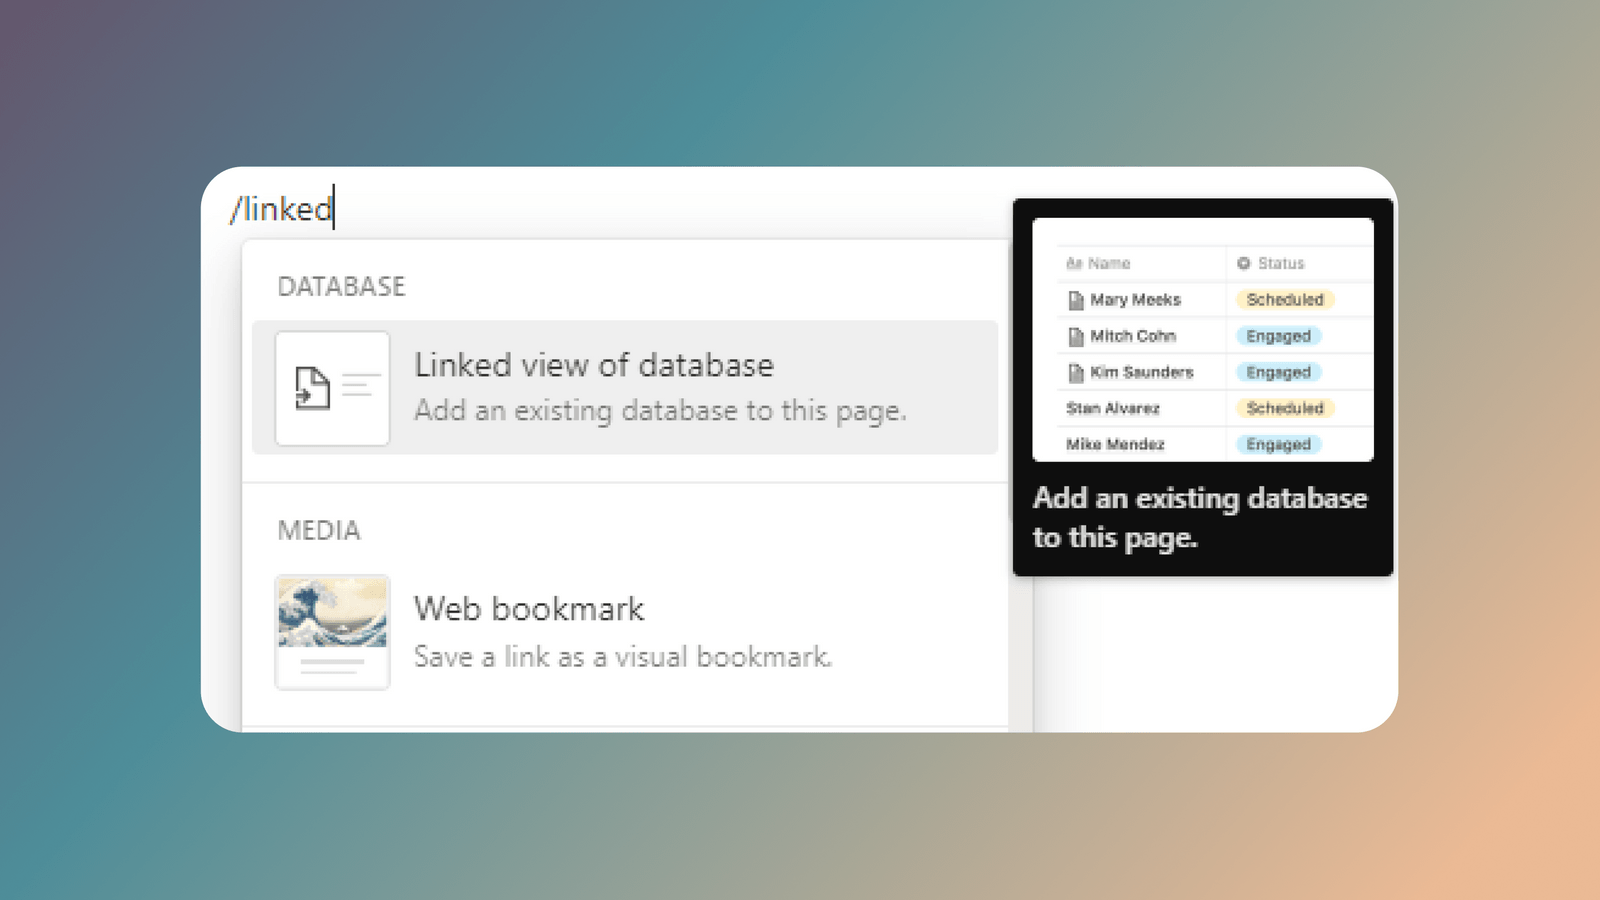
2. The Core Technique: Self-Referential Filtering
Here's where the real power comes in. We want our project page to show only the tasks for that specific project. We achieve this through a technique called self-referential filtering.
It sounds complex, but the idea is simple: We will create a template for our projects. Inside this template, we'll place a linked view of our 'Tasks' database. Then, we will add a filter to that view telling it: "Only show tasks where the 'Project' property is related to this very template."
When you create a new project using this template, Notion automatically understands that the filter should apply to the newly created project page.
This is arguably one of the most important techniques for creating advanced Notion templates.
How To Manage Your Projects in Notion (2025 Tutorial)
Watching this in action makes it much easier to understand. This video by Matthias Frank provides an excellent, step-by-step walkthrough of creating a project template and setting up this exact kind of filtered view.
Watch the section from 00:18:20 to 00:20:25. Pay close attention to how he creates a new template, adds the linked database, and then configures the filter to refer back to the template itself. This is the core of today's lesson.
3. Building the Project Dashboard Template
Now, let's combine these concepts to build the dashboard. We'll do this inside a database template so that every new project we create will automatically have this focused dashboard built-in.
The goal is to create separate, organized views for tasks that are "Open" and tasks that are "Completed."

Test your understanding!
You've set up a self-referential filter in a project template. You then create two new projects, "Project A" and "Project B," using this template. When you open the page for "Project A," will you see tasks from "Project B"? Why or why not?
Show answer
No, you will not. The self-referential filter is dynamic. On the "Project A" page, it filters for tasks related to "Project A." On the "Project B" page, it filters for tasks related to "Project B." This ensures each project dashboard remains focused and relevant only to itself.
✍️ Exercise: Build Your Project Dashboard
It's time to apply what you've learned to your system. Follow these steps carefully.
Your Tasks:
-
1. Create a New Project Template.
- Navigate to your
Projectsdatabase. - Click the small down-arrow next to the blue
Newbutton in the top-right. - Click
+ New template. Name this templateNew Project.
- Navigate to your
-
2. Add a Linked View of 'Tasks'.
- On the new, blank template page, type
/linked view of database. - Select your
Tasksdatabase from the list. A table view of all your tasks will appear.
- On the new, blank template page, type
-
3. Apply the Self-Referential Filter.
- In the top-right of the linked database you just created, click
Filter. - Select the
Projectproperty (the relation you created in the last lesson). - In the filter options, select your template name,
New Project. The filter should read:ProjectContainsNew Project.
- In the top-right of the linked database you just created, click
-
4. Create an "Open Tasks" View.
- Now, let's refine this view. Add a second filter rule by clicking
+ Add filter. - Set this filter to
StatusIs notDone. - Click the three dots (
...) in the top-right of the linked view and selectRename. Call this viewOpen Tasks.
- Now, let's refine this view. Add a second filter rule by clicking
-
5. Create a "Completed Tasks" View.
- Click on the
Open Tasksview tab you just renamed. In the menu that appears, clickDuplicate. - Rename this new, duplicated view to
Completed Tasks. - Adjust the filter for this view: change the
Statusfilter fromIs not DonetoIs Done.
- Click on the
-
6. Clean Up the Views.
- In both the
Open TasksandCompleted Tasksviews, theProjectcolumn is now redundant (we already know what project we're in). - Click the three dots (
...), go toProperties, and click the eye icon next toProjectto hide it.
- In both the
-
7. Set the Template as Default.
- Go back out of the template editor.
- Click the down-arrow next to
Newagain. Find yourNew Projecttemplate, click the three dots (...) next to it, and selectSet as default.
-
8. Test Your Dashboard!
- Create a brand new project in your
Projectsdatabase. It should automatically load with your "Open Tasks" and "Completed Tasks" views. - Add a new task directly into the
Open Tasksview. Then, change its status toDone. Watch it disappear from the "Open" view and appear in the "Completed" view.
- Create a brand new project in your
Conclusion
Excellent work! You have now built a truly dynamic and context-aware component in your Notion system. By mastering linked databases and self-referential filtering within templates, you've unlocked a professional workflow that is essential for creating clean, valuable, and sellable Notion templates.
Key Takeaways:
- Linked Databases are live, filtered portals to a master database, not copies.
- Self-referential filtering is the key to creating context-aware dashboards inside templates.
- Building functionality inside a default template automates your workflow and ensures consistency for every new project.
Preview of the Next Lesson:
Now that each project has its own dashboard, our next step is to zoom out. We need a way to see the status of tasks across all projects. In the next lesson, we will create a Kanban board view of our master 'Tasks' database. This will be the centerpiece of our main project management dashboard, allowing you to visually track task progression from "To Do" to "Done."