Hello! In our last lesson, you mastered formulas, learning to create dynamic statuses and custom calculations. You now have databases that are not just containers for data, but intelligent systems that can think for themselves.
However, all that power is currently concentrated in one place—your main database views. This can get cluttered. How do you create a clean dashboard showing only your tasks for today? Or see all the tasks related to a specific project on that project's page?
This is where our next topic comes in. This lesson will teach you how to create linked databases to display and filter a single data source across multiple pages. This is a cornerstone skill for creating the organized, context-specific, and highly sellable templates you're aiming to build. It’s the key to moving from a data-entry tool to a true custom dashboard builder.
1. The "Single Source of Truth" Philosophy
In Notion, it’s a best practice to keep related information in one large, master database. For example, instead of having a separate task database for each project, you have one master Tasks database for everything. This is called the "single source of truth" principle.
Why is this important?
- Consistency: All tasks have the same properties and structure.
- Power: You can create high-level rollups and relations across all your work.
- Maintenance: You only have one database to manage and update.
But if all your tasks are in one giant database, how do you see just the relevant pieces? The answer is Linked Databases.
A linked database is not a copy; it's a live portal or a window into your original database. You can place these windows anywhere in your workspace and customize each one to show exactly what you need.
To start, let's watch a short, official overview from Notion that introduces this powerful concept.
The 'Using linked databases' video from Notion's official channel provides a perfect introduction to the concept. It clearly explains what a linked database is and why you'd use one.
Watch from the beginning to 01:29. Focus on understanding the core idea: you're creating a new, customizable view of an existing database, not a separate copy.
2. How Linked Databases Work: The Two Golden Rules
When you work with linked databases, there are two simple but critical rules to remember:
- Content and Property Changes are GLOBAL. If you change a task's name, update its status, or modify a property's value in a linked view, that change is reflected in the original database and every other linked view. You are editing the source data.
- View Settings are LOCAL. Filters, sorts, grouping, and the layout (Table, Board, etc.) you apply to a linked database only affect that specific instance. This is the magic! It allows you to create countless custom views without altering the original database or any other views.
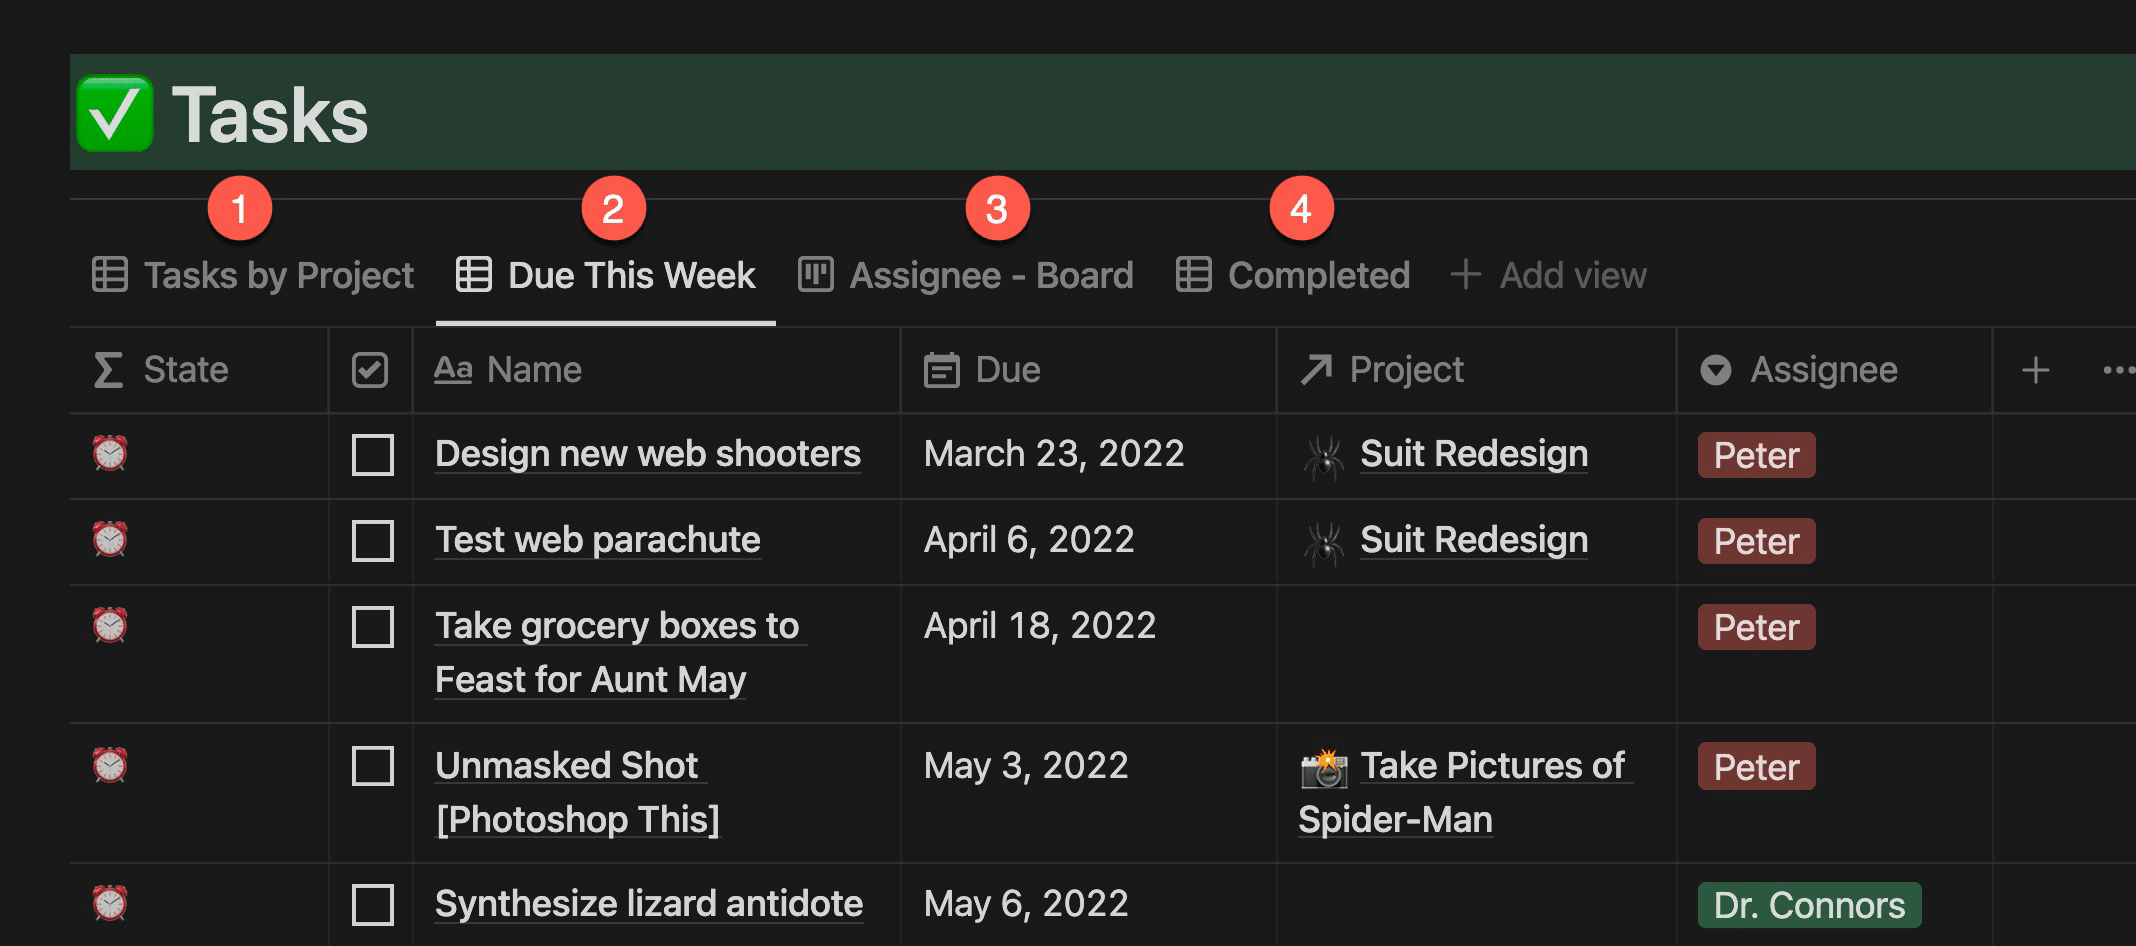
Creating a Linked Database
You can create a linked database in two primary ways:
- Type
/linked view of a databaseand select your source database. - Type
/table,/board, or any other view type. In the menu that appears, instead of creating a "New database," select your existing master database from the list.
The video below demonstrates this process and reinforces the "global data, local view" principle. It also shows a powerful feature: when you add a new page to a filtered linked view, it automatically gets the properties defined by that filter.
Improve database usage with linked views and custom templates
Let's watch another official Notion video, 'Improve database usage with linked views'. This clip expands on the concept by showing how to create a view and select an existing 'data source'.
Watch from 01:54 to 03:04. Pay close attention to how they filter a 'Meeting Notes' database for a specific project. Notice what happens at 02:52 when they add a new meeting note through this filtered view—the 'Project' tag is automatically applied!
Test your understanding!
You have a master Content Calendar database. You create a linked view on your "Social Media Dashboard" page and filter it to show only posts for "Instagram." If you then change the publish date of a post in this linked view, will that change be visible in the master Content Calendar? What about in a different linked view on your "Blog Dashboard" page?
Show answer
Yes, the change will be visible everywhere. Changing the data (like a publish date) is a global change that affects the source database. Both the master Content Calendar and the linked view on the "Blog Dashboard" will show the new publish date. The filter for "Instagram" is a local setting and does not affect the data itself.
3. Building a Dynamic Project Dashboard
Let's apply this to the connected Projects and Tasks system you've been building. One of the most common and valuable use cases for linked databases is to create a dynamic task list inside each project page.
- Navigate to your
Projectsdatabase and open one of the project pages (e.g., "Website Redesign"). - Inside the page body, type
/linked viewand select yourTasksdatabase as the source. - You will now see a complete list of all your tasks. This isn't very useful yet.
- Click the
Filterbutton at the top-right of the new linked database. - Set the filter to where the
Projectproperty (your relation) Contains the name of the project page you are currently on (e.g., "Website Redesign").

Voila! You now have a view that shows only the tasks associated with this specific project, right on the project's homepage. If you add a new task using this view's "New" button, it will automatically be related to this project. Repeat this for your other projects, and each one will have its own self-contained task list, all drawing from your single master Tasks database.
For a detailed walkthrough of this exact process, the following resource is excellent.
Notion Databases: The Ultimate Beginner's Guide
The article 'Notion Databases: The Ultimate Beginner's Guide' by Thomas Frank provides a very clear, step-by-step guide to creating a linked database for tasks within a project page.
Read the sections titled 'Linked Databases' and 'How to Create a Linked Database'. Follow along with the example of creating a filtered task list within the 'Suit Redesign' project page. This mirrors exactly what we just discussed.
✍️ Exercise: Create Your Master Dashboard
Now it's your turn to build the most important page in any personal or professional workspace: a central dashboard.
Goal: Create a new page that acts as your command center, showing you only the tasks that are assigned to you and are currently in progress.
- Create a Dashboard Page: Create a new, blank page in your workspace and title it "My Dashboard".
- Add an Assignee Property: If you haven't already, go to your master
Tasksdatabase and add aPersonproperty namedAssignee. Assign a few tasks to yourself. - Create a Linked View: On your "My Dashboard" page, create a linked view of your
Tasksdatabase. Choose aListorTablelayout for a clean look. - Apply an Advanced Filter: This is where it gets powerful. We need to filter for two conditions simultaneously.
- Click
Filter→Add advanced filter. - Set the first rule to:
AssigneeContainsMe. - Click
+ Add filter rule. - Set the second rule to:
StatusIs notDone(or whatever you've named your completion status). - Ensure the logic between the rules is set to
AND.
- Click
You should now have a focused list of only your active tasks, pulled from the master database. As you complete tasks elsewhere in Notion, they will automatically disappear from this dashboard view.
Conclusion
You've just learned one of the most fundamental architectural concepts in Notion. By mastering Linked Databases, you can maintain organized, scalable master databases while creating an infinite number of clean, focused, and context-aware dashboards and pages.
Key Takeaways:
- Single Source of Truth: Keep master data in one place for consistency and power.
- Linked Databases are Portals: They are windows into your master data, not copies.
- Global Data, Local Views: Data edits are synced everywhere; filters, sorts, and layouts are unique to each view.
- Filtering is Key: The power of linked databases comes from filtering them to show only relevant information for a specific context (a project, a person, a date range).
In this lesson, you learned to display filtered views of a database in multiple places. But what if you want to display the exact same block of text, or a specific image, on multiple pages and have it update everywhere when you edit it?
In our next lesson, we'll explore Synced Blocks. This feature works alongside linked databases to help you create truly consistent and easy-to-maintain templates and dashboards.