Hello again! In our last lesson, you did the crucial work of defining the project scope for our "My Reading List" application. Your README.md file now serves as a clear blueprint, outlining the app's purpose, features, pages, and user flow. This is the exact kind of planning that sets professional projects up for success.
Now, we move from the "what" to the "how." With our project's goals defined, we need to design its technical architecture. This lesson will bridge the gap between your project plan and the code you're about to write.
Today's learning outcome is to: Design the component hierarchy for each page and plan the data management strategy (local state vs. Pinia store).
We'll break down our application into a series of small, reusable Vue components and then decide where each piece of data should live to keep our app organized, efficient, and scalable.
1. Thinking in Components: Designing the Hierarchy
A core principle of modern web development is building user interfaces with components. Think of them as custom, reusable HTML elements. Instead of building one massive, monolithic page, we break it down into smaller, self-contained pieces. This makes our code easier to read, test, and maintain.
Our first task is to create a "component map" for our "My Reading List" app, deciding what components we'll need for each page you defined in the last lesson.
To guide our thinking, let's look at some industry best practices.
This guide, 'vue-best-practices', contains excellent rules for structuring Vue applications. We'll focus on the sections about planning your components before you start coding.
Please read the sections titled '1.2 Plan component boundaries before coding' and 'Keep components focused'. Pay special attention to the principles of giving each component a 'single responsibility' and the triggers for when to split a large component into smaller ones.
As you read, the key idea is to keep components small and focused. A component should do one thing and do it well.
Applying Component Design to Our App
Let's apply these principles to the pages we planned in our README.md.
-
Dashboard Page (
/): This page needs to display three lists of books.- The page itself will be
DashboardView.vue. This is a "route-level" component. Its main job is to arrange other components. - Each of the three lists ("Want to Read," etc.) looks and acts the same. This is a perfect candidate for a reusable component. Let's call it
BookList.vue. It would accept props like atitleand anarray of books. - Inside each list, we'll have individual books. This is another great component. We'll call it
BookCard.vue. It would take abook objectas a prop and display its title and author. It might also contain buttons for moving or deleting the book.
- The page itself will be
-
Search Page (
/search): This page needs an input field and a place to show results.- The page component is
SearchView.vue. - We can create a
SearchBar.vuecomponent for the input field and search button. - The list of results could reuse our
BookCard.vuecomponent, or perhaps a slight variation likeSearchResultCard.vueif the actions are different (e.g., "Add to Library" instead of "Move to Finished").
- The page component is
-
Book Details Page (
/book/:id): This page will show detailed information for a single book.- The page component is
BookDetailView.vue. - For the MVP, the content here might be simple enough to live directly inside
BookDetailView.vue. If it grew more complex (e.g., with user reviews, author bios), we could break it down further into components likeBookSummary.vueandBookReviews.vue.
- The page component is
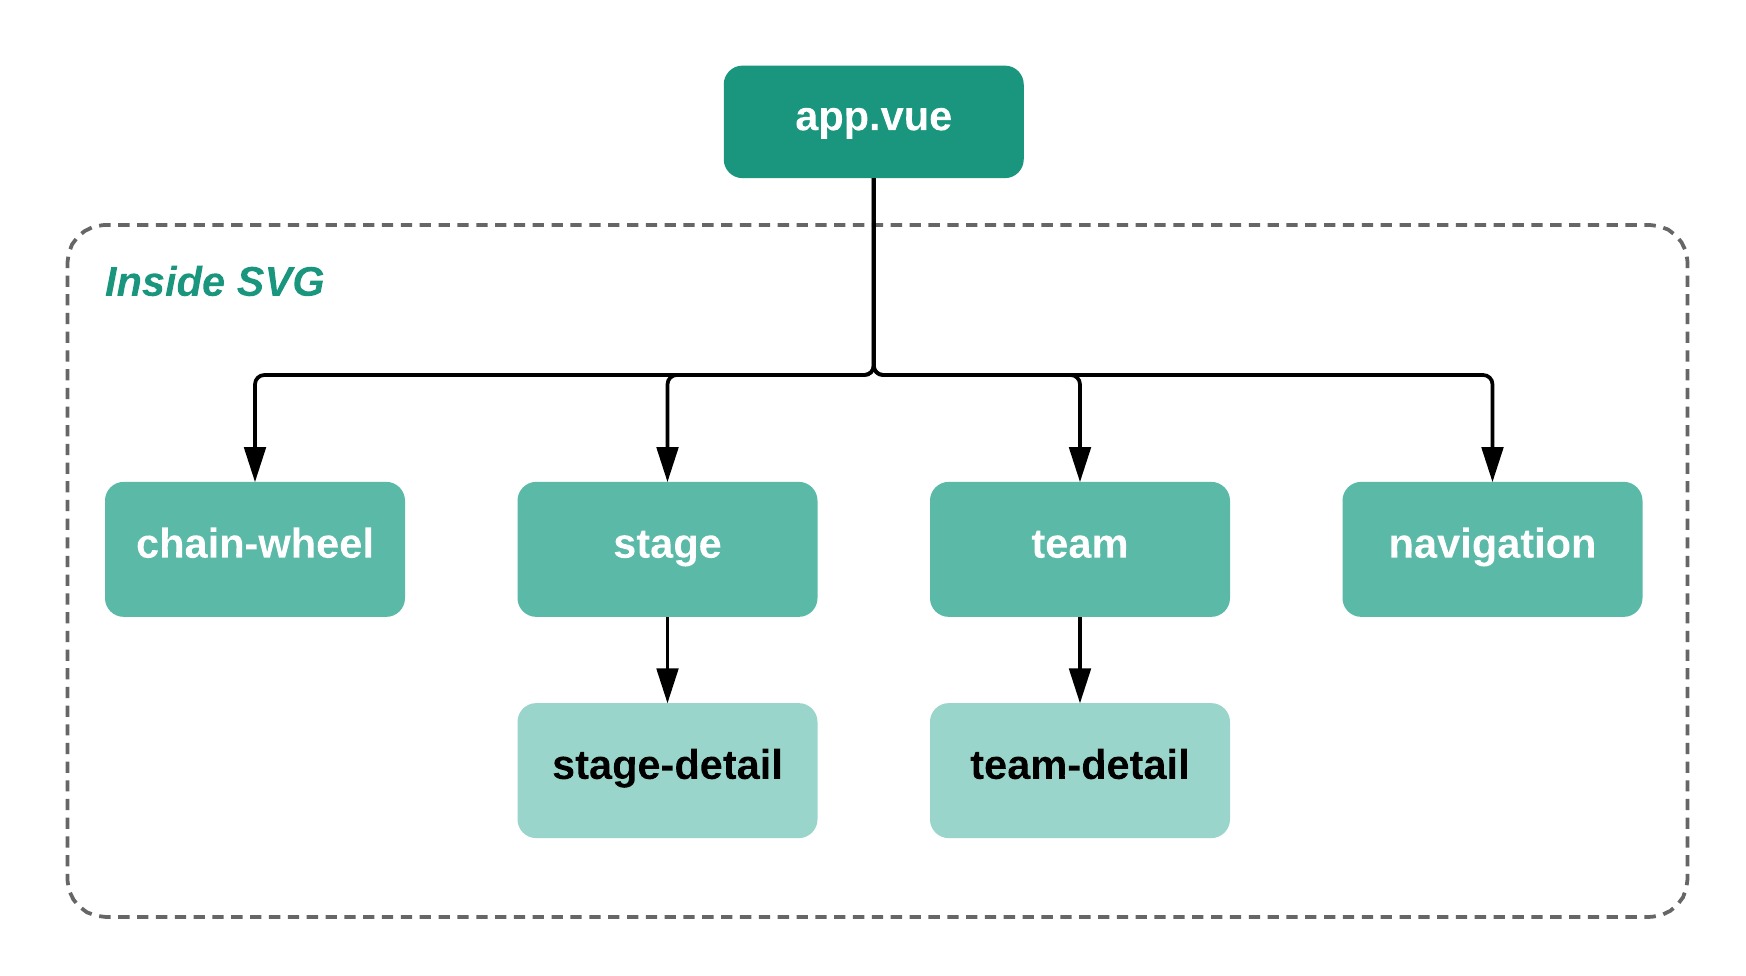
This breakdown gives us a clear component tree, much like this example:
2. Planning the Data Strategy: Local vs. Global State
Now that we know what our components are, we need to decide where the data (or state) they display will live. In a Vue application, state generally falls into two categories.
Vue Basics: State Management in Vue
This article provides a great overview of state management in Vue. We'll start by understanding the two main types of state.
Read the introduction and the section 'Understanding the Concept of State Management in Vue'. Focus on the distinction between 'Local state' and 'Global state'.
- Local State: Data that is used by only one component. For example, the text a user is currently typing into a search bar. We manage this using
ref()orreactive(). - Global State: Data that needs to be shared across many components. In our app, the user's book lists are a perfect example. The
DashboardViewneeds to display them, but theSearchViewneeds to be able to add to them.
Trying to manage global state using only local state techniques (passing props down many levels and emitting events back up) can become very messy. This problem is called "prop drilling."
This short video explains the problem clearly and introduces the concept of a centralized "store" as the solution.
What is State Management? (Vue 3)
In 'What is State Management? (Vue 3)', Danny from Make Apps with Danny explains the challenges of managing shared data in complex applications and why a dedicated state management tool is necessary.
Watch from the beginning to 03:32. Pay attention to the explanation of 'prop drilling' and how a centralized 'store' solves this problem.
Pinia: The Solution for Global State
For Vue 3 applications, the official state management library is Pinia. It provides a centralized store to hold our global state, making it accessible from any component without prop drilling. A Pinia store is typically made up of three parts:
- State: The data itself (e.g., our arrays of books).
- Actions: Functions that change the state (e.g., a function to
addBook()). - Getters: Like computed properties for your store, they derive values from the state (e.g., a getter to
calculateTotalBookCount()).
This next video demonstrates how to move state from a component into a Pinia store. This is exactly the thought process we need to apply to our project.
Learn Pinia Setup Stores in 30 MINUTES! (Vue JS 3)
This video, 'Learn Pinia Setup Stores in 30 MINUTES!', provides a practical walkthrough of creating a Pinia store and using it within components.
Watch the video from 11:51 to 26:19. This covers: What Pinia is and the problem it solves (11:51 - 14:45). The structure of a store: State, Actions, and Getters (15:47 - 16:54). How to move data (state), methods (actions), and computed properties (getters) from a component into a store.
Data Strategy for "My Reading List"
Let's decide where each piece of data for our app belongs.
| Data Piece | Where It's Used | Local or Global (Pinia)? | Justification |
|---|---|---|---|
| Search Query Text | SearchBar.vue |
Local | Only the search bar needs this data. It doesn't affect any other part of the app until the user submits the search. |
| Search Results | SearchView.vue |
Local | The search results are only relevant on the search page. Once the user leaves, this data can be discarded. |
Book Lists (wantToRead, etc.) |
DashboardView, SearchView, BookCard |
Global (Pinia) | This is the core data of our application. It needs to be displayed on the dashboard but modified from the search page (when adding a book) and from individual book cards (when moving or deleting a book). This is the classic use case for a global store. |
| Loading/Error States | Any component that fetches API data | Local | While a global loading state is possible, it's simpler for our MVP to have each component that fetches data manage its own loading and error status. |
Based on this plan, we will create a Pinia store, let's call it bookStore, to manage our book lists.
- State:
wantToRead: [],currentlyReading: [],finished: [] - Actions:
addBookToWantToRead(book),moveBook(bookId, toList),removeBook(bookId) - Getters:
getBooksByList(listName)
3. Your Task: Update the Project Plan
You've now designed the technical architecture for the "My Reading List" app. It's time to document this plan in your README.md file. This ensures your blueprint is complete before you start building.
Action Steps:
- Open the
README.mdfile in yourmy-reading-listproject. - Add two new main sections (
##) to the file:5. Component Hierarchyand6. Data Management Strategy. - Fill in these sections using the template below, which summarizes the decisions we made in this lesson.
Template for your README.md
## 5. Component Hierarchy

This outlines the component structure for each page of the application.


### General Reusable Components
- `AppHeader.vue`: The main navigation header, visible on all pages.
- `BookCard.vue`: A card to display a single book's information. Used in the book lists and search results.


### Page-Specific Components


#### `/` (Dashboard)
- `DashboardView.vue` (Route-level component)
  - `BookList.vue`: Displays a single list (e.g., "Want to Read"). This component will be used three times on this page.
    - Contains multiple `BookCard.vue` components.


#### `/search` (Search Page)
- `SearchView.vue` (Route-level component)
  - `SearchBar.vue`: The input field for users to type their book search.
  - `SearchResults.vue`: A container to display the list of `BookCard.vue` components returned from the search.


#### `/book/:id` (Book Details)
- `BookDetailView.vue` (Route-level component)
  - Contains all markup to display detailed information for a single book. (For the MVP, no further child components are needed).


## 6. Data Management Strategy

This section defines where the application's state will be managed.

- **Local State:** Used for data confined to a single component.
  - The text in the `SearchBar.vue` input field.
  - The list of results from a book search, managed within `SearchView.vue`.
  - Loading and error flags within components that fetch API data.

- **Global State (Pinia):** Used for data that needs to be shared and accessed across multiple components. A `bookStore` will be created to manage this.
  - **State:**
    - `wantToRead`: An array of book objects.
    - `currentlyReading`: An array of book objects.
    - `finished`: An array of book objects.
  - **Actions:**
    - `addBookToWantToRead(book)`: Adds a new book from search results.
    - `moveBook(bookId, fromList, toList)`: Moves a book between the three lists.
    - `removeBook(bookId, fromList)`: Deletes a book from a list.
  - **Getters:**
    - `getBookCount(listName)`: Returns the number of books in a specific list.
After updating your README.md, commit and push the changes to your GitHub repository. Your project plan is now complete!
Conclusion
Excellent work! You have successfully translated your project's features into a concrete technical plan. This step is often skipped by beginners, but it's what enables you to build complex applications in an organized and efficient way.
Key Takeaways:
- Component Hierarchy: Breaking down a UI into small, single-responsibility components makes your application modular and maintainable.
- Local vs. Global State: Choosing the right place for your data to live is critical. Use local state for component-specific data and a global store like Pinia for data shared across your app.
- Pinia's Role: Pinia provides a centralized and structured way to manage global state with its
state,actions, andgetters.
Next Lesson:
With our comprehensive plan in place, we are finally ready to write some code! In the next lesson, you will begin the implementation. You will learn to: Implement navigation guards with Vue Router to conditionally control access to routes. We'll set up the basic page shells and routing for the application.