Hello! In our last module, you did an excellent job building a fully functional, two-page "VueMart" application. You mastered Vue Router, fetched data from an API, and handled loading and error states like a pro. Your application works, but as we noted, it's a blank canvas.
In this lesson, we'll start painting that canvas. We're kicking off the Modern CSS with Tailwind module by integrating Tailwind CSS directly into the Vue 3 project you just built. This lesson will focus on the setup process, transforming your project environment so that you can begin styling with one of the most popular CSS frameworks in the industry.
By the end of this 60-minute lesson, you will be able to:
- Install Tailwind CSS and its dependencies into a Vite-powered Vue project.
- Generate and configure the necessary configuration files.
- Import Tailwind's styles into your application.
- Verify that the integration was successful.
Let's get your project ready for a major visual upgrade.
What is Tailwind CSS?
Before we start installing packages, let's briefly touch on what Tailwind CSS is.
Tailwind is a utility-first CSS framework. Unlike other frameworks like Bootstrap which give you pre-built components (e.g., .card, .btn-primary), Tailwind provides thousands of low-level utility classes (e.g., flex, pt-4, text-center, bg-blue-500). You build custom designs by composing these classes directly in your HTML.
This approach is a perfect match for component-based frameworks like Vue. It allows you to create highly customized, responsive designs without ever leaving your component files or writing a single line of custom CSS. You'll see just how fast and intuitive this can be in the upcoming lessons.
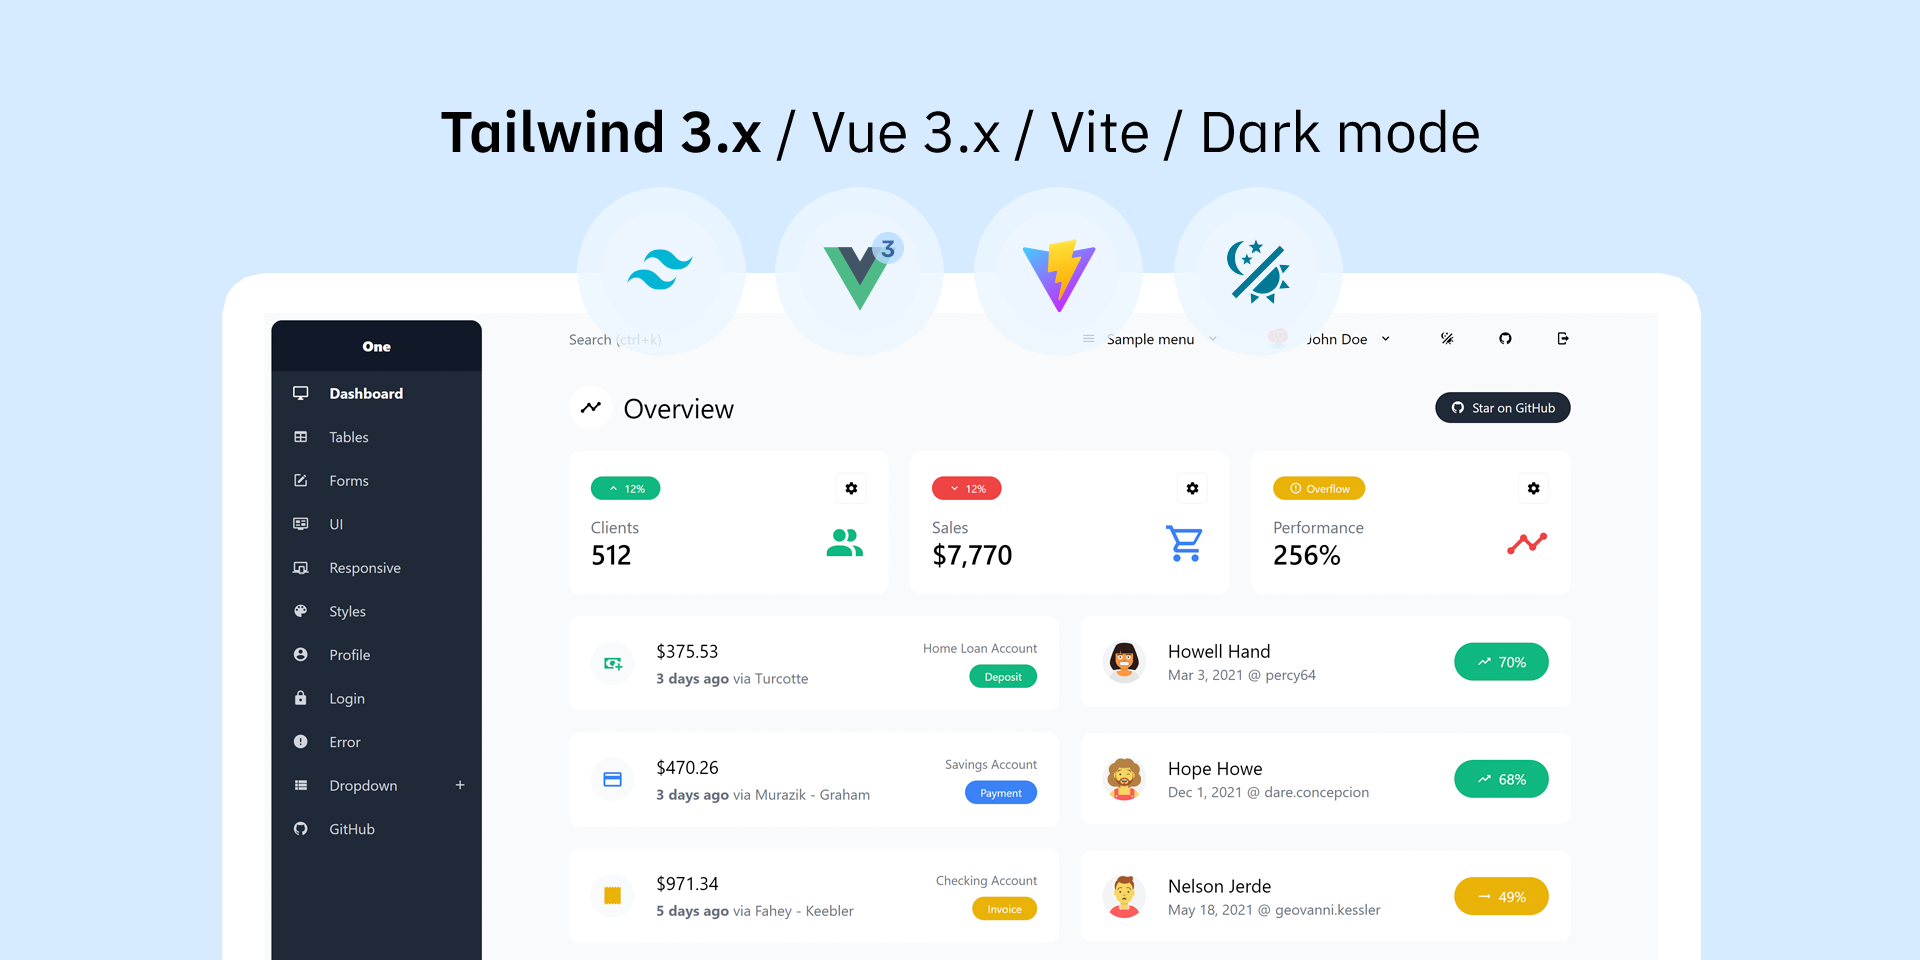
The Integration Process: A Step-by-Step Guide
We are going to add Tailwind CSS to the "VueMart" mini-project you completed in the last lesson. Open that project in VS Code and have a terminal ready.
The integration process involves four main steps:
- Install Dependencies: We'll use
npmto installtailwindcssand two of its peer dependencies,postcssandautoprefixer. - Generate Config Files: We'll run a command to create
tailwind.config.jsandpostcss.config.js. - Configure Template Paths: We'll tell Tailwind which files to scan for utility classes so it can generate the necessary CSS.
- Import Tailwind Styles: We'll create a main CSS file and import it into our Vue application's entry point.
The video below provides a clear, concise walkthrough of this entire process. It will be our main guide for this lesson.
How to use Tailwind CSS in Vue with Vite | Install TailwindCSS in Vue for Beginners
Watch this video from Devtamin to see a complete, step-by-step demonstration of how to install and configure Tailwind CSS in a fresh Vue 3 + Vite project. The process is identical to what we will do.
Watch from 01:43 to the end. The video walks through the four key steps: Installing packages (01:43) Creating config files (02:42) Configuring the content path in tailwind.config.js (03:08) Adding the @tailwind directives to a CSS file and importing it into main.js (03:38)
Now, let's perform these steps on your project.
Step 1: Install Tailwind and its Dependencies
In your project's terminal, run the following command. The -D flag installs these as "dev dependencies," meaning they are only needed for development and not for the final production build.
npm install -D tailwindcss postcss autoprefixer
tailwindcss: The core Tailwind framework.postcss: A tool that transforms CSS with JavaScript plugins. Tailwind is, under the hood, a PostCSS plugin.autoprefixer: A PostCSS plugin that automatically adds vendor prefixes (like-webkit-or-moz-) to CSS rules to ensure cross-browser compatibility.
Step 2: Generate Configuration Files
Next, run this command to generate the necessary configuration files:
npx tailwindcss init -p
This command does two things:
- It creates a
tailwind.config.jsfile in your project root. This is where you'll configure and customize Tailwind. - It creates a
postcss.config.jsfile. The-pflag automatically adds the necessary PostCSS configuration to use Tailwind and Autoprefixer.
Step 3: Configure Your Template Paths
This is a crucial step. Tailwind's modern engine works by scanning your files for class names and then generating only the CSS that you are actually using. You need to tell it where to look.
Open the newly created tailwind.config.js file. Replace the empty content array with the following paths:
// tailwind.config.js

/** @type {import('tailwindcss').Config} */
export default {
  content: [
    "./index.html",
    "./src/**/*.{vue,js,ts,jsx,tsx}",
  ],
  theme: {
    extend: {},
  },
  plugins: [],
}
This configuration tells Tailwind to scan the root index.html file and any file with a .vue, .js, .ts, .jsx, or .tsx extension inside the src folder and its subdirectories.
Step 4: Add and Import Tailwind's CSS Directives
-
Navigate to your
src/assetsdirectory. You probably have amain.cssfile there from the default Vue starter. Open it, delete all of its contents, and replace them with the following three lines:/* src/assets/main.css */ @tailwind base; @tailwind components; @tailwind utilities;These are Tailwind's "directives." They are placeholders that Tailwind's build process will replace with its generated styles:
@tailwind base: Injects Tailwind's base styles and any base styles registered by plugins. This includes a CSS reset called Preflight.@tailwind components: Injects Tailwind's component classes.@tailwind utilities: Injects Tailwind's utility classes.
-
Finally, ensure this CSS file is imported into your application. Open
src/main.js. The default Vue starter should already have a line likeimport './assets/main.css'. Just make sure it's there.// src/main.js import './assets/main.css' // This line is key! import { createApp } from 'vue' import App from './App.vue' import router from './router' const app = createApp(App) app.use(router) app.mount('#app')
For a text-based version of these instructions, the following article is a great reference.
Building Vue 3 components with Tailwind CSS
This article from Snyk, 'Building Vue 3 components with Tailwind CSS', provides a clear, text-based guide to the setup process we just followed.
Focus on the section titled 'How to set up Tailwind with Vue'. It mirrors the steps we've just taken: installing dependencies, generating config files, configuring the content path, and adding the CSS directives.
Verification: Let's See It Work!
Your integration should now be complete. To verify it, let's add a few utility classes to your "VueMart" home page.
-
Restart your development server. Stop the current process (Ctrl+C) and run
npm run devagain. This ensures Vite picks up the new PostCSS configuration. -
Open
src/views/HomeView.vue. -
Find the
<h1>tag or add one. Let's apply some styles to it using Tailwind classes.<template> <div class="p-8"> <!-- Add some padding to the whole view --> <h1 class="text-3xl font-bold underline text-blue-600 mb-6">Our Products</h1> <!-- Add Tailwind classes here --> <div v-if="loading">Loading products...</div> <div v-else-if="error">{{ error }}</div> <ul v-else-if="products" class="space-y-4"> <!-- Add vertical space between list items --> <li v-for="product in products" :key="product.id"> <RouterLink :to="'/product/' + product.id" class="text-lg text-gray-800 hover:text-blue-500" > {{ product.title }} </RouterLink> </li> </ul> </div> </template>
Now, check your browser. Your "Our Products" title should be large, bold, underlined, and blue. The list items should have some space between them. If you see these styles, congratulations! You have successfully integrated Tailwind CSS into your Vue project.
Conclusion
In this lesson, you've successfully set up your project to use Tailwind CSS. You've taken a critical first step from building a functional application to building a stylized one.
Key Takeaways:
- Integration is a multi-step process: It involves installing npm packages (
tailwindcss,postcss,autoprefixer), generating configuration files, and telling Tailwind where to find your classes. - Configuration is key: The
contentarray intailwind.config.jsis essential for Tailwind's Just-In-Time (JIT) compiler to work correctly and keep your final CSS bundle small. - Directives are placeholders: The
@tailwinddirectives in your main CSS file are where Tailwind injects its powerful set of base styles, components, and utilities.
Now that the setup is complete, you're ready to learn the philosophy behind Tailwind and start using its utility classes to build beautiful interfaces.
In the next lesson, we will dive into the utility-first approach. You'll learn the "why" behind this methodology and see how it helps you build consistent, custom designs with incredible speed.